Showing posts with label Ed Video. Show all posts

Thursday, May 30, 2019

Color Kit Inspiration & Scrapbook Process Video | Amanda Baldwin


Hi Shimmerz Friends & Fans! 

Amanda here, & today I am sharing a gorgeous layout & process video with the fabulous 
This exclusive Color Kit is absolutely GOR-jus & I just couldn't resist creating with it again -
 while I anxiously await the June Kit release in a few days time!

**Hint, hint! Set your alarms for June 1st kit reveal day - it's going to be epic!**

If you missed the April Color Kit, it looks like this.....


SO divine!

***These are limited edition kits, BUT there is one or two remaining in the store - if your quick!***

The kit contents are: 

Here's the layout I have created with this fabulous Color Kit....

"Beautiful"


Sigh! Beautiful indeed! 
Such a pretty page for my darling ballerina! 

Here's a closer look for you....
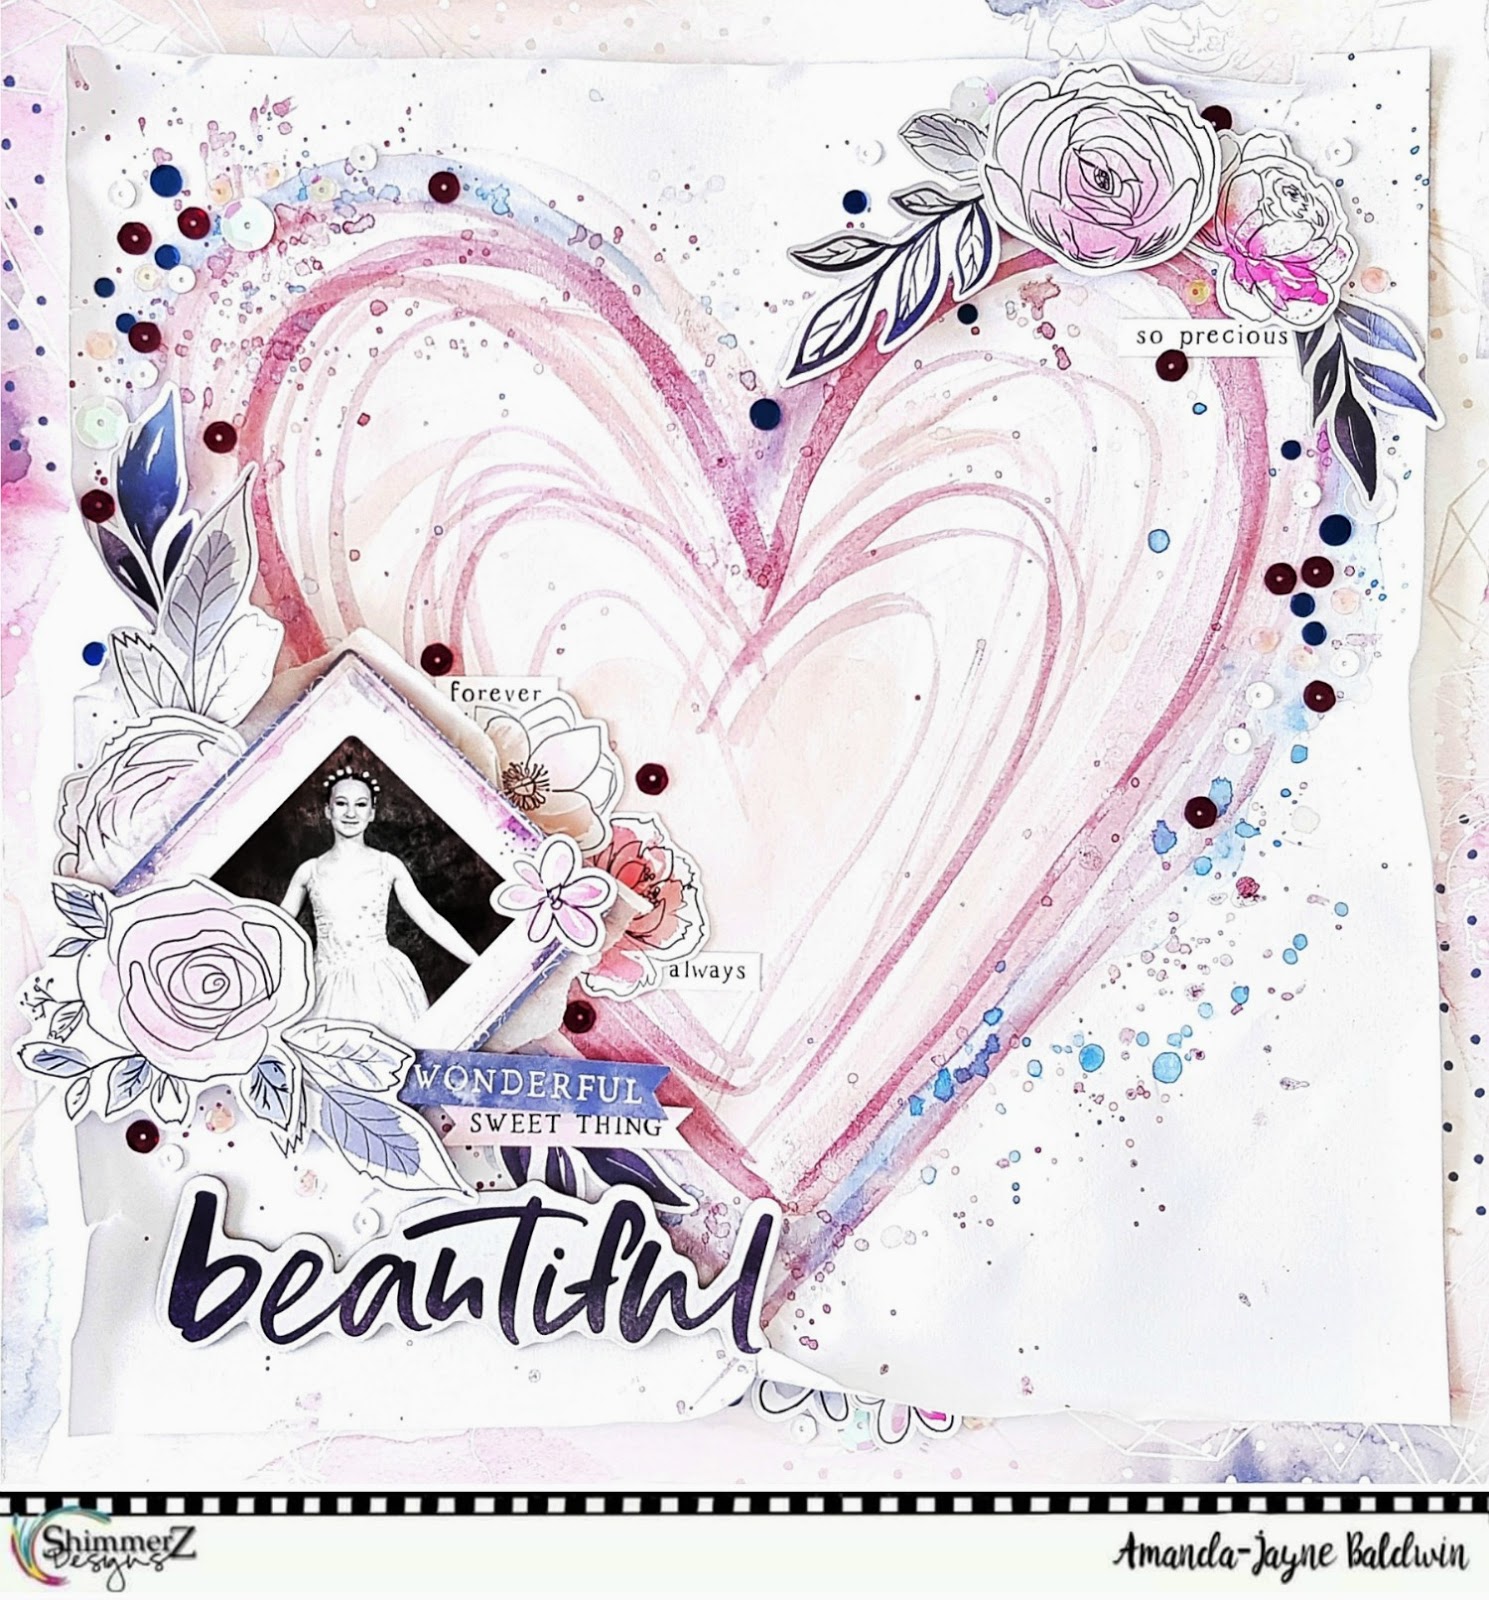


Swoon! So much gorgeousness! 
I can't even!!!
From that pretty Pink-A-Boo Inklingz, to the richness of the Vibez Quit Yer Wine-n & those stunning pops of Lapis Dance Creameez - well, it's just pure bliss! 
And don't even get me started on the Pick Your Plum sequins!!!
La La LOVE this kit! 
I have combined it with the Cocoa Vanilla Studio Midnight collection, as they're clearly a match made in heaven!

Here's a few pretty close ups for you.....


Just look at those colors!
So much loveliness in the April Color Kit!
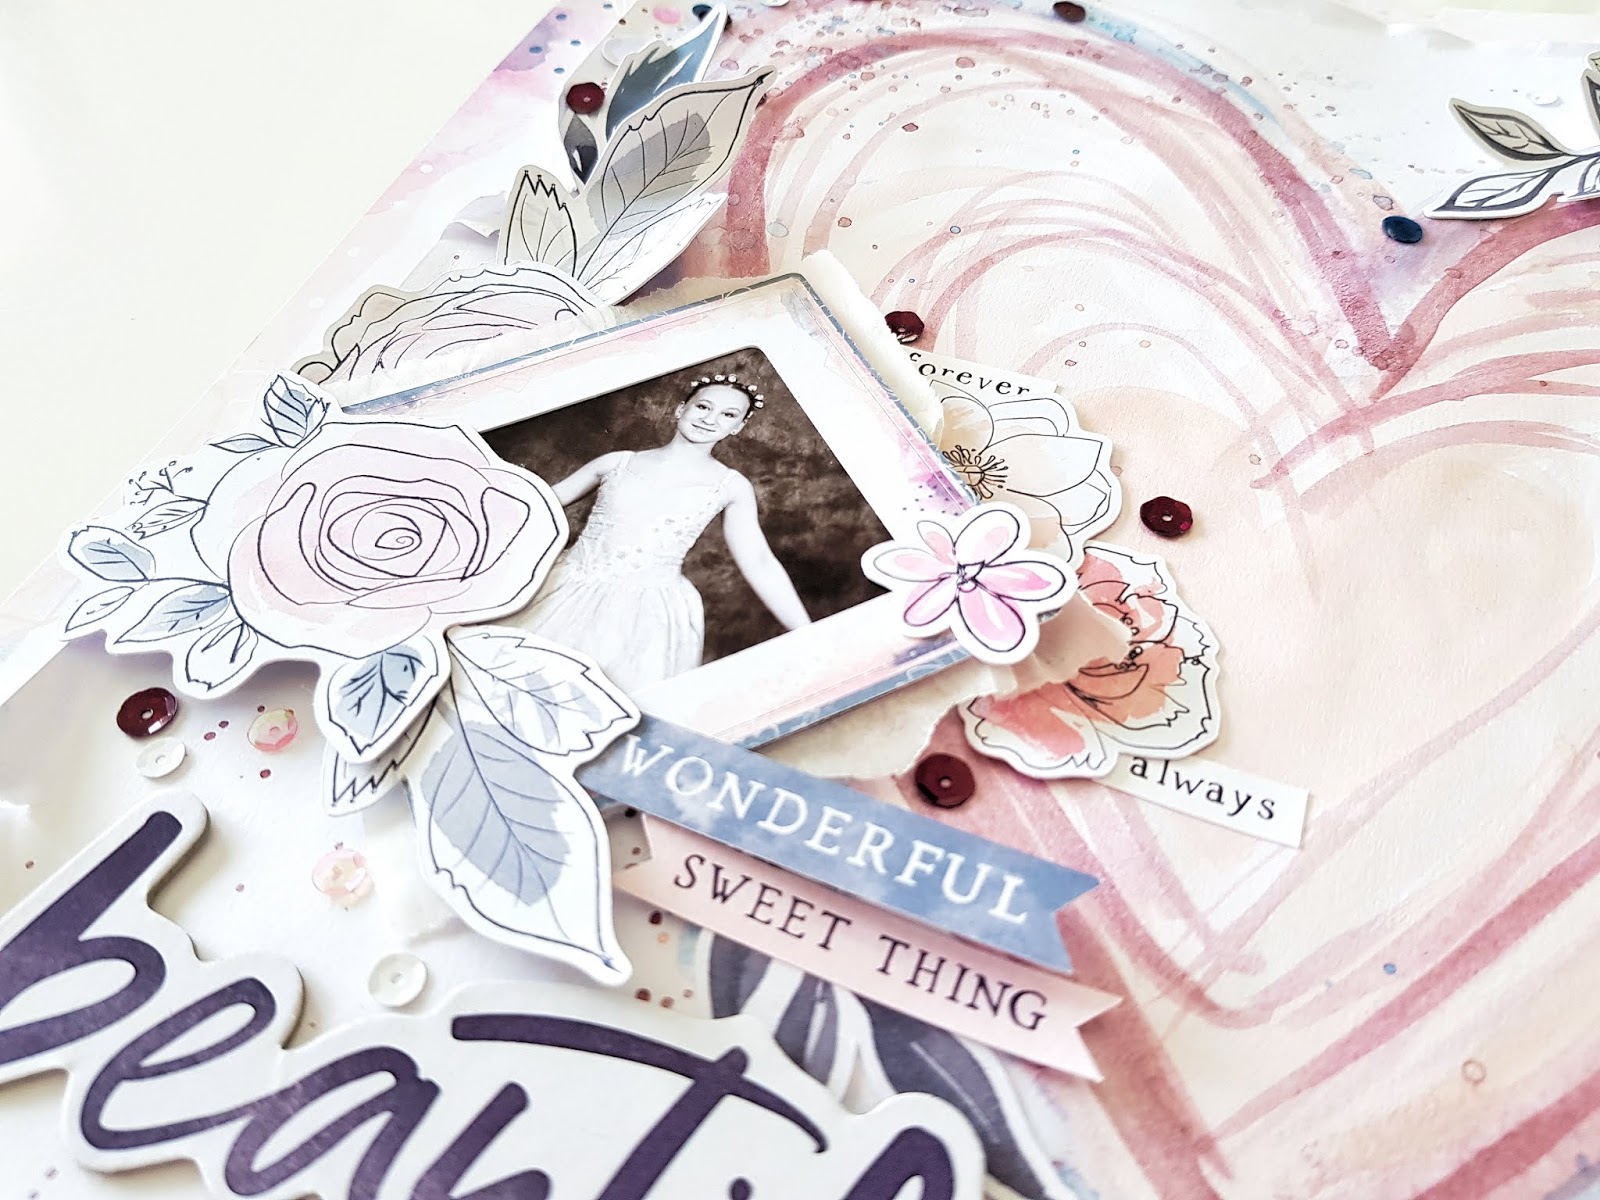

Such a soft and pretty page for my darling ballerina! 
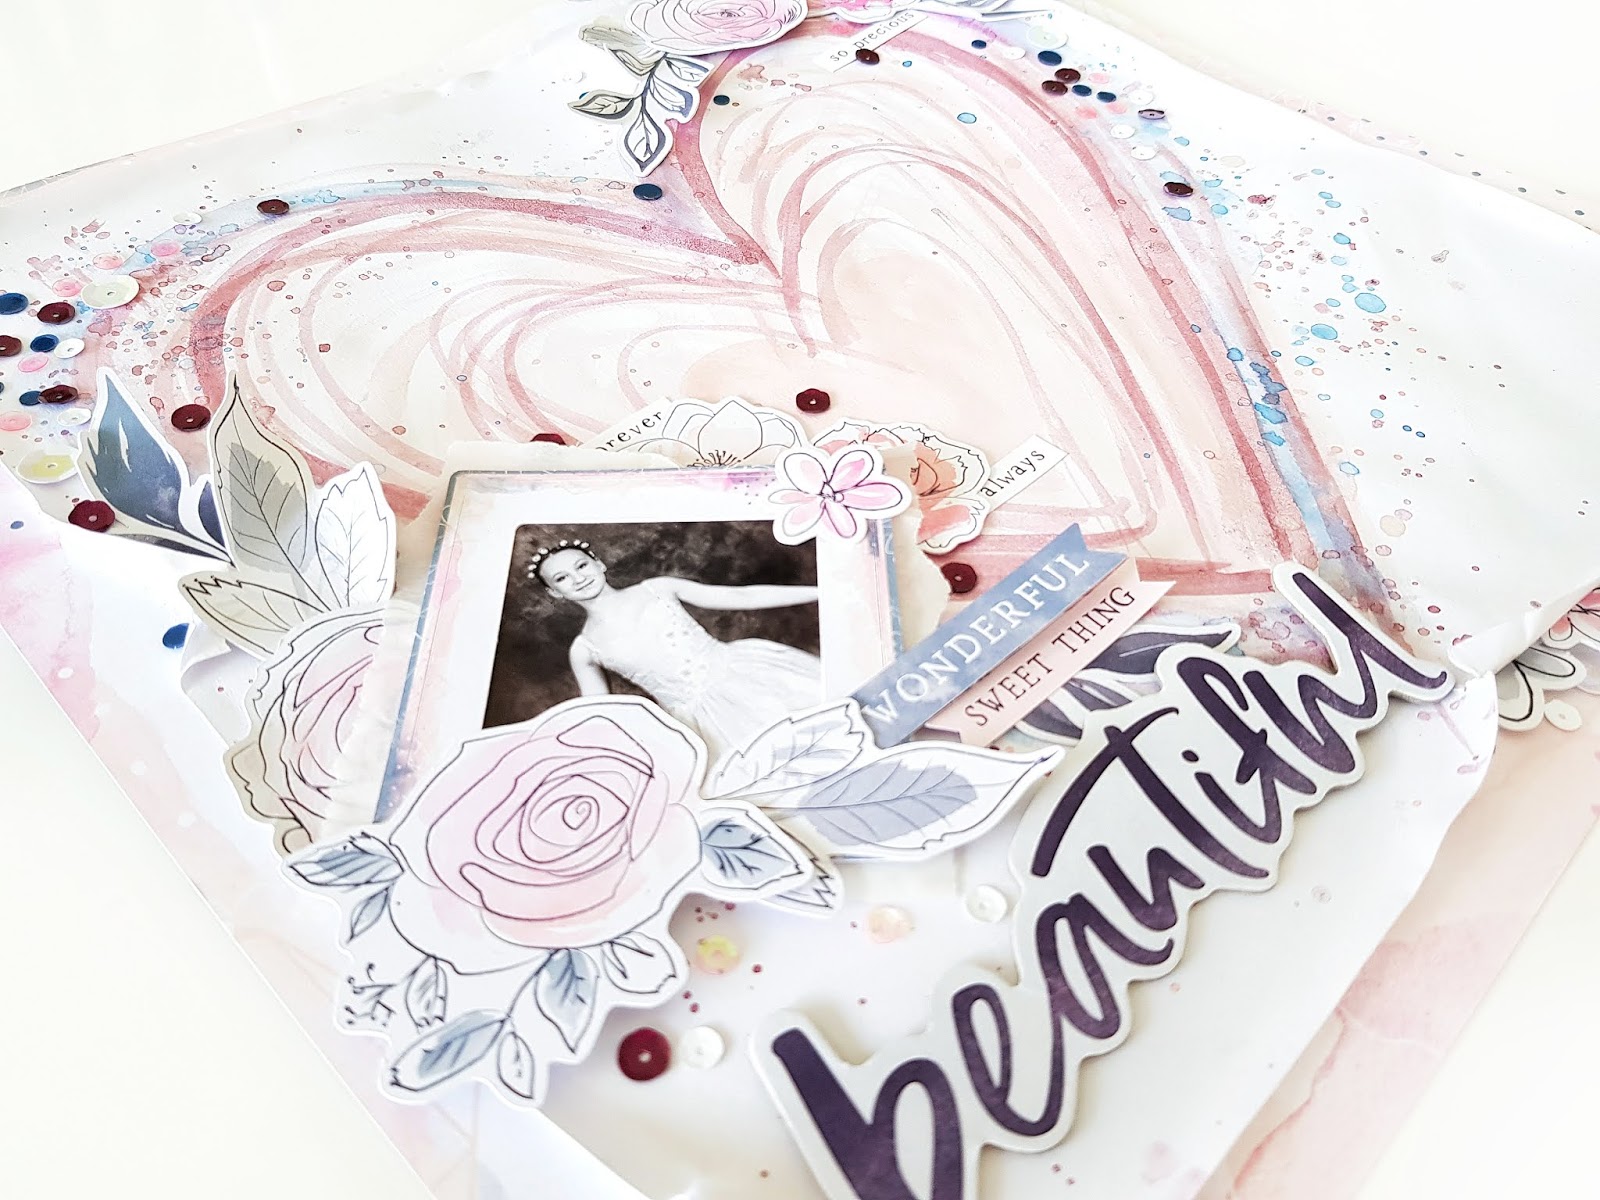

You can watch how I created this pretty heart page design on the Shimmerz channel HERE
Happy watching!


I hope you enjoyed my seeing how my layout came together. 
I just adore the April Color Kit & I hope I have inspired you to use yours!
(Or race to the store for the last remaining one HERE! )

Thanks so much for visiting, 
til next time, 


Thursday, December 29, 2016

So Awesome

Hey Shimmerz Friends,

It's Renee here, to share with you my latest layout video tutorial.

WARNING!!
Loads of fun and inky mess happened whilst creating this layout.


Here are the Shimmerz products I used to create this boys layout.


Shimmerz Coloringz - Freshly Squeezed (from the Halloween Kit)
Shimmerz Vibez - Velveteen Green (from the Christmas Kit)
Shimmerz Coloringz - Night Moves
Shimmerz Creameez - Refresh Mint
Shimmerz Texturez - Mari-Gold Digger

Here are some close-ups:


Lots of layers and texture.


And to see how I created this layout,
I have made a video tutorial for you to watch.


I hope you enjoy.

Thanks so much for stopping by!!!

And Happy New Year, from me to you.


Monday, February 15, 2016

Colouring Shimmerz Stakz with New Aqua Huez!

Hello there, Lydell here with you, sharing a Stakz colouring video with you.  As you may know the Stakz were released a while ago now, and some of you might already have some.

I just got mine and spent the day painting them, with my new Aqua Huez and the Choose your Huez set.

Here is the video.


There were some particular things to mention here.

The Stakz hold up very well to water, but they do get wet (obviously LOL)  dont be worried about what they look like if you use watery colour like I tend to, the dicolouring dries invisible, so just work through it. :-)

In the video you can see that I added a grey shadow to the lettering, to stand it off the page a little more and give it a lift.  I just used a very watery consistency of 'Inter-black-tic".  Pick your light source and shade on the opposite side on each letter.  Keep it consistant and it will look great!

To get the watery translucent effect I use a lot, just use a palette and quite a lot of water to a few brush loads of paint.  It's a lovely way to use watercolours and to build up colour rather than straight solid colour from the pot.  There is definately a place for straight colour.  You can see me use it with the Little boy blue and the painted blue squares on the border of the card.

I have had a great time since receiving my Aqua Huez this week.  They are really awesome creamy watercolours and I hope you will give them a try!

See all 28 colours AQUA HUEZ sold Individually HERE.

Catch you next time.


Thursday, December 10, 2015

Creating Drama (the good kind) with Gabrielle!


So I printed off this dramatic gorgeous gown photo over a year ago (an image I got off of Pinterest) and had meant to do a page with rich colors and textures for quite some time now.  Finally got around to doing it (as I still had so much family pics to scrap!).  Sometimes it's fun to do a page 'just because', know what I mean?


These are the Shimmerz Paints products I used for this project....as you will see in the video tutorial, each of these products has it's own unique quality whether it be the smooth thick texture of the Dazzlerz, the deep rich tones in the Coloringz and Vibez or the incredible shimmer of the Inklingz.
NOTE:  You can purchase your Shimmerz Paints HERE.  Be sure to mention my name "Gabrielle" in the Instructions to Merchant part of your order to get your FREE/Bonus Shimmerz paint product in the color of your choice with your next Shimmerz Paints order!


As always, a project is not complete for me unless I have a nice selection of Dusty Attic Chipboard in them.  Above are the Dusty Attic Chipboard pieces I used for my project:  Ornamental Trim Set (brand new product), Word Pack #14, Lacey Heart Frame Set.....and I used a NEW Dusty Attic Stencil design called Fans.

So it's time to give yourself a little break, grab your favourite beverage and hope you enjoy watching my little video tutorial on how to make this page....Enjoy!


Hope you had fun watching my tutorial. Here are a few close-ups you can view at your leisure....


I should note that after I filmed my tutorial, I felt my design needed a little more color in the bottom right section so I added a couple more spritzes of paint and some swirls of fibre threads (from a package I got from my local dollar store).


I've had these Prima jewelled leaves sitting in my stash forever! When I was choosing my embellishing products I totally had to use these as I thought they were a good match for the colors I was using in the layout!


I'm really loving the new stencil designs from Dusty Attic, in the top right corner you can see some of the texture and design I got onto the page using the Fan stencil from Dusty Attic with my Homemade Texture Paste and some Shimmerz Paints sprays and Inkingz.


The pink and black butterflies were cut from one of my favorite Bo Bunny collections called Primrose (I used the paper called Bliss).  I also used a fun BoBunny Stamp on this page called 'Butterflies'.   TIP:  Many of you ask what to do when your paper buckles from wetting or spritzing your paper with paints and water.  One of my favorite things to do is use my hair flattening iron on the paper, its a quick and easy fix!

So I hope you enjoyed todays post and hope I've given you some inspiration to get out your scrapping/mixed media products and Shimmerz Paints and play!


Monday, November 30, 2015

Christmas Tag #1 - Deck the Halls

Hi Shimmerz Friends,

It's Renee here, to share with you a tag I created
using Shimmerz Paints.

This is the first tag of a series I will be 
sharing leading up to Christmas.


I had so much fun making this!

Here is a close-up:


Shimmerz Products Used:

Shimmerz Dazzelerz - Spun Sugar
Shimmerz Creameez - Trippin' in the Tropics
Shimmerz Creameez - Black Cherry Soda
Shimmerz Inklingz - Honey Do List
Shimmerz Vibez - Snow Storm

Here is my video tutorial to watch.


Thanks so much for stopping by!!


Thursday, November 19, 2015

Mixed Media Canvas Tutorial with Gabrielle


Hello lovely Shimmerz Fans! It's Gabrielle here with you today to share a canvas I made recently using some new Shimmerz Paints products!  I was inspired to make this canvas when I got this cute rose ribbon from a friend of mine.  I thought of those pretty dresses I sometimes see on Pinterest....so I grabbed myself some complimentary Shimmerz Paints and got started.


I was going for a shabby-chic look so I wanted very subtle hints of color on my light background paper.  So I chose a couple of the Shimmerz Creameez paints: 'Ride the Tide' and 'Sage It Isn't So'.

I created a little video tutorial to show step by step how this little canvas was put together....so grab your favorite beverage and enjoy a little break while you view it! ....


I hope you enjoyed my little tutorial...as always I like to show a few close-ups here on the blog that you can view at your leisure.


I used a variety of Dusty Attic chipboard to accent my canvas....these I simply painted with some white Gesso and brushed with a little brown chalk ink.  I used Maja Design paper for the background, I love the soft canvas it gives me, allowing me to add colors of my choice.  I used the blue and green of the Shimmerz paints directly behind the corset, this helps the soft white corset to stand out from the background.


Here is a close-up of the rose ribbon I used for the skirt design....I added a few tiny Prima daisies to accent the skirt.


I hope my project today has inspired you to pull out your Shimmerz Paints to play! ....Don't have these colors?  Just head on over to the Shimmerz Paints store and order your's today! Remember....If you want to get a FREE/Bonus Shimmerz Paints product with your next order, be sure to mention my name "Gabrielle' in the Instructions to Merchant part of your order and Shimmerz will send you a free Shimmerz Paints product in the color of your choice!  Thanks so much for stopping by the Shimmerz blog today!


Monday, August 10, 2015

Clean & Simple Style with Gabrielle


Hello Lovely Shimmerz Fans! Gabrielle here with you today to share with you a clean and simple style page I 'attempted'.  I say attempted because I tend to overfill my negative space areas....I so admire those that do this style so perfectly....me, I have to reign myself back a bit!


I began my page by first choosing my products and colors for my page design. I based my color scheme on an Inspiration Board for August from Dusty Attic (See my Blog for inspiration board).  I had meant to come up with a steely blue/gray by combining the 'Ride the Tide' Creameez with the 'Thunder Storm' Creameez....but my blue still seemed to dominate the page (wish I had the NEW creameez collections in hand! LOL!)

I created a short video tutorial to show you in a few steps how this page was made (it actually came together very quickly).  So grab yourself a little break, and enjoy!


Don't you just love the watercolor effect you get from the Creameez ?  I'm just super excited that Shimmerz just came out with a whole bunch of NEW colors for the Creameez and Inklingz collections! Can't wait to play with them!


The beauty of creating your own watercolor background design is that it will always be unique and different from what anyone else has done.  I just like to add a little water here and there to the colors, allowing them to run into each other a bit, till I get the desired effect.


I used the fabulous Dazzlerz and Texturez to color my Dusty Attic chipboard pieces.  Not only does this add deep rich colors but lots of fun texture as well.


I love to make use of some of my older stash (I used layered sticker blooms I had bought years ago from a K and Company collection called Blossomwood)....it's fun to mix the old with the new and see how your style has changed from when you first used these products.


If you haven't checked out the NEW selection of Shimmerz Paints products that just came out a few days ago, treat yourself to a peek....the new colors are FABULOUS!  Shimmerz Paints Store

Note: Be sure to get your FREE/Bonus Shimmerz Paints product (in the color of your choice) with your next order of Shimmerz Paints....Just mention my name 'Gabrielle' in the 'Instructions to Merchant/Seller' part of your order!

Hope you are all having a lovely, creative Summer! xo


Monday, March 9, 2015

Together ~ A Mixed Media Video Tutorial with Gabrielle


Hello friends! It's Gabrielle here with you today to share with you a page which was my 'attempt' at doing a 'white space' page.  I often admire the look of the layouts that utilize only a small portion of a page but do it in such a way that the eye is drawn right in to the photo.  I, being over embellisher find that my attempts at this style does not always come out as I had envisioned!  In this case I think I came closer to what I was envsioning so I guess I should be happy with that. 


These are the Shimmerz products I used to create this page.  After making this page up, I had to tell Stacey (owner of Shimmerz) how much I'm in love with their new 'Olive Branch' Spritz, beautiful rich color! (and by now you all know how much I love their purples!) **Please NOTE: I said I used Bamboo Leaf Sprtiz in the Video...It should say 'Olive Branch'....sorry about that!  Here is a full step by step video tutorial I created on how I made up this page. Enjoy!


I hope you enjoyed watching my video tutorial!  I've got some close-ups of the page for you to view at your leisure below....


I used some of the Punked Up Purple Spritz to add a soft hint of color to my Rodanthe Blossoms from Prima.  I always love a nice white blossom that you can change up to match your page with just a few dollops of color!


Another design technique I really like to use in my work is laying down a couple of layers of color with my Shimmers mists and then stamping on top of it. In this case I used a well used stamp I have from Bo Bunny called 'It Is Written'.   The pretty Moroccan looking chipboard is a piece from Dusty Attic called Marrakesh Trellis panel.....and the circle frame is an old favorite of mine called Decorative Scroll #1.


I did a little bit of fussy cutting from a labels paper I had from the House of Roses paper from LemonCraft. The title sticker is a Heidi Swapp epoxy sticker.


To achieve a shabby chic look, I like to first paint my chipboard pieces white, then do some random stamping in black using an archival ink (so it doesn't run when you hit it with other mediums).  I used my Paris/Beauty stamp for this. Then I rub a little brown chalk ink along the edges of the chipboard to give it a well worn look. Finally I add a coat of Crackle Varnish.


And I don't want to forget to talk about the yummy tinted texture paste used here, it's the gorgeous green color of Texturez called 'Artichoked'.  I used this with a Tim Holtz Harlequin stencil, I think it adds a nice festive touch, don't you?

I hope you enjoyed today's project, I had a LOT of fun making it!  Remember! If you would like to get a FREE/Bonus Shimmerz product with your next order of Shimmerz Paints, be sure to mention my name 'Gabrielle' in the 'Instructons to Merchant/or Seller' part of your order.  You will receive a free Shimmerz product in the color of your choice!  You can shop for Shimmerz Paints HERE.

Thanks for stopping by the Shimmerz Blog today, visit us often for daily inspiration from our creative design team! xo


Thursday, December 12, 2013

A mixed Media Page- Ed Video

Hi there happy Shimmerz People!

I have a video for you today.  A mixed media style Layout.  I had fun with this one.  Nice to get your hands dirty.  I have not done it for a while, so it was very pleasant!


Products Used.....

Vibez-  Egg Noggin, Pop Art Pink
Dimensionz- Streets of Gold, Copperhead
Spritz- Tuscan Sun
Coloringz- No Yolking
Dazzlerz- Spun Sugar
Texturez- Tidy Widy, Gold Mine
Enamelz-Fake Bake


Sit back and watch the video.

Oh just a mention.....The first few minutes, I had a hic-up with the 'video slash toddler', and it seems we were not taping...(Sigh)  So there are some first steps that are missing, but you can see what I was doing with some of the footage following. (The conditions I have to work in....I dont know!  LOL)


Remember if you place an order, remember to mention a Shimmerz Designer's name and get a free paint product.

Also remember our Shimmerz Challenge on Facebook.   Lots of good stuff for the winner, and its a great way to get some projects done, ready for Christmas!!!

Hope your December is flowing smoothly!