Showing posts with label Artichoked Texturez. Show all posts

Thursday, September 10, 2015

Mixed Media Video Tutorial with Gabrielle


Good morning Shimmerz Fans! It's Gabrielle here with you today to share my newest mixed media page and Video Tutorial.  I don't know about you, but I love doing mixed media style pages, they are pretty quick and easy to do and they really allow you to get creative.


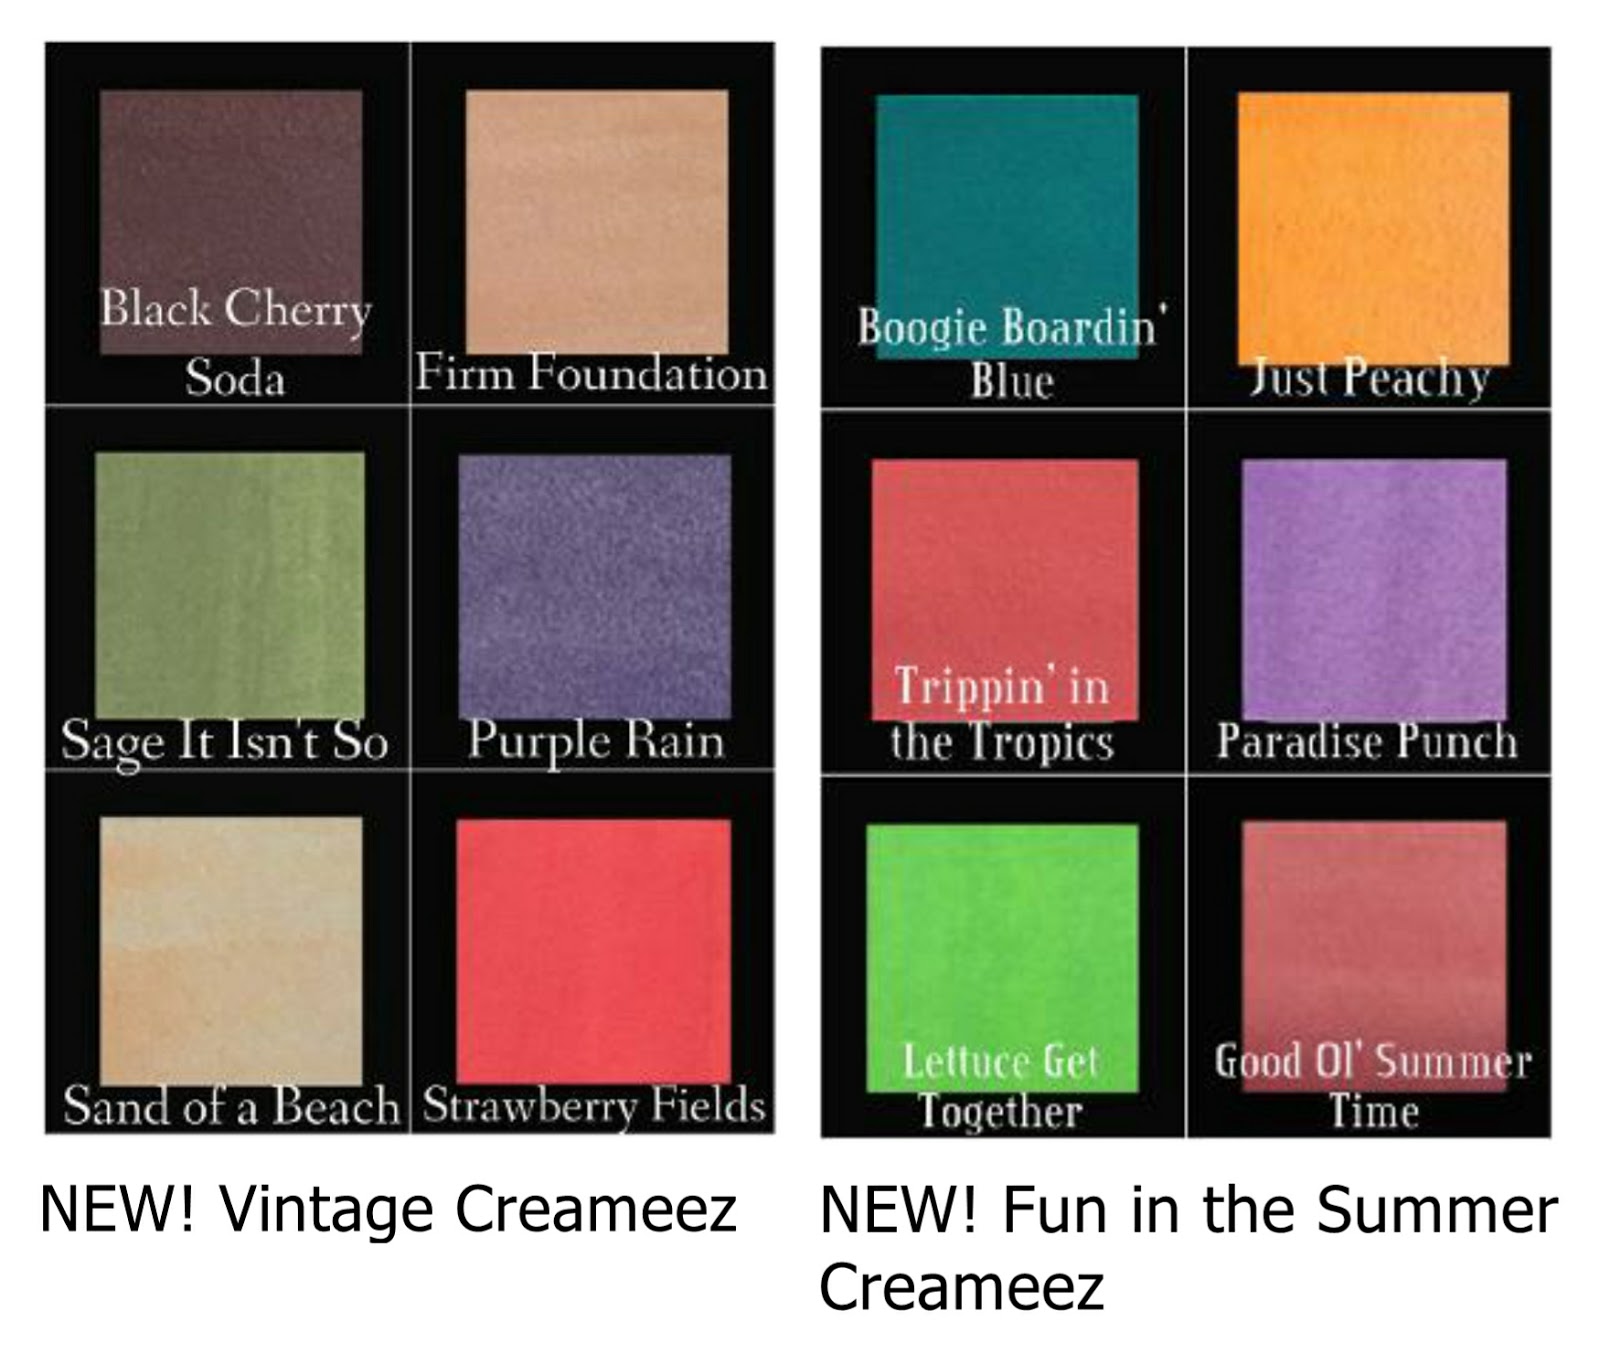
For this page I used a variety of Shimmerz Paints products for the background design as well as for use on the Dusty Attic chipboard embellishments I used.  So much fun getting to use some of the NEW colors Shimmerz recently released!  

As always, I created a brief video tutorial to show step by step how this page design came together....so if you have a few minutes, grab a beverage, kick your feet up and enjoy!....


Hope you enjoyed today's video tutorial! Here are a few close-ups that you can view at your leisure...


I'm loving the soft smokey look some of the new colors gave my background design.  I have to say that Arti-choked has to be on of my favorite Texturez colors! Such a lovely shade of green! (used on the Dusty Attic Foliage)


I also love the pitted iron look the Shimmerz Gritty Graphite gives my scroll designs!


I'm glad you have the video to watch because my photos just don't do justice to the lovely effect the Shimmerz Spun Sugar gives to my hanging vines! Here I used the Crafter's Workshop Stencil I designed called Moving Vines with the Spun Sugar Dazzlerz.

So happy you had a chance to stop by the Shimmerz Blog today, we always love to hear your comments and feedback! Remember: if you would love a FREE/BONUS Shimmerz Paint product in the color of your choice with your next Shimmerz Paints order, be sure to put my name 'Gabrielle' in the Instructions to Merchant/Seller' part of your order! xo


Saturday, August 1, 2015

Textured Journal Covers with Gabrielle {Video Tutorial}


Hello friends! It's Gabrielle here with you today to share an art journal cover I recently made using beautiful Shimmerz Paints, Dusty Attic chipboard and a variety of new stencils I designed for The Crafter's Workshop.  The Stencils I used were 'Tuscan Wall', 'Moving Vines' and 'Organic Matter'.  Because I was going for the warm colors of Tuscany, I went with yellows, blues and greens with a hint of sepia.   Here are the Shimmerz Paints colors/products I used for this project...


Shimmerz Products Used:
~ Heidi Ho Blue Coloringz
~ Glorious Day Vibez
~ Chocolate Brownie Coloringz
~ Taupe of the World Vibez
~ Bamboo Leaf Spritz
~ Olive Branch Spritz
~ Emerald City Inklingz
~ Artichoked Texturez
~ Pumpkin Shimmerz

I did a video recording, a sort of step by step of the making of this journal cover (front and back) if anyone wants to recreate the look.   So take a break from the hassles of your day and let creativity flow your way! Enjoy! 


This was so much fun to make, I hope you enjoyed watching my video tutorial as much as I enjoyed creating this project!  Here are a few close-ups, that you can check out at your leisure....


Here's a view of the back and front cover.  I was going for a kind of aged, sun-warmed Tuscan doorway look.  I began by adding lots of textures using my stencils, and then just started layering on the paint colors starting with the lightest (Glorious Day Vibez) to the darkest.(Taupe of the World Vibez).


For the door, I brushed the Heidi Ho Blue on with a paint brush rather than spritzing it on, so that I would get streaks in the chipboard resembling woodgrain.  Then I lightly dry brushed some of my white Gesso over it to give the blue a more sun-bleached look. I finished the aged look by using a stamp I designed for The Scrapbook Diaries called Crackle Textures....I used the crackle paint stamp on the door and the peeled paint design on the walls.


For my vine corner, first I used my TCW 'Moving Vines' stencil with some texture paste, the  began to layer on my greens (Bamboo Leaf and Olive Branch Vibez).  For the chipboard I used the Chocolate Brownie Coloringz for the 'wood frame' and Emerald City Inklingz for the leaves.  


For the Ivy vine, I used my all-time favorite color of Texturez called Artichoked on the Ivy cut out on my Tuscan Walls stencil.  And finally I used a very light brushing of Pumpkin Shimmerz for my cracked brick design.

NOTE:  Don't forget to get your FREE/BONUS Shimmerz product in the color of your choice with your next Shimmerz Paints order....Just mention my name 'Gabrielle' in the 'Instructions to Merchant/Seller' part of your order, and presto! Stacey will bestow an extra Shimmerz product upon you!  Perfect if you're like me and have a hard time narrowing down the colors you NEED! :P

....AND....If you haven't heard the exciting news yet, Shimmerz has brought out a whole bunch of gorgeous new colors for their summer release!  I'm super excited to give these lovely colors a go!  I recently have been playing a little more with the Creameez paints and I just love the matte watercolor look they can give to a project!...I sat here trying to pick some favorite colors, but it's so hard to do, they are all so yummy! (Firm Foundation, Sage It Isn't So, Good Ol' Summer Time...seriously, how cute are those names too!). What's your favorite?


Monday, March 9, 2015

Together ~ A Mixed Media Video Tutorial with Gabrielle


Hello friends! It's Gabrielle here with you today to share with you a page which was my 'attempt' at doing a 'white space' page.  I often admire the look of the layouts that utilize only a small portion of a page but do it in such a way that the eye is drawn right in to the photo.  I, being over embellisher find that my attempts at this style does not always come out as I had envisioned!  In this case I think I came closer to what I was envsioning so I guess I should be happy with that. 


These are the Shimmerz products I used to create this page.  After making this page up, I had to tell Stacey (owner of Shimmerz) how much I'm in love with their new 'Olive Branch' Spritz, beautiful rich color! (and by now you all know how much I love their purples!) **Please NOTE: I said I used Bamboo Leaf Sprtiz in the Video...It should say 'Olive Branch'....sorry about that!  Here is a full step by step video tutorial I created on how I made up this page. Enjoy!


I hope you enjoyed watching my video tutorial!  I've got some close-ups of the page for you to view at your leisure below....


I used some of the Punked Up Purple Spritz to add a soft hint of color to my Rodanthe Blossoms from Prima.  I always love a nice white blossom that you can change up to match your page with just a few dollops of color!


Another design technique I really like to use in my work is laying down a couple of layers of color with my Shimmers mists and then stamping on top of it. In this case I used a well used stamp I have from Bo Bunny called 'It Is Written'.   The pretty Moroccan looking chipboard is a piece from Dusty Attic called Marrakesh Trellis panel.....and the circle frame is an old favorite of mine called Decorative Scroll #1.


I did a little bit of fussy cutting from a labels paper I had from the House of Roses paper from LemonCraft. The title sticker is a Heidi Swapp epoxy sticker.


To achieve a shabby chic look, I like to first paint my chipboard pieces white, then do some random stamping in black using an archival ink (so it doesn't run when you hit it with other mediums).  I used my Paris/Beauty stamp for this. Then I rub a little brown chalk ink along the edges of the chipboard to give it a well worn look. Finally I add a coat of Crackle Varnish.


And I don't want to forget to talk about the yummy tinted texture paste used here, it's the gorgeous green color of Texturez called 'Artichoked'.  I used this with a Tim Holtz Harlequin stencil, I think it adds a nice festive touch, don't you?

I hope you enjoyed today's project, I had a LOT of fun making it!  Remember! If you would like to get a FREE/Bonus Shimmerz product with your next order of Shimmerz Paints, be sure to mention my name 'Gabrielle' in the 'Instructons to Merchant/or Seller' part of your order.  You will receive a free Shimmerz product in the color of your choice!  You can shop for Shimmerz Paints HERE.

Thanks for stopping by the Shimmerz Blog today, visit us often for daily inspiration from our creative design team! xo