Hey There Shimmerz Friends,
I love the title of the layout I created for today's Shimmerz Education Post.
"Have Courage and Be Kind"
They are certainly words to live by!
Here is the layout I created.
I am going to go through it step by step.

So the first step.
Using a Scrap FX Crossword stencil and Shimmerz Paste-eez - Lava Flow
I create the textured background.


I then also add some Shimmerz Paste-eez - Puttin' on the Glitz with another
stencil and my palette knife to give it a little shimmer.


The next step is to adhere all of the embellishments from the
Kaisercraft Wildflower Collection.
I cover the photo with some plastic packaging from the collection
because I am going to get busy with the splatter.

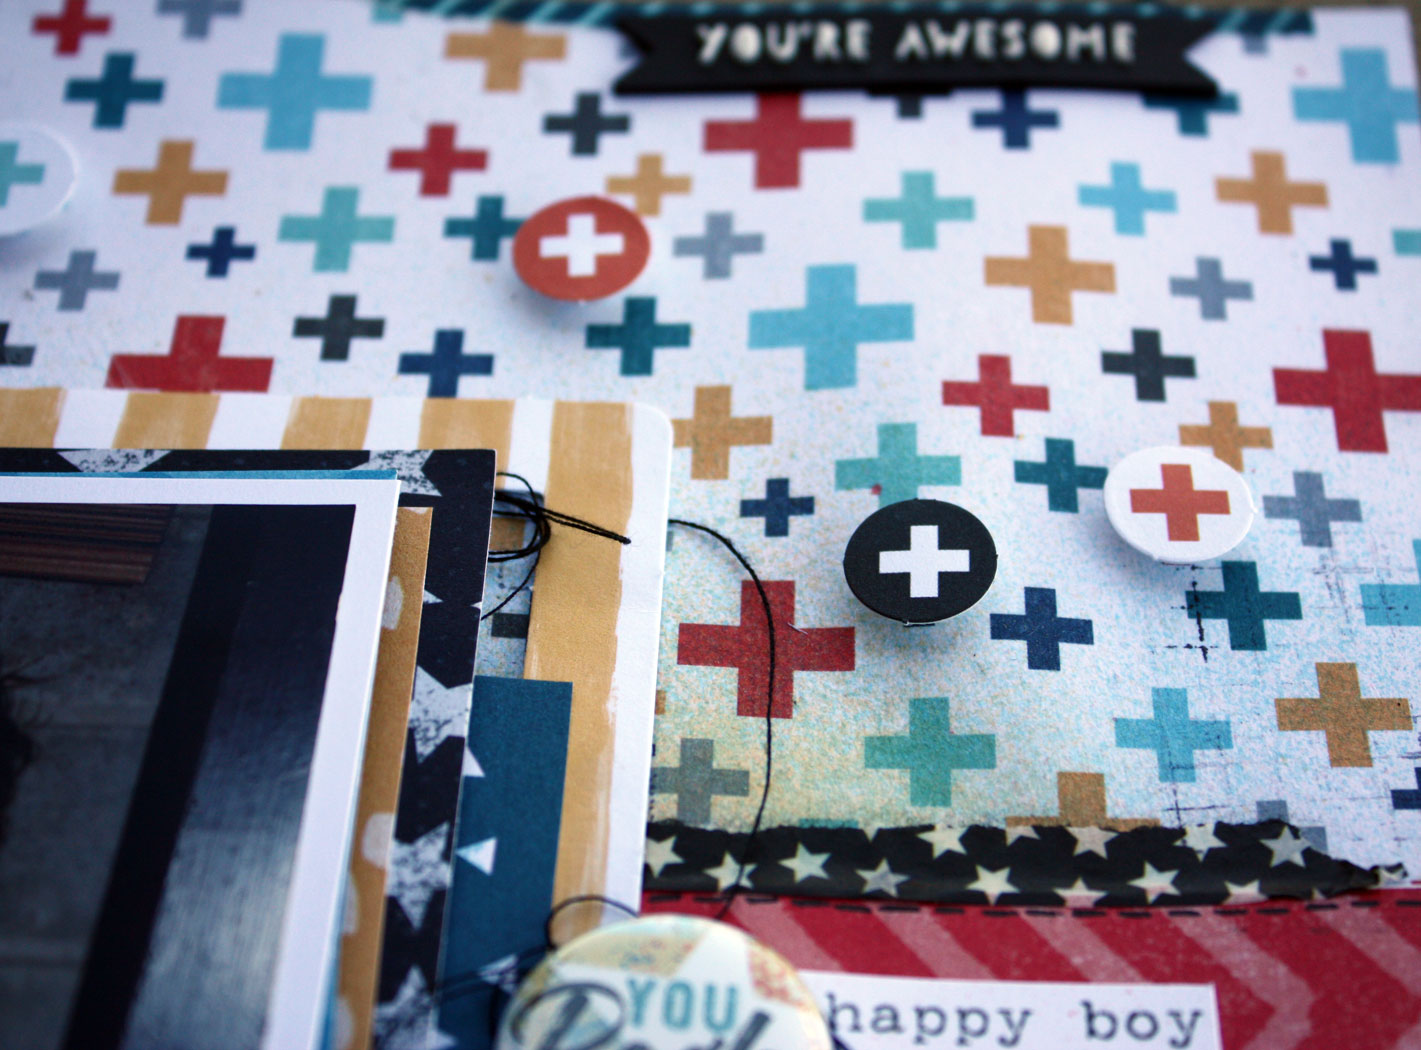
Here are some close-ups:

The colors are so pretty.

I did color the arrow piece of wood veneer with Shimmerz - Bubblegum Blast

And you are done!
I would like to take this opportunity to say thanks to Stacey and Sam
and the entire Shimmerz family for giving me the opportunity
to be a part of this amazing Design Team.
Sadly, this is my last post, but I will always be a Shimmerz Girl.
There is an Design Team Call currently open, so make sure you
apply. I have loved every moment, being a part of this time,
and being inspired by the other artists as well.
Thanks so much for stopping by! xx