Showing posts with label Shimmerz Texturez. Show all posts

Tuesday, November 12, 2019

Merry and Bright | Jen McMurtrey

Hi Shimmerz friends!

It is officially my favorite time of year and I've begun documenting all the holiday things - even the cold, dreary weather. Today I'm sharing a project using the beautiful Gold Mine Shimmerz Texturez with this month's exclusive Paige Evans Snowflake Wreath cut file included with the November Color Kitz.

First, here's a look at my completed layout . . . 


To get this look, I began by cutting two of the wreaths using white cardstock. With those done, I used a spatula to spread Gold Mine Texturez on one of the wreaths.


After the Texturez had dried (this does take a bit of time unless you use a heat tool), I began layering the plain and textured wreaths in the top corner of  the page. After they were positioned how I liked, I cut the edges off and set them aside to use later.


Using Crate Paper's Merry Days collection, I backed my photo with patterned papers and die cuts and adhered it all atop the wreath pieces with foam squares.

Next, I used the bits of wreaths I had left over and fussy cut individual snowflakes to use around the title and behind the photo.


Finally, I used a few more embellishments and black enamel dots to balance all of the white space. I love how this one turned out - it is simple but not all at the same time.


Thanks for stopping by today! If you haven't picked up the Texturez yet, but sure to stop by the Shimmerz shop - you won't be disappointed! Remember to type JENNIFER in the comments at checkout to receive a freebie with your order.


Have a great day!
- Jen

Monday, April 16, 2018

Dreamer


Hi everyone! Melissa here with my second design team page of April, for Shimmerz Paints! 
If you like paint, you will love these colors, and the type called Shimmerz is thick, ready made, and has an intense shimmer.The Inklingz are very shimmery too and are watercolors, you just spritz some water on top, and wait for a couple minutes for the paint to activate. Depending on how much water you use, the result can be thick, or thin. 


Here's how I made this page:
I mounted the photo on watercolor paper. I cut up die cuts,mostly Spellbinders, and put them around the pic. 


I stenciled on a clockface and bee using texture paste and a credit card.


I used double sided foam tape and put the pic with layers of foam core board on the sheet of Tattered Garden paper by 49 and Market. I like using tape because if I change my mind about design, it's easy to adjust, rather than tearing the paper by something that's glued on.


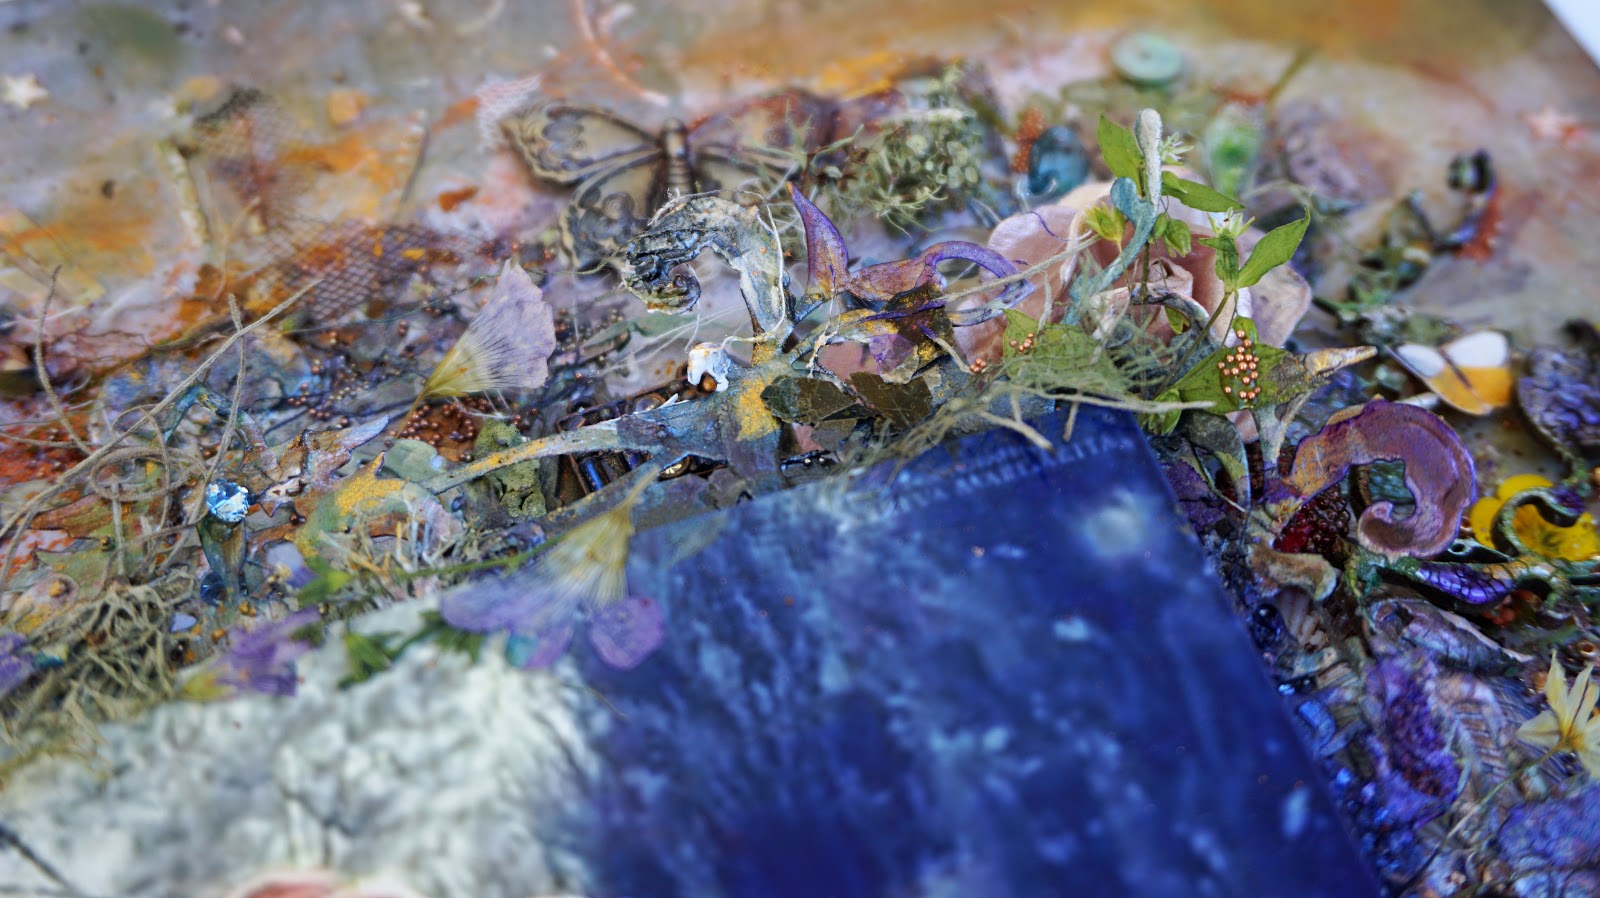
I added some big things like shells, glass pebbles, and flowers to support the die cut layers. There are metal pieces from Finnabair at the upper left and lower right corners. I painted the dusty attic chipboard and applied a thick layer of  Clear Rock Candy. For the paint I used Greener Pastures Inklingz first, then while it was wet, dropped in Penny 4 Your Thoughts Inklingz. You put a bunch on your brush and touch the green paint and the copper color flows right in. Be careful not to move the color around too much with your brush. I cut the Dusty Attic chipboard up and put it all over the page. I added Dear John Letter Inklingz to it, gold mica powder, and a mix of purple and blue mica powder. 


I painted the die cuts with Teal The End Of Time Shimmerz, and Greener Pastures. After I glued on micro beads and vintage glass glitter I painted on I Love You Onyxly Inklingz,I topped it with Imperial Amethyst Inklingz,a mix of watercolor crayons, and purple alcohol ink. 


I added gold mica powder to the die cuts, and also Dear John Letter. The copper and gold mica powder at the top was kind of covered up by stamped on Tsukineko chalk ink. I used a leaf stamp from Petite Poppies and sprinkled on mica powder over versamark.  Once I brushed off all the excess mica the images were too bright for the page. I smudged and inked over a lot of it.


I added a number of things for visual interest: the Tim Holtz metal butterfly, dried and pressed flowers,Spanish moss, and lichen I've collected, micro beads, vintage glass glitter, seed beeds, a few pearls, rhinestones, and Prima flowers.


A metal discovery tag by Tim Holtz, a couple fussy cuts fairies from G45, threads from plain and dyed gauze, fussy cut images of suns and moons from Stamperia paper, sequins, bling,new and old jewelry type items.


The bird at the bottom is a sticker with a clear background by 13 Arts. The title sticker is from 7 Dots.


Cut up lace, tulle, a little stencil work at the lower left and upper right corners using  Texturez Gold Mine,an art deco style costume jewelry earring art deco, from my sister in law. 


The little brass purse is from Vintaj. The green gem below it is Swarovski.  I used some green and white ball things from fall and holiday clearance flowers from Hobby Lobby.

Thank you so much for looking, and have a great week!


Thursday, December 29, 2016

So Awesome

Hey Shimmerz Friends,

It's Renee here, to share with you my latest layout video tutorial.

WARNING!!
Loads of fun and inky mess happened whilst creating this layout.


Here are the Shimmerz products I used to create this boys layout.


Shimmerz Coloringz - Freshly Squeezed (from the Halloween Kit)
Shimmerz Vibez - Velveteen Green (from the Christmas Kit)
Shimmerz Coloringz - Night Moves
Shimmerz Creameez - Refresh Mint
Shimmerz Texturez - Mari-Gold Digger

Here are some close-ups:


Lots of layers and texture.


And to see how I created this layout,
I have made a video tutorial for you to watch.


I hope you enjoy.

Thanks so much for stopping by!!!

And Happy New Year, from me to you.