Today's layout features some lovely neutrals with only a few pops of color. I know, totally different than from I'm used to, but it's always fun to craft outside the box from time to time. This layout came together in under 30 minutes and it's super simple to make.
Begin first with a base of white textured cardstock. I didn't add gesso to it because I wasn't going to add a whole lot of mixed media. Start by spraying Taupe of The Morning and Glorious Day, followed by splatters of Granny Gray and Before Dawn. This should dry nearly instantly if you didn't used any gesso.
I dove into my stash for my embellishments, and tried to stay on the down-low with the colors since my goal was to highlight the picture. You can use items from your stash or from a particular collection; the possibilities are endless! The general placement of the layout was to make a sort of "shelf" with all the embellishments kind of "falling out" beneath the picture. I used a mixture of thickers, chipboard thickers, ephemera pieces, veneer buttons, and stickers. I also used a leftover word from the Sun, Sea, Fun Cutfile by COAPA Cutfiles. Added my journaling in gold ink at the bottom, doodled some lines around the border and splattered some Glorious Day to tie everything together, and done!
Simple things are sometimes the best things, and that applies to today's layout. Thank you so much for joining me today! Be sure to drop by the Shimmerz Paints shop and write my name (Lorimar) in the comments section of your next order to get a freebie!
Thanksgiving is just around the corner and, while I know that things have been a bit different lately, there's always something to be thankful for.
Today's layout is mostly focused on making one's own background and piling on the embellishments. If you'd like to see how it's made, click here.
I began with a cream cardstock as my base and began spraying my base with Bamboo Leaf, Moody Mauve, Glorious Day, Cotton Candy and Hot Fudge. I didn't add any gesso this time around because I didn't want my colors to blend too much. After spraying the colors, I added a couple of splatters of Hot Fudge.
I fussy-cut some tags and icon squares from the collection (Simple Stories Cozy Days) to add to the embellishment clusters that would hang tight around each of the pictures.
My embellishment clusters contain a mix of stickers, ephemera, foam stickers, and chipboard stickers to really play with the dimension on the layout. Each picture is popped up on some craft foam, and each has a tag as a layering piece beneath them. Once I was done with everything, I splashed a bit of Moody Mauve and Glorious Day around my layout to add some more Shimmerz goodness!
That's it! It was a super simple and quick layout to make, and I hope I've inspired you to get your stories documented while playing around with your Shimmerz Paints. Remember, you can always receive a freebie in your next Shimmerz order if you type LORIMAR in the comments section when placing it.
Thank you so much for joining me today! Stay safe and happy Thanksgiving!
Amanda here, & I am so excited to be sharing my take on the
Autumn Vibes October Color Challenge!
My focus color for this month is Vibez Quit Yer Wine-n and oh my heart, this color is divine!!! Absolutely perfect for all your Fall creations!
Rather than rave about how beautiful this color is though,
here's a look at what I created with it.....
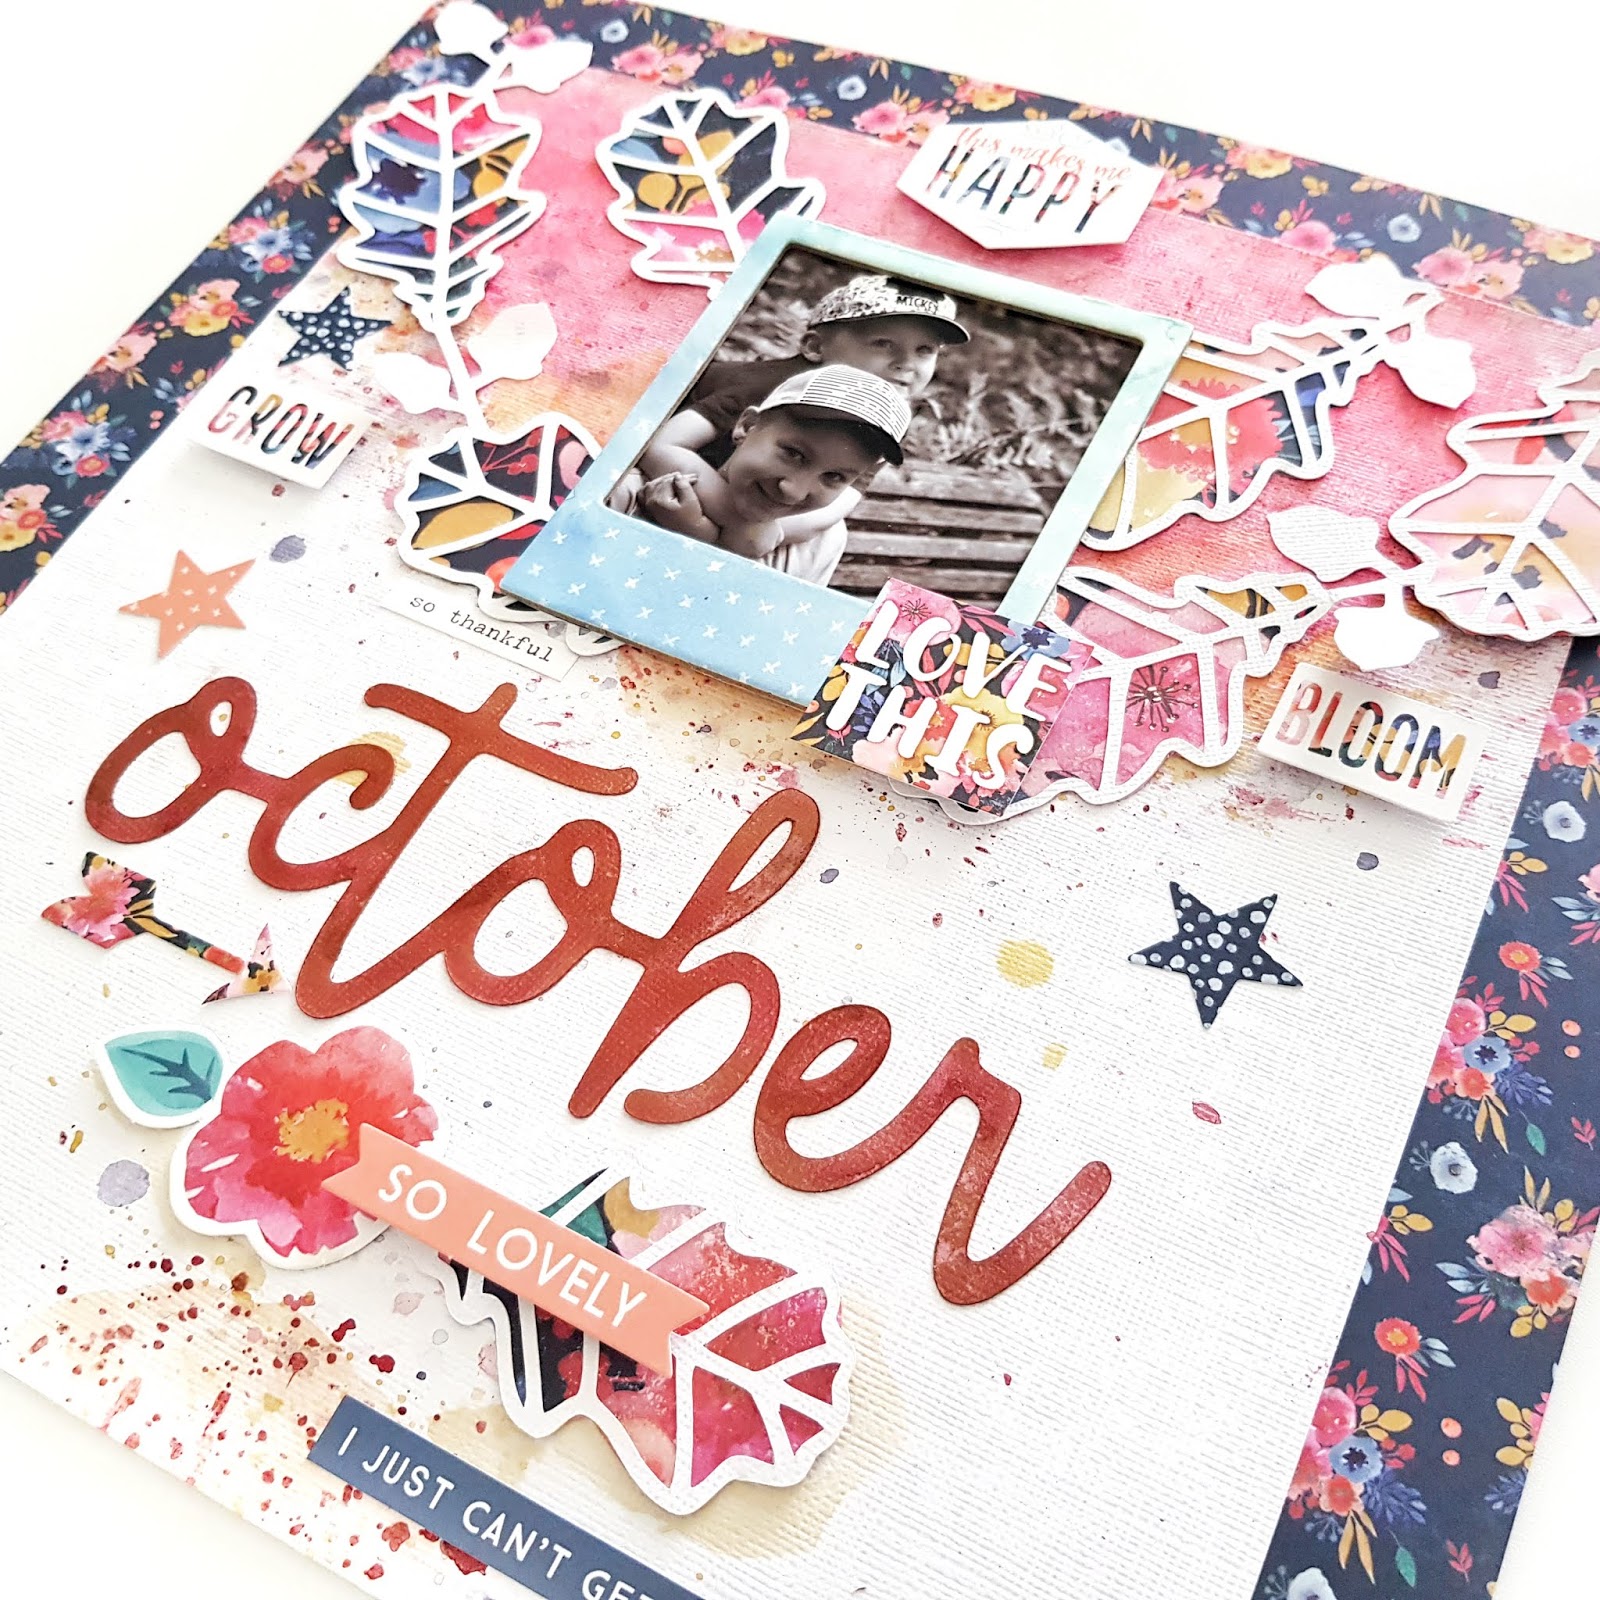
"October"
So Beautiful!
I just adore that photograph of my two darlings, and the Vibez Quit Yer Wine-n color was the perfect choice for both celebrating Fall and childhood playfulness!
I apply Quit Yer Wine-n to the top semi circle of the layout with the packaging technique. This creates a more textural look, and really highlights the berry tones within the Quit Yer Wine-n color. I also splatter this pretty color along the semi circle rim, and then decide to create a much smaller semi circle of splatters at the base of my layout too!
The golden hues in Glorious Day really add that 'extra' to the wine base. So beautiful!
While that mulberry wine base is gorgeous, I really must stress how different the Quit Yer Wine-n color appears when applied this way. Using the packaging technique really impedes the shimmering sediment in the paint. You'll still see 'shimmer' but not at the intensity that we're used to.
You'll spot the difference immediately when you see my title sprayed with Quit Yer Wine-n below....
Hello friends! Katty here to share another 12x12 Layout with you all. I love the month of February and all colors associated with this month of "Love." I decided to use a mix of Pinks and Reds to create a fun blend of colors. At first, I wasn't quite sure what I was going to create. I just love playing with all of the fun Shimmerz Paints and blending colors to create a fun look. I am documenting two photos of my adorable niece. She wanted to wear her grandmothers hair curlers. She is just adorable and so full of personality. To document this moment, I wanted to create something fun. In the end, I really love how it turns out.
I began with a white piece of cardstock. I used Coloringz in Pretty in Pink, My Bleeding Heart and Pink Stilettos. I used Vibez in Pop Art Pink, Sweet Heart and My Blushing Bride. I also used a Spritz in Cotton Candy. I used several techniques to create the look I was going for. I sprayed some of the mists, I used the packaging technique and I added splatters with the nozzle. Once I was happy with the blend of colors I also added splatters with Coloringz in Night Moves and Vibez in Glorious Day.
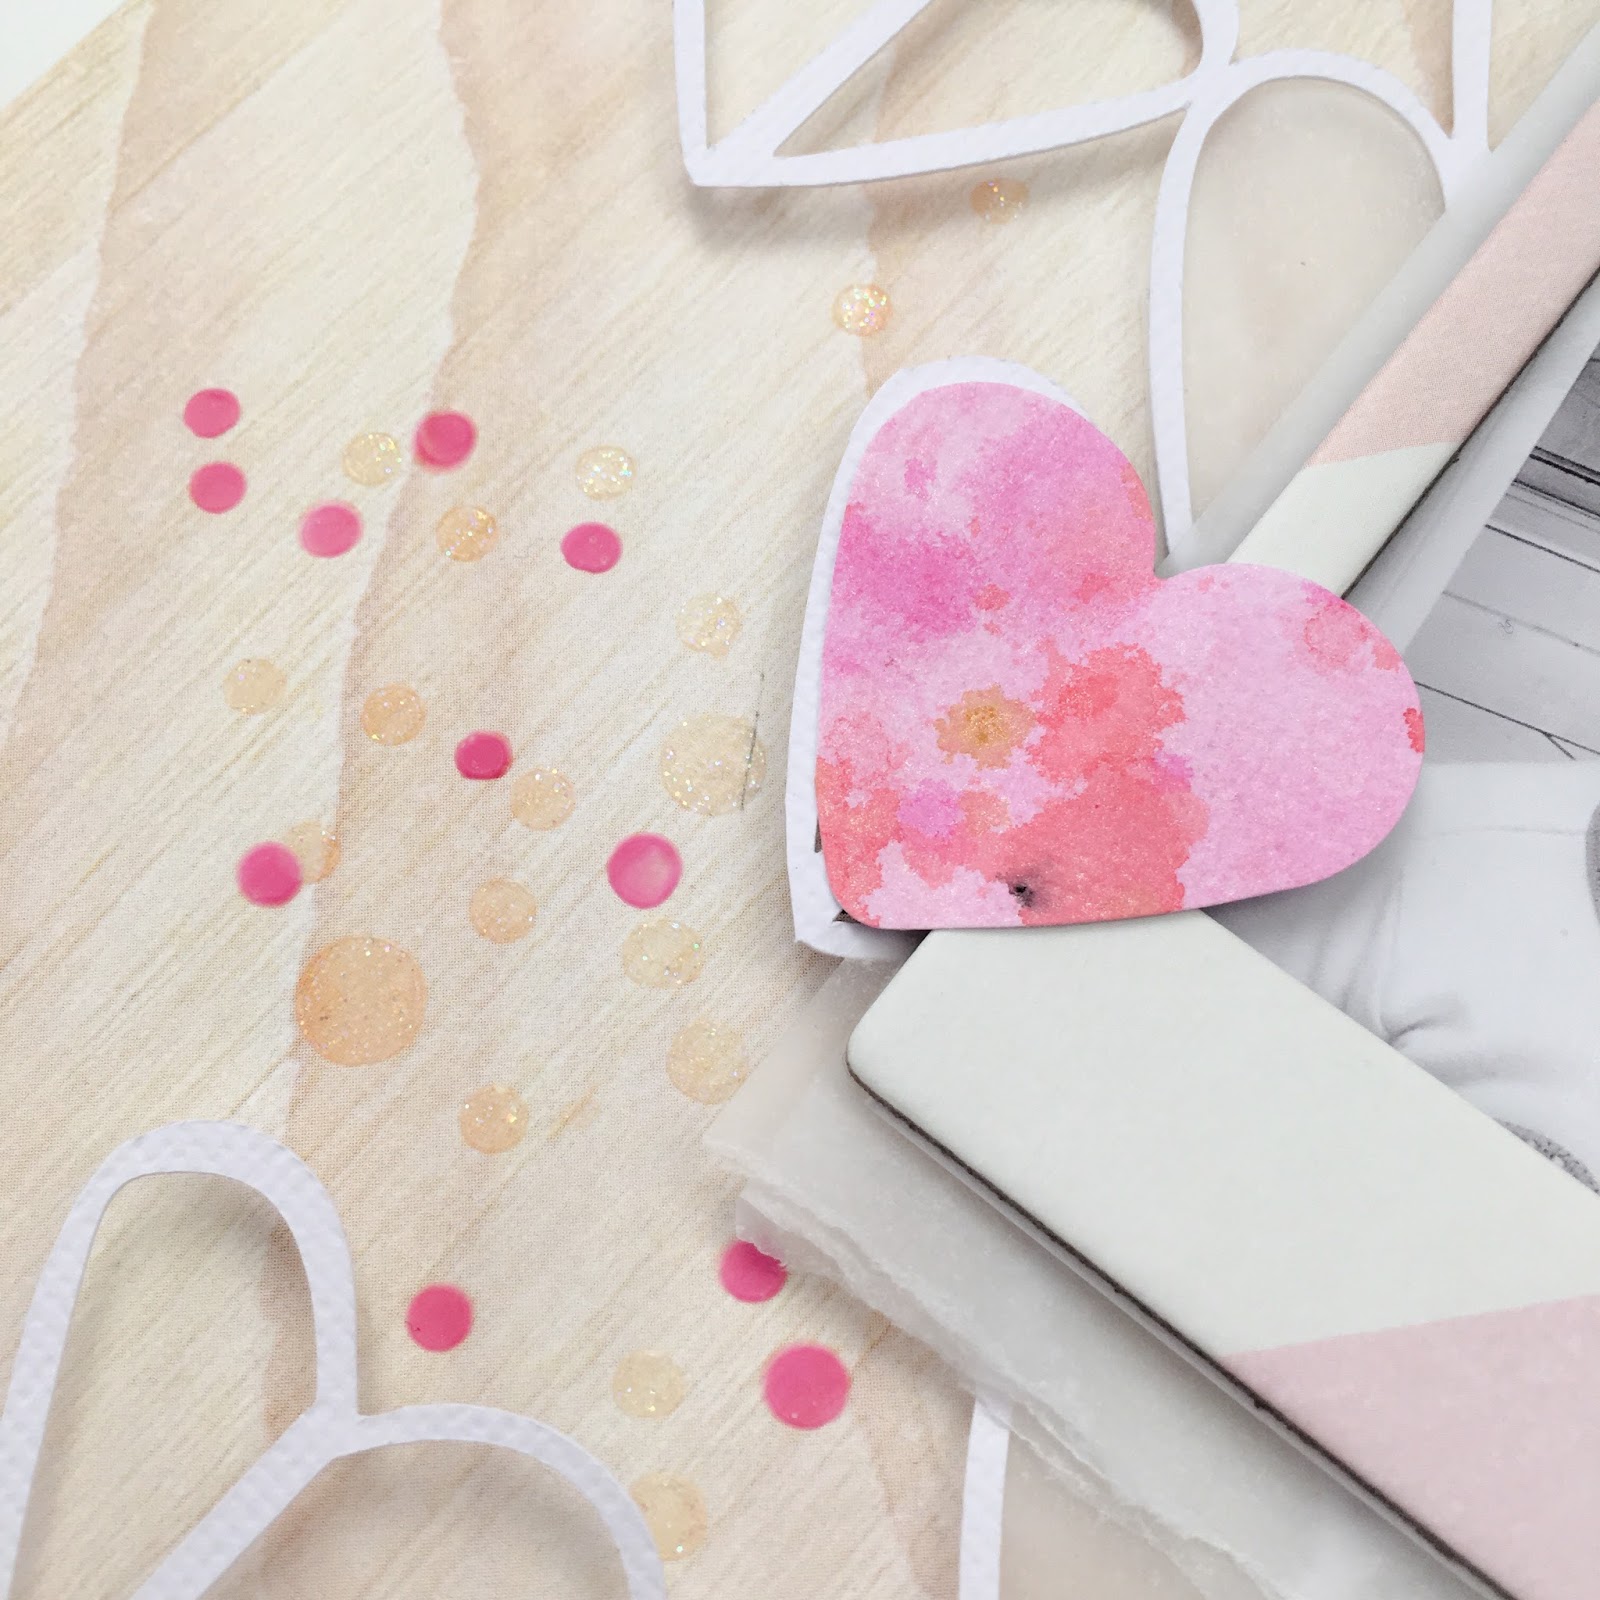
I then used a heart punch and punched out several hearts from the sheet of paper. I also cut out some hearts from tracing paper. I decided to use a 12x12 Heart Cut File from The Cut Shoppe. I didn't use the whole 12x12 piece. I cut some of the hearts from the edges. I backed the cut file with the colored hearts as well as with the hearts I cut out of tracing paper. I added foam to the back of the hearts so that the whole cut file was raised from the background paper.
For the background paper I chose a light wood grain pattern from the Crate Paper Snow and Cocoa Collection. I added my two photos over the cut file.
I embellished very simply using a few pieces from the Crate Paper Heart Day Chipboard sheet. I decided I wanted to add a little more interest to my layout. I used a Heidi Swapp circle stencil and added a few circles in three areas using the new Paste-eez in Puttin' on the Glitz and Raspberry Sherbert.
I added a simple tittle using a white Amy Tangerine Foam word Thicker and some Websters Pages pink tiny alpha stickers. I love how it turned out.
There is a video on my channel if you'd like to watch my process.
Products used:
Coloringz: Pretty in Pink, My Bleeding Heart, Pink Stilettos, Night Moves
Vibez: Pop Art Pink, Sweet Heart, My Blushing Bride, Glorious Day
Spritz: Cotton Candy
Paste-eez: Puttin' on the Glitz, Raspberry Sherbert
Thanks so much for stopping by today! Remember to mention my name when you place your order and you will receive a FREE product.
Hi Shimmerz Fans! Gabrielle here with you today, I'm so happy to share with you a reverse style canvas I made on a 4"x 6" canvas using a TCW (The Crafter's Workshop) Mini-Brick Stencil, Shimmerz Paints and some NEW Dusty Attic chipboard!
Shimmerz Products used on this project:
~ Glorious Day Vibez
~ Truffle Spritz
~ Palm Reader Vibez
~ Don't Be Suede Coloringz
~ Green Olive Shimmerz
~ Greener Pastures Creameez
~ Boogie Boardin' Blue Creameez
~ Penny 4 Your Thoughts Inklingz
~ I Onxly Love You Inklingz (Jewel)
~ Olive U Truly Inklingz
~ Berry Hot Creameez
Dusty Attic Products used on this project:
~ Indian Arrow
~ Rushes #2
~ NEW Dusty Attic Texture Paste
TCW Stencil used in this project:
~ Mini Bricks (6x6 inch stencil)
So to make things easier I did up a video tutorial on how this project was made. So grab yourself a lil break and enjoy! xo
Hope you enjoyed watching.....here are a few close-ups you can view at your leisure....
I just love well the Shimmerz Inklingz and Creameez work when painting chipboard pieces. Here I painted the Dusty Attic Indian Arrow....so many fun things you can do with this one! I did a little quick painting with Shimmerz Creameez & Inklings, then added some twine and Bo Bunny adhesive pearls for a unique look.
For the butterfly, I printed off a butterfly image on an acetate sheet and cut out two sizes, gluing them together. (I had the image on my old computer, so I no longer have the image to share....but you can find many printable butterfly images on Pinterest). The metal embellishments are the key and keyhole embellishments from Graphic 45. I used the TCW mini-brick stencil with the NEW Dusty Attic Texture paste to get my background design.
I used a combination of Shimmerz Glorious Day Vibez, Truffle Spritz and Green Olive Shimmerz Paint for the background brick texture colors.
Hope you enjoyed today's post! thanks so much for stopping by, your comments and feedback are always appreciated!
NOTE: You can grab yourself a FREE/Bonus Shimmerz Paint Product in the color of your choice with your next Shimmerz Paint order just by mentioning my name in the Instructions to Merchant part of your order!Shimmer Paint Store. xo
Hello lovely Shimmerz Fans! I'm really excited to share with you a home decor design I made on a 12" x 24" canvas. I often get asked how I come up with some of the ideas I make.....this one is not one I came up with myself. I saw this wonderful canvas with a vase attached on Pinterest and thought about how nicely this would work with some new stencils I designed for The Crafter's Workshop (Moving Vines 12"x12" stencil, and Organic Matter 6"x 6" stencil).....so I contacted the lovely lady (Vicki Chrisman) that designed the one I saw and she kindly gave me permission to use her canvas as inspiration.
The Crafter's Workshop Stencils used in this project, designed by me :)
Shimmerz Paint Products used in this project:
~ Olive Branch Spritz
~ Bamboo Leaf Spritz
~ Glorious Day Vibez
Here is a very brief video tutorial I made up to show how I made this project! Enjoy! ....
I hope you enjoyed my little tutorial and that I've inspired you to get playing with your Shimmerz Paints. Here are a couple of close-ups of my project....
I used the darker colors like Olive Branch on the outer edges of the canvas, fading into the lighter colors like Bamboo Leaf on the inside....using Glorious Day for little hits of layered color in a few key spots.
I added extra layers of the darker spritz over the stenciled areas, allowing the to pool in the cavities and cracks. The bottle I wired through the canvas using a piece of cardboard in the back of the canvas to make a strong backing for the vase.
Thanks so much for stopping by the Shimmerz blog today, and REMEMBER! If you are looking to order Shimmerz products, be sure to get your FREE/Bonus Shimmerz product in the color of your choice by mentioning my name 'Gabrielle' in the 'Instructions to Merchant/seller' part of your order! xo
Hi! Irit here and I'm so excited to share my first project as part of the Shimmerz team!
One of the hard decisions us crafters have to make is which colors to choose for our project. I find it easy to match my colors to the collection I know I want to use and that's just what I did for this layout (doesn't it look scrumptious??)-
Here's my finished layout-
I started with this cute patterned paper by Crate Paper Wonder collection as my background. I knew I wasn't going to use a lot of water so I didn't prime the paper with anything. Using the packaging a.k.a. the smooshing technique (shown in the video) I applied Vibez in Egg Noggin' and Glorious Day (two lovely golden shimmery sprays, Glorious Day is a touch darker and deeper and I used it for the splatters all over the layout as well), Coloringz in Oh Say Can You Sea (beautiful flat aqua shade) and Spritz in Caribbean Sunset (gorgeous warm orange pinkish red).
Once these were dry I added some Dazzlers in Coral Me Crazy (a soft peachy shimmery paste) and Texturez in Patina (perfect mint!!) through a stencil for a tone on tone effect. You can find all these goodies in the Shimmerz store!
You can see exactly how I created this layout and background in the process video-
All the papers and embellishments are from the Wonder collection by Crate Paper. Here are some detail shots-
Thanks so much for visiting and I'll be back next month with a new project!
Hello friends! It's Gabrielle here with you today to share an art journal cover I recently made using beautiful Shimmerz Paints, Dusty Attic chipboard and a variety of new stencils I designed for The Crafter's Workshop. The Stencils I used were 'Tuscan Wall', 'Moving Vines' and 'Organic Matter'. Because I was going for the warm colors of Tuscany, I went with yellows, blues and greens with a hint of sepia. Here are the Shimmerz Paints colors/products I used for this project...
Shimmerz Products Used:
~ Heidi Ho Blue Coloringz
~ Glorious Day Vibez
~ Chocolate Brownie Coloringz
~ Taupe of the World Vibez
~ Bamboo Leaf Spritz
~ Olive Branch Spritz
~ Emerald City Inklingz
~ Artichoked Texturez
~ Pumpkin Shimmerz
I did a video recording, a sort of step by step of the making of this journal cover (front and back) if anyone wants to recreate the look. So take a break from the hassles of your day and let creativity flow your way! Enjoy!
This was so much fun to make, I hope you enjoyed watching my video tutorial as much as I enjoyed creating this project! Here are a few close-ups, that you can check out at your leisure....
Here's a view of the back and front cover. I was going for a kind of aged, sun-warmed Tuscan doorway look. I began by adding lots of textures using my stencils, and then just started layering on the paint colors starting with the lightest (Glorious Day Vibez) to the darkest.(Taupe of the World Vibez).
For the door, I brushed the Heidi Ho Blue on with a paint brush rather than spritzing it on, so that I would get streaks in the chipboard resembling woodgrain. Then I lightly dry brushed some of my white Gesso over it to give the blue a more sun-bleached look. I finished the aged look by using a stamp I designed for The Scrapbook Diaries called Crackle Textures....I used the crackle paint stamp on the door and the peeled paint design on the walls.
For my vine corner, first I used my TCW 'Moving Vines' stencil with some texture paste, the began to layer on my greens (Bamboo Leaf and Olive Branch Vibez). For the chipboard I used the Chocolate Brownie Coloringz for the 'wood frame' and Emerald City Inklingz for the leaves.
For the Ivy vine, I used my all-time favorite color of Texturez called Artichoked on the Ivy cut out on my Tuscan Walls stencil. And finally I used a very light brushing of Pumpkin Shimmerz for my cracked brick design.
NOTE: Don't forget to get your FREE/BONUS Shimmerz product in the color of your choice with your next Shimmerz Paints order....Just mention my name 'Gabrielle' in the 'Instructions to Merchant/Seller' part of your order, and presto! Stacey will bestow an extra Shimmerz product upon you! Perfect if you're like me and have a hard time narrowing down the colors you NEED! :P
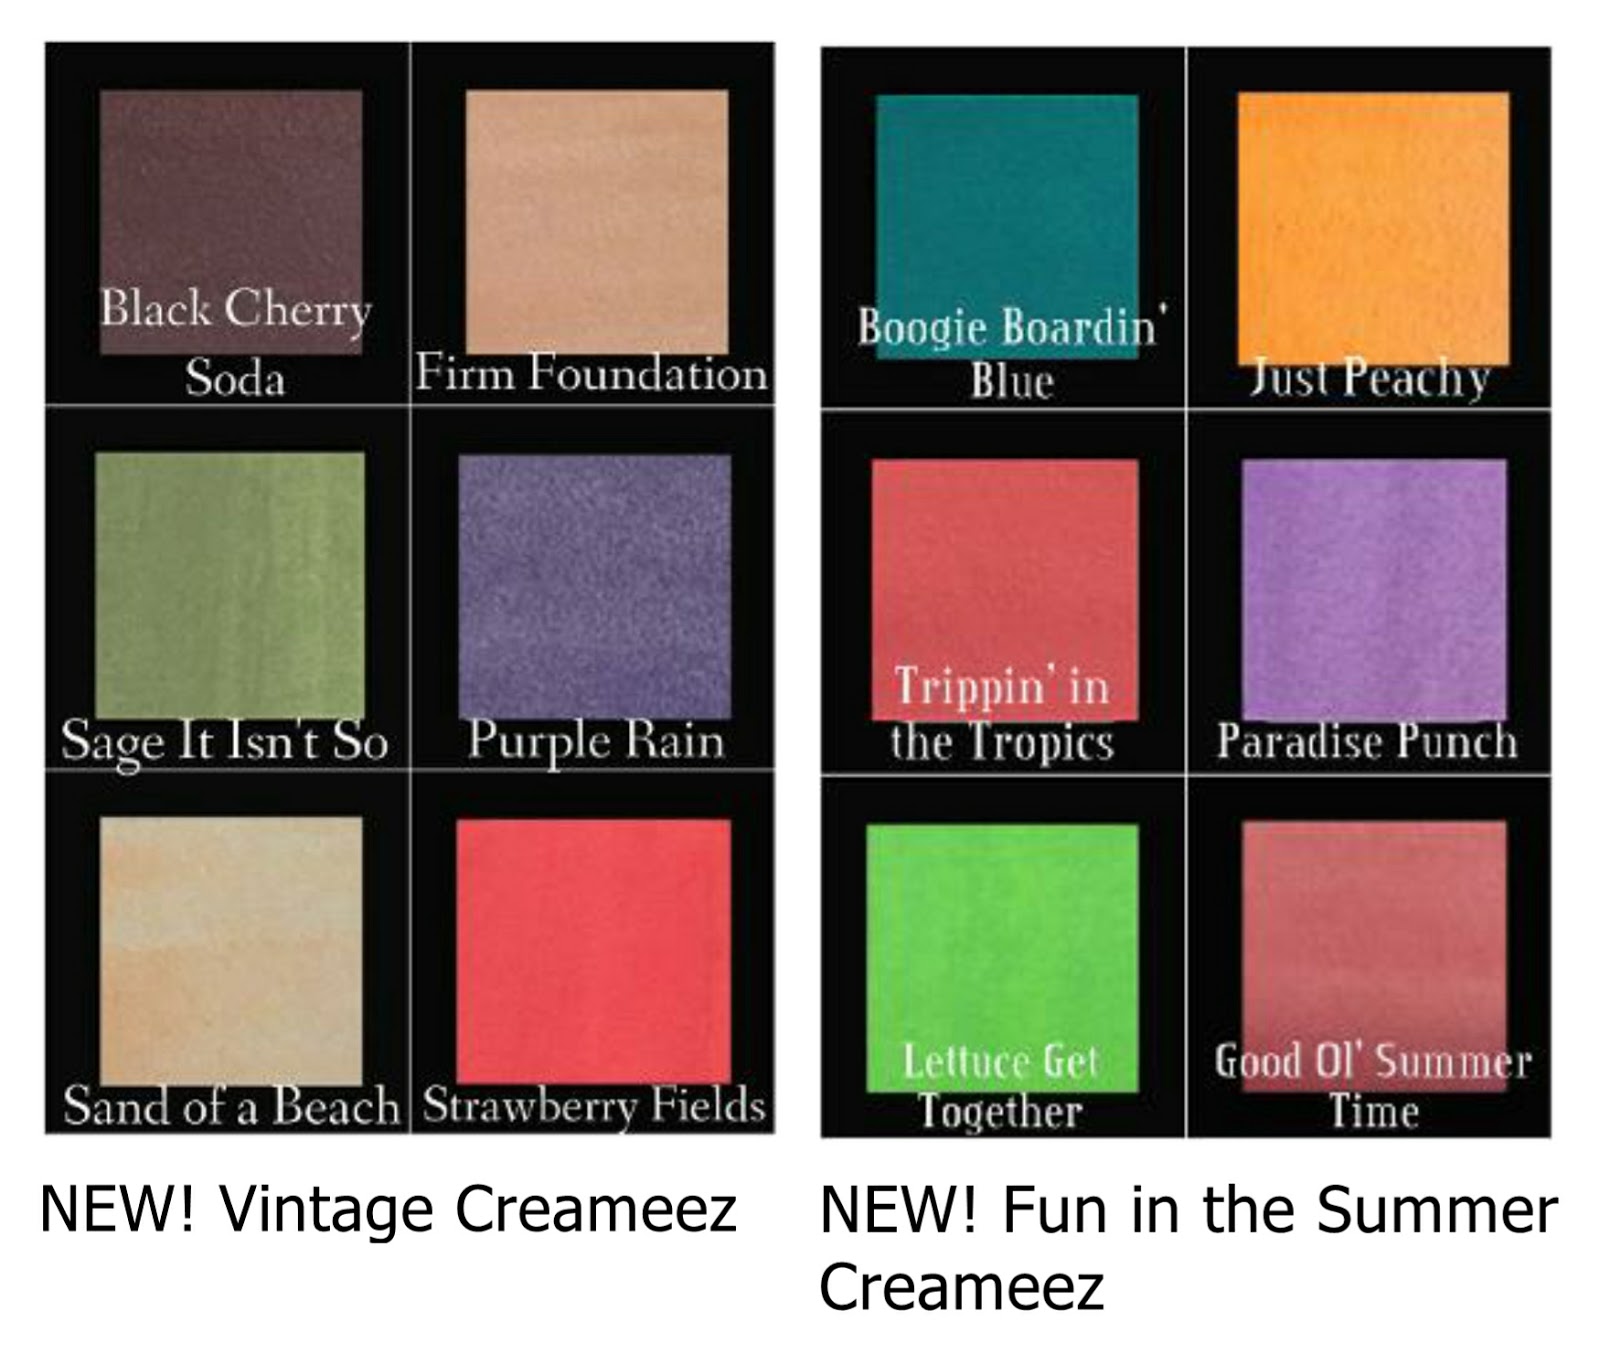
....AND....If you haven't heard the exciting news yet, Shimmerz has brought out a whole bunch of gorgeous new colors for their summer release! I'm super excited to give these lovely colors a go! I recently have been playing a little more with the Creameez paints and I just love the matte watercolor look they can give to a project!...I sat here trying to pick some favorite colors, but it's so hard to do, they are all so yummy! (Firm Foundation, Sage It Isn't So, Good Ol' Summer Time...seriously, how cute are those names too!). What's your favorite?


.jpeg)