Showing posts with label Paste-eez. Show all posts

Saturday, January 12, 2019

Happy Heart | Amanda Baldwin


Hi Shimmerz Friends! 

Welcome back for more shimmering paint delights!
Amanda here, & boy oh boy have I got some sweet Heart Day inspiration for you!
Valentine's Day is one of my all time favorite Holidays,
& I just LOVE creating all the heart things!
But enough chatter, here's my layout......

"Happy Heart"
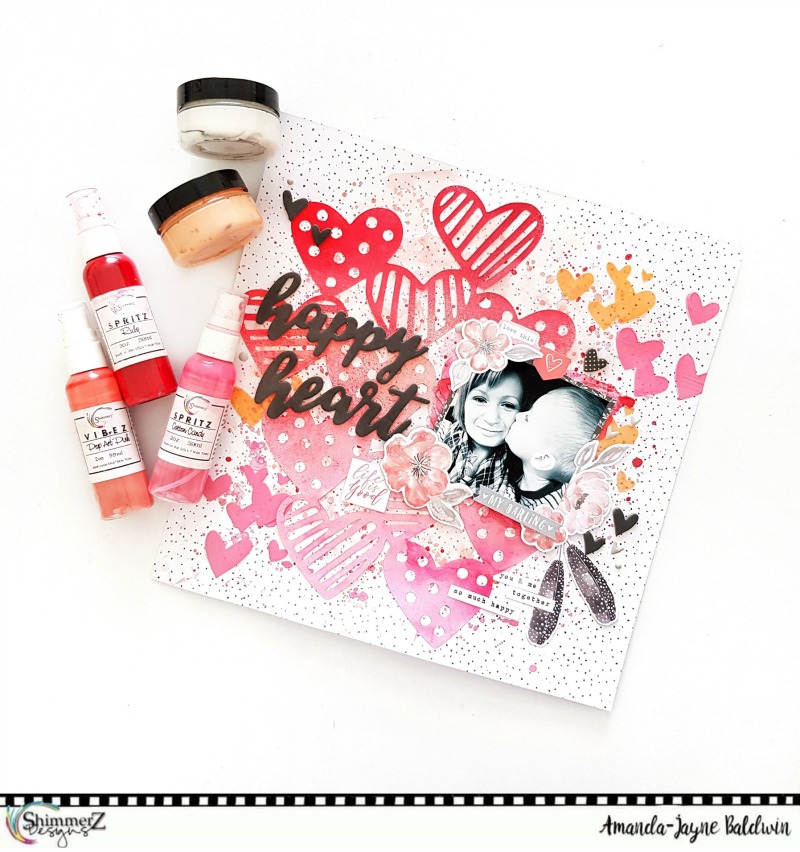

Oh.my.heart!!!
This is so super sweet and completely melts me!
You'll spy the following Shimmerz Paints products:

Spritz Ruby
Spritz Cotton Candy
Vibez Pop Art Pink
Paste-eez Peach Fuzz
Paste-eez Salt of The Earth

What a wonderful color combination!
Here's a closer look for you.....


Gor-jus!!!
As well as our super shimmery, and divine paints I've also used the Cocoa Vanilla Studio: More Than Words collection & the Hello Hearts cut file from The Cut Shoppe.

I start this layout by spraying Spritz Ruby to the top of the Hello Hearts cut file.
This very pretty red is so vibrant!


Next, I apply Vibez Pop Art Pink to the center of the cut file, and at the base of the cut file I spray Spritz Cotton Candy. I also add a couple more light sprays of the Ruby to add a lil tonal interest too!
Just look at the golden shimmer from the Pop Art Pink - Stunning!!!


These colors have my heart!

Before I attach the Shimmery cut file to the pattern paper base, I prep the paper with a light coat of Jo Sonja's White Gesso. I then apply Pop Art Pink with a very watery paint brush, creating a soft base of color. I then add splatters and droplets in Spritz Ruby & Cotton Candy, as well as the Vibez Pop Art Pink. I then apply those beautiful textured hearts with a Vicki Boutin Stencil & Paste-eez Peach Fuzz. So pretty!


The pink textured hearts are made from combining Paste-eez Salt of the Earth with Spritz Ruby - another gorgeous color combination!
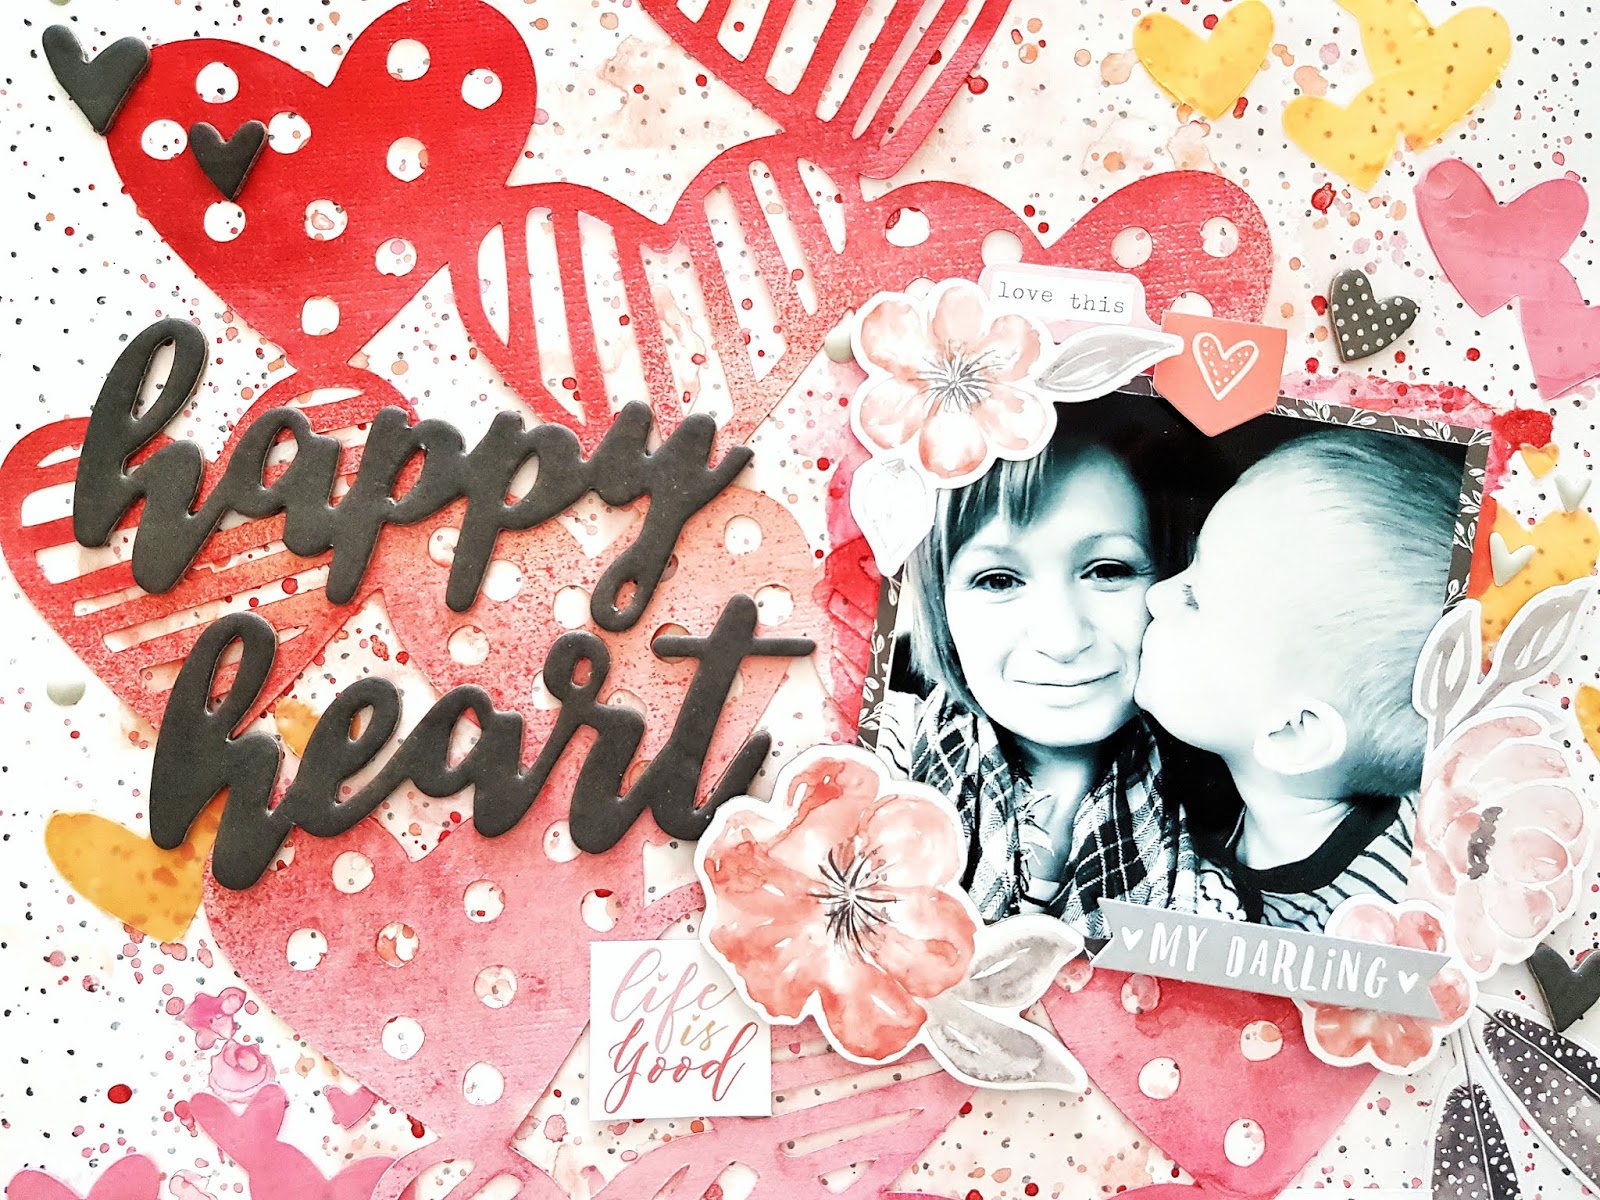

For finishing touches, I add more Ruby droplets and a lil paint around my photo to complete my Happy Heart themed layout. 
Here's one last close up for you....


Absolutely beautiful! 

Want to see more of how this layout came together?
Please watch my Process Video HERE & thanks for subscribing! 

https://youtu.be/1uKHFpsMNiw


I hope you enjoy watching! 

*REMEMBER*: Type AMANDA in the comments section of your Shimmerz Paints Store order  HERE to receive a FREE paint! Yay! 
(No minimum spend, not valid with any other offers & code can be used repeatedly) 


Thanks for stopping by, 
til next time, 


Monday, October 29, 2018

You are my Sunshine by Samantha Robles

Hi Friendz! So excited to be back with you all, sharing this fun layout using the Shimmerz Fall Color Challenge. My color that was chosen was: Hold the Mustard Paste-eez, mixed with some Mustard Seed Vibez. I love this color's vibrant hue and gold shimmer. It's perfect for all seasons, but here in Idaho, it reminds me of the gorgeous colors on the trees right now.
I've been saving this oh-so-adorable photo of my son for weeks. I finally found the perfect sunny and bright color to go with his cute bright self. I've been saving this cut files by Paige Taylor Evans . I took some Hold the Mustard and a tiny dropper of Mustard Seed and mixed the two together, then spread it over my cut file. What I found that works best for my projects is I do the spraying, painting, pasting right before bed. Then let it sit over night to get 100% dry without checking every 10 minutes. The next morning, I cut the cut file right in half and glued it to my white cardstock.
Soon after, I let my sheet dry and started on this amazingly cute chipboard piece from Scrapaholics titled "You Are My Sunshine". I started with some gesso and did a light coat of acrylic paint from Hobby Lobby to get the dark edges lightened up. After that dried, I then added two coats of Paste-Eez "Puttin' on the Glitz"
This adds that POP of sparkle that shines from my little turkey's personality.
I finally added some small little drops of Sweet Heart Vibez to add the finishing touch, along with these cute tiny heart stickers I've had stashed away for months. I'm Samantha, and I'm a craft supply hoarder, hehe!

Thanks so much for tagging along. Make sure to check out Scrapaholic's amazing selection of chipboard pieces and don't forget to join the color challenge with Shimmerz. 

XOXO
-Sami


Wednesday, March 7, 2018

"Today's Favourite" by Tina Ollett

A very warm welcome back! So glad to see you here. Today's Favourite is my first share for this month using gorgeous muted tones of pinks and greys to celebrate a very cute and memorable photo of my two girls at a family gathering. 


I have followed the Maja Design's moodboard for this month which is really pretty and of course I have gone with the soft muted pinks and greys. And to combine this together I have used Shimmerz Paints gorgeous Creameez in Cheeky Pink and Twinkle Twinkle. I love my Creameez. They are perfect for my shabby chic projects and add that softness and shimmer to really help the layout pop.


I did some tearing of my Maja papers and layered them and primed all the layers with a clear gesso. I added in some texture using a loaded pallette knife of Salt of the Earth Paste-eez through a Dusty Attic damask stencil. What I love to do with the Paste-eez is to heat set it while it is still wet. This gives the Paste-eez a more raised effect.  


You can see the effect of the heat set Paste-eez above and below. Over the top of the Paste-eez texture I add some Creameez in the Cheeky Pink. I loaded it over the top and then spritzed it with more water and let it run over the texture and background paper. 


Once this was dried I then added in some stamping in black. I used some script stamps and bricks. 


Following on I have inked the skeleton clockface chipboard and title with a black ink. I dried it off and added over randomly some white gesso and then loaded my brush up with the Creameez Twinkle Twinkle and swiped it over the chippies and then heat set these.


My other chipboards were primed with white gesso and also dressed in the Creameez Twinkle Twinkle. Really gives the page a sparkly effect which unforunately you can't really see in these photos.


I have also added in some white pearls and changed them to the Cheeky Pink in the Creameez. Again I did this by loading my brush and wiping it over the pearl and heat setting it immediately. I do this a few times until the colour is built up on the pearl. This is a very good technique to use when you may not have the right colour.


Well that is all for me today. I hope you have enjoyed your visit here today.
Until next time take care and happy scrapping.


Saturday, October 14, 2017

Gelli Printing with Shimmerz Products | Zinia Amoiridou

Hello artsy friends! It's Zinia here and welcome back to the Shimmerz blog!
Today I'm going to show you how you can use a gelli plate with your Shimmerz Products. If you are not familiar with a gelli plate it's basically a big piece of soft silicone that you use to create unique prints.


The most common paints to use on gelli plates are acrylics. You can totally use your favorite Acri-Tonez but for this page I decided to do something more interesting and show you how to use sprays and watercolors on your plate.


If you tried this before you'd notice that when your medium is watery and thin it tends to bead up and doesn't cover the plate evenly. To fix that we need to use some other medium to hold our watercolors/sprays in place.


You can use a couple of different things. Depending on what you use you might get slightly different results so go ahead and experiment with whatever you have. So to keep the colors from beading up you need to cover your plate with a layer of gel medium. This will basically work as a transparent layer of acrylic paint that will make your mists and watercolors stay wherever you put them on the plate.

You can use gel medium with any finish you prefer. I usually go for matte but if you want to use shimmery colors you should probably try a gloss medium that will allow the shimmer to shine through.


Some alternatives you can try instead of gel medium are our very own Dazzlerz and Paste-eez (I'd avoid Texturez as the gritty parts may damage your plate). Even though they have some opacity, if you don't put a very thick layer on, your colors will still show through beautifully. Also you can make use of the fact that these pastes come in different colors and use that to your advantage.


Here is a full list of the supplies I used to create this page:

If you want to grab a some of these gorgeous supplies to create your own version of this project or just to expand your Shimmerz collection, make sure to mention my name "Zinia" at the comment section of your order to receive a FREE Shimmerz product!


I really hope you got inspired to use your Shimmerz products in new creative ways. Until next time, happy crafting.

Tuesday, October 10, 2017

Birthday Fun! | Adrienne Alvis

Hey, hey, Shimmerz Paints fans! I'm here today with a really FUN layout documenting my daughter's 8th birthday that I created using some Paste-eez, Vibez, and Coloringz!


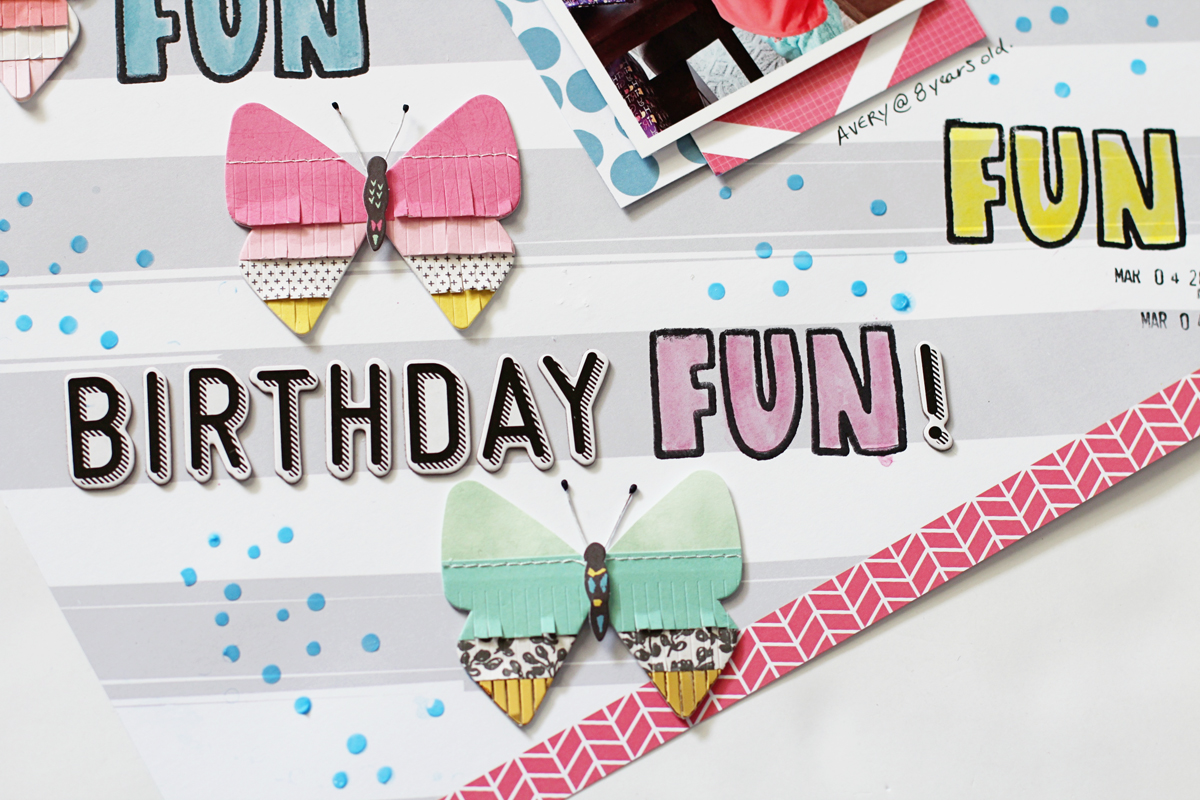
I began the design for my layout with a piece of gray and white diagonal striped pattern paper and a stamp from my stash that spells out "FUN". I placed the photo of my daughter in the general area where I wanted it to be and stamped the "FUN" sentiment around my page in random places. I used some StazOn ink in black for the stamping because it dries quickly and doesn't run when I add color or watercolor ink to it.


I used a dry watercolor brush and dipped it in some Vibez, "Razzledazzle Berry" and Coloringz in "No Yoking" and "Mamma Sings the Blues" and lightly brushed the colors inside of the "FUN" stamp outlines.


Next, I added some textured dots or "sprinkles" all around my layout using a stencil and some Paste-eez smooth dimensional paste in "Baby Boy Blue". I love how the Paste-eez has a flat finish without any shimmer or shine to it. 


Next, I added some letter stickers next to one of the stamped sentiments to create my title. I love how the colors mix with the pops of black and white around my page! To complete my design, I added several large fringed butterfly embellishments and called it done!


Using a stamp word phrase or sentiment and some Shimmerz Paints spray ink is a great way to add a little twist (and color) to your page or project! Thanks for joining me and I hope you have a wonderful day! 


Tuesday, September 26, 2017

Dreams Are For Chasing | Adrienne Alvis

Hello, Shimmerz Paints fans! I'm here today with a layout that I created using some gorgeous Coloringz and Paste-eez!


I chose a piece of cardstock that I had used from a previous project that had been through my Silhouette machine and had nine large hearts cut out of it to use for my background design. I simply placed the heart cut-outs over another solid piece of cardstock and used some Coloringz in Pretty in Pink, Peachy Keen, and No Yoking to create an ombre effect on my page.


After the spray ink dried, I grabbed a triangle stencil from my stash and some Paste-eez, a smooth dimensional paste that has a flat finish, in Tree Hugger and placed a random pattern of triangles across the ombre hearts.


I layered my photo on top of some patterned paper tags and scattered some butterfly shapes that I fussy-cut and completed my page. I also sprinkled a few drops of Coloringz in Night Moves, which is black without any shimmer, to coordinate with the pops of black in the pattern papers I chose and my title, Dreams Are For Chasing.


Don't be afraid to get creative with your leftover scrap pieces, especially if they have shapes or images cut out of them! They make great stencils and page accents.


Thanks so much for joining me here and I hope you have a fabulous day!


Thursday, August 24, 2017

Positive Art Journal Spread | Katty Miranda

Hello friends! Katty here to share a fun Art Journal Page with you all. I was in the mood to paint so I pulled out my handy dandy Art Journal. I am using my Daler Rowney Mixed Media Travelbook. I love the size of the pages in this journal, not too big, but enough space for me to get creative. I created a fun and colorful spread.

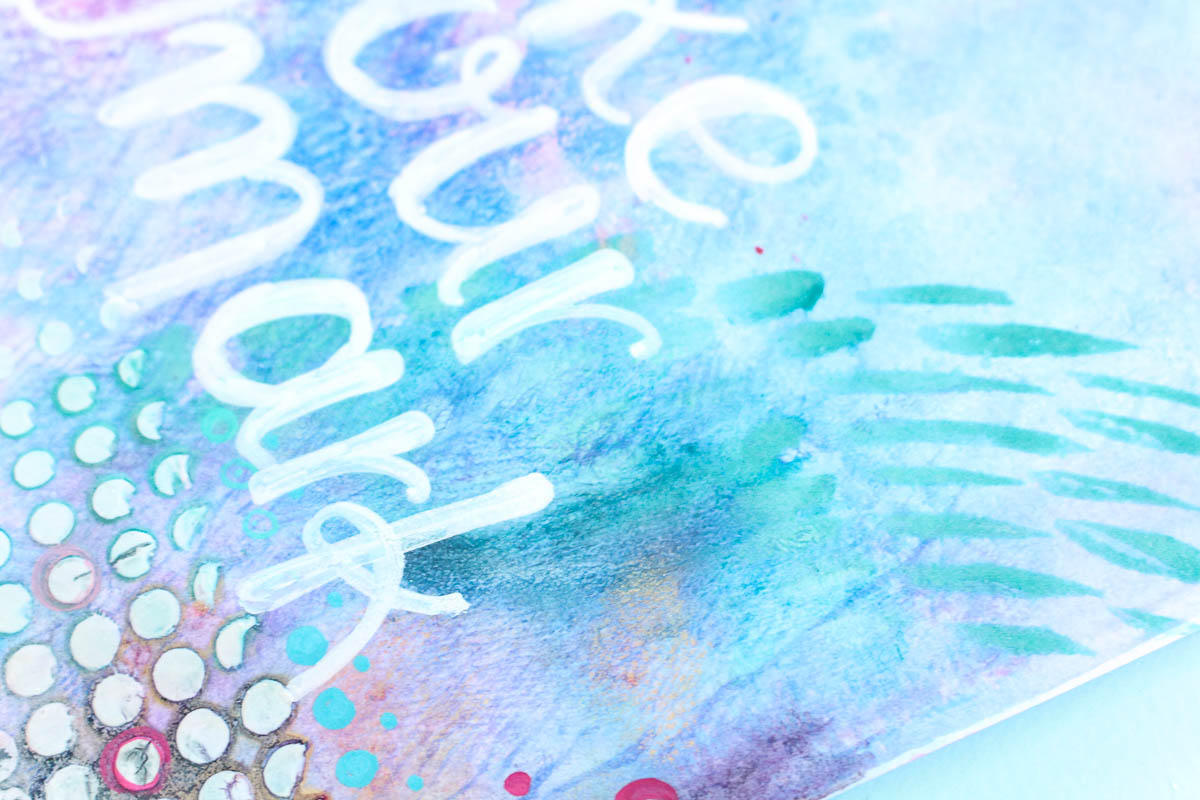
I began with a stencil and one of my favorite paste-eez in the color Tree Hugger which is a gorgeous teal. The stencil I used looks like pomegranate seeds. I love the texture the Paste-eez and stencil immediately add to my page. It looks pretty all by itself but of course I needed to add lots more color to it.

I pulled out some of my awesome Shimmerz paints in several colors, I used a Coloringz in Mandarin Mai Tai and Pink Stilettos and three Creameez in Trippin in the Tropics, Boogie Boardin Blue, and Lettuce get together. I used a watercolor brush and scattered the colors around the page in between the stenciled image. I mixed it up and added the intense colors in some areas and used a little more water to soften the same colors up in other areas. I love the look of this mix.


I used a black sharpie pen and added some faux stitching around parts of the stenciled image to add some additional interest. I love the detail that the faux stitching adds. I also added some positive coordinating word stickers to finish it off.
Supplies Used:
Paste-eez: Tree Hugger
Coloringz: Mandarin Mai Tai, Pink Stilettos
Creameez: Lettuce get Together, Boogie Boardin Blue, Trippin in the Tropics


Thanks so much for stopping by today! Remember...
XOXO