Showing posts with label Card Tutorial. Show all posts

Thursday, August 26, 2021

Painted Sunflowers|Sara Scraps

 Hello Everone! Sara with you today! When I sat down to create my project for today, I decided I wanted to paint..and I wanted to paint a flower. A shimmery, pretty sunflower. The best way to make my sunflower be the star of the show would be to put it on a card. 

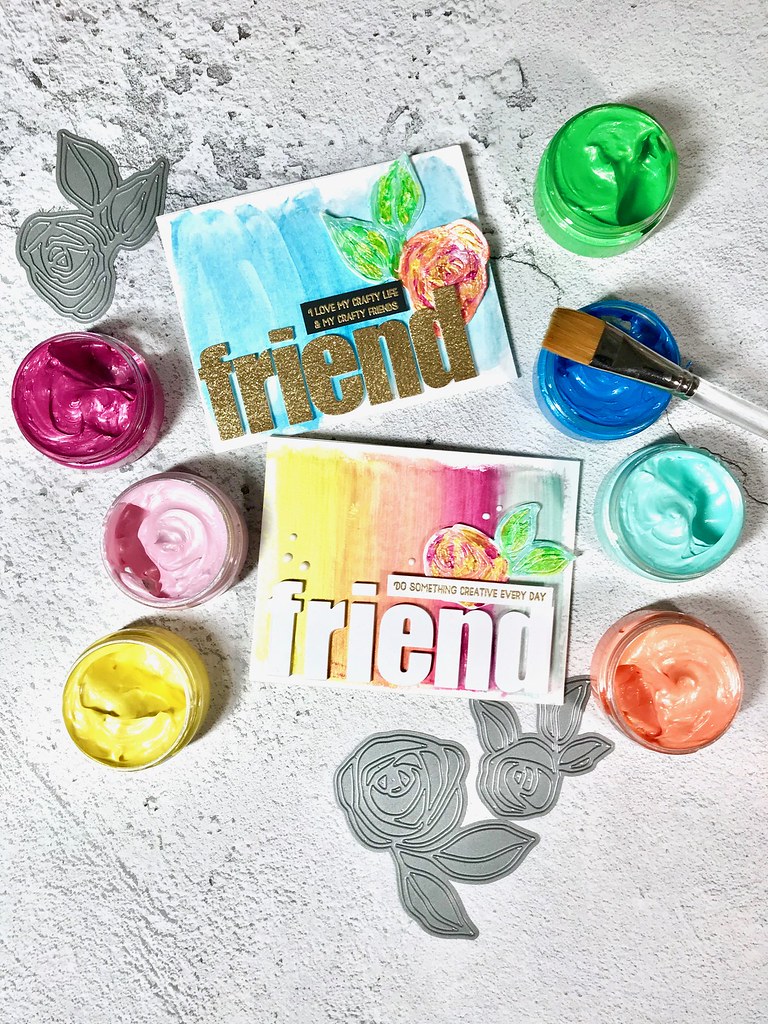
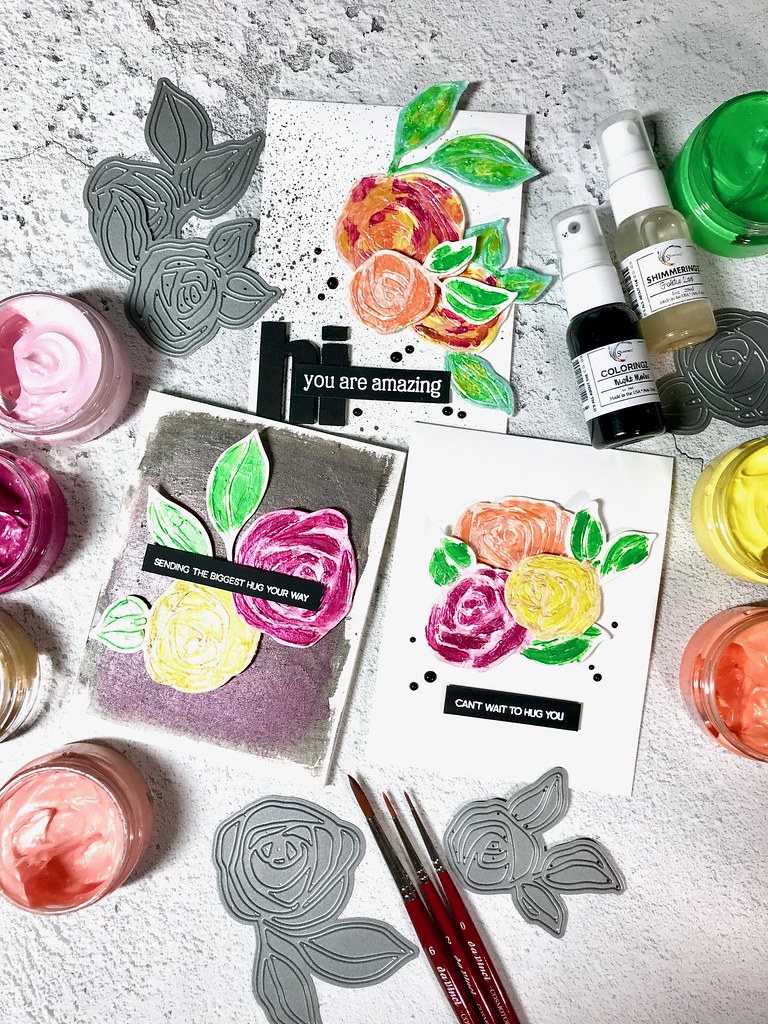
 I started by grabbing some metal dies..painting freehand is not my best ability. Sooo..I decided to die cut my sunflower and leaves using some hot press watercolor paper. this allowed my to add layers of paint to my flower without it warping or becoming too wet and tearing.


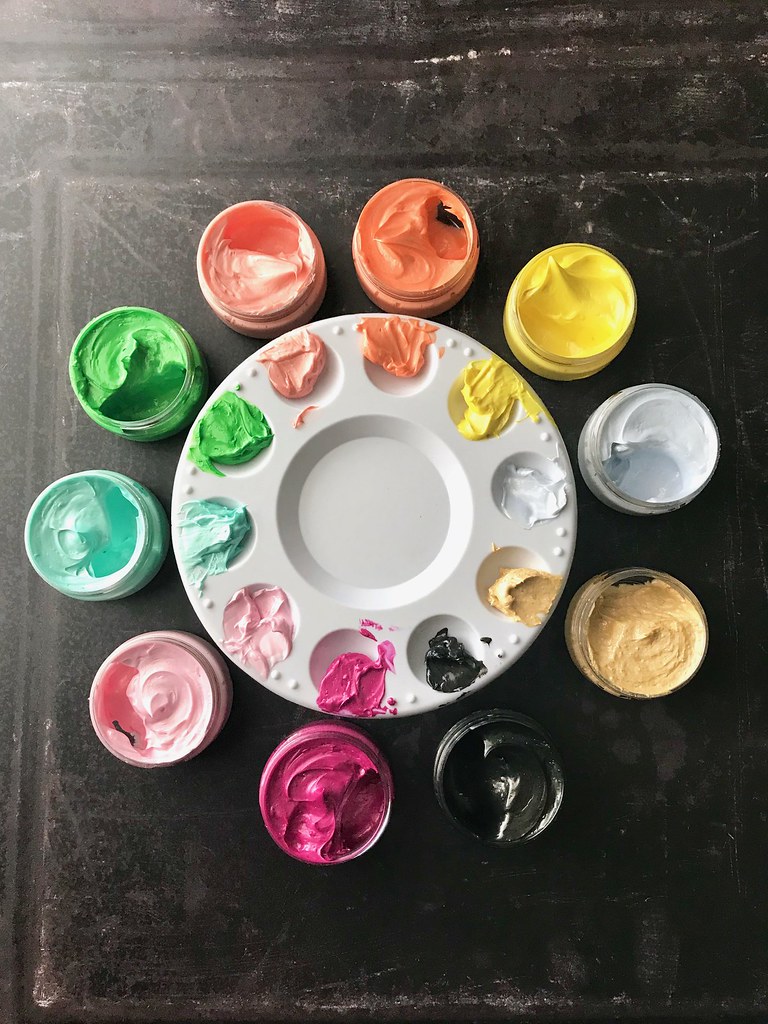
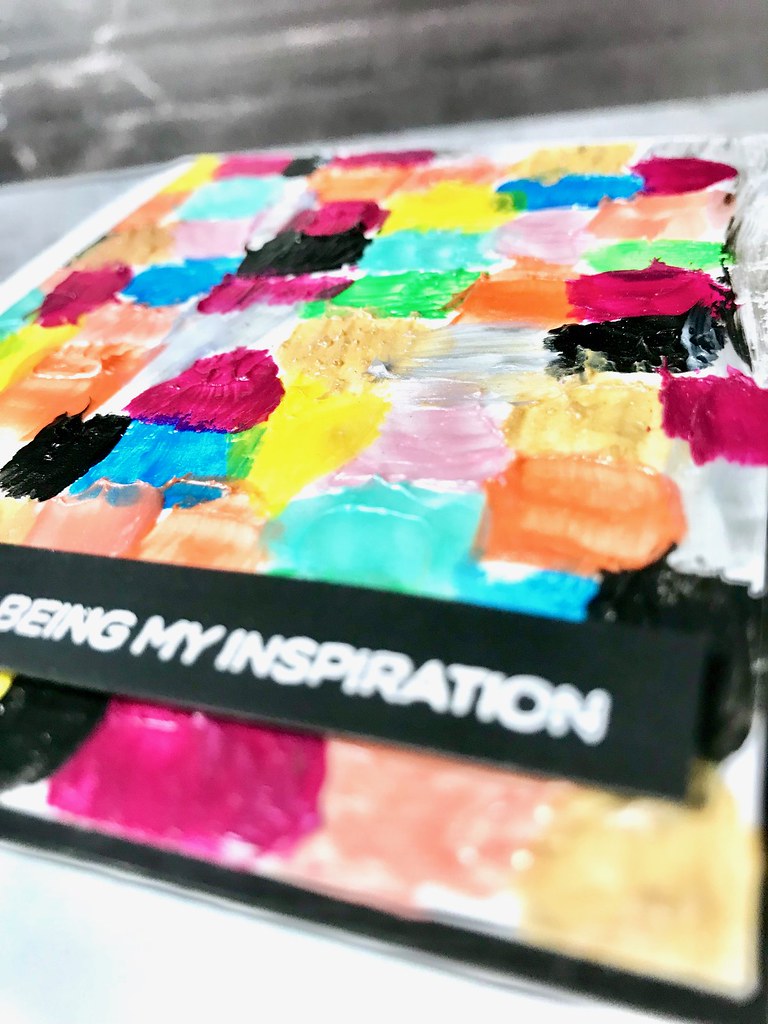
Once I had all my pieces die cut it was time to paint! I chose 2 or 3 colors in different shades for each of my flower elements. By choosing different shades of each color I could add highlights and shadows to my flower to create depth to my painting.
For the center of my flower, I chose Burnished Buckle Inklingz and Coffee Shimmerz
For the leaves I chose Celery Shimmerz, Honey Do List Inklingz, and Greener Pastures Inklings. I applied the same technique I would use to color an image with alcohol markers to the painting. started with a base coat of the lighter colors and then adding some shadows with the next two colors, working light to dark.


And here is my card! I used some cream cardstock for the base and some brown ink to bring out the edges. I added a dark burgundy stacked die cut sentiment and a smattering of sequins to highlight my sunflower.
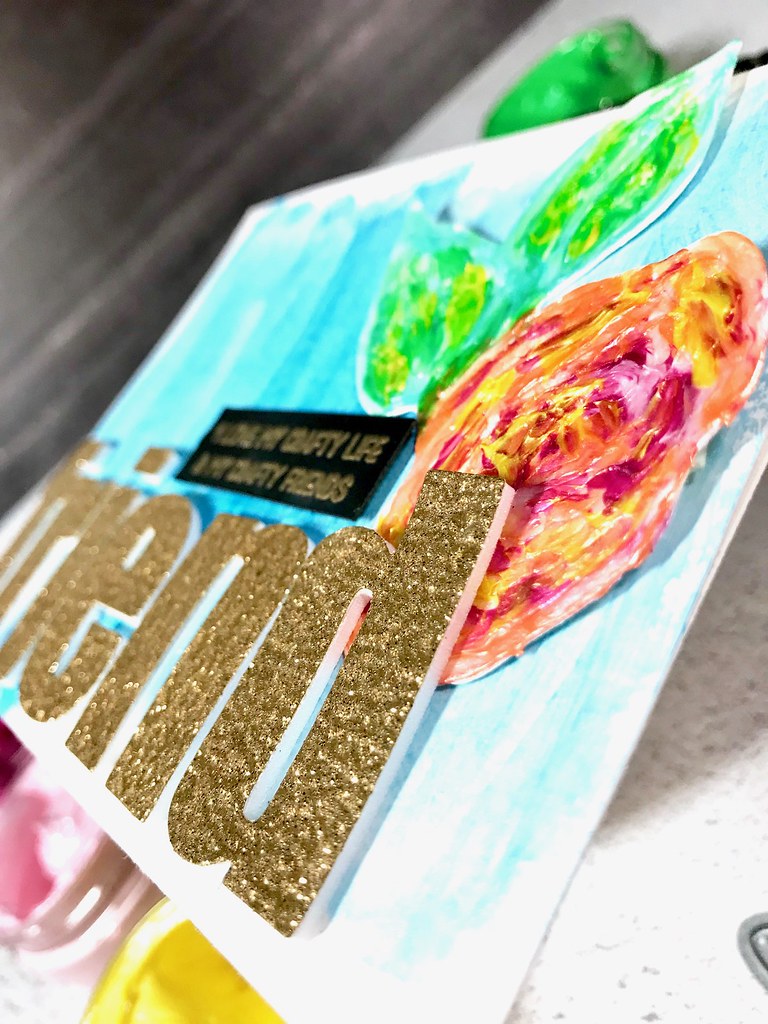
I love how mixing the colors added so much interest and depth to my flower. It certainly does not look flat! 
And just look at all that pretty shimmer! 
As summer transitions into fall, sunflowers are the perfect late summer flower. Do you like sunflowers in your crafting? If so, be sure to grab some of this paints for perfect sunflowers! 
Have A Lovely Day! 
Sara 


Friday, January 12, 2018

Crafty Friends Card Set | Rubeena I.


Hello, Rubeena here from A Rare Ruby with my very first post as new Creative Design Team member! Today, I’ll be sharing a set of cards I created that focus on the gorgeous Dazzlerz and Textures, which are shimmering dimensional pastes. Typically, pastes are known to be used with stencils and mixed media projects. After a year-plus long hiatus from crafting, however, I decided to use the pastes as "paints." I will list all supplies at the end of the blog post to make it easiest for everyone.

First, I picked out an assortment of colors that I thought I would play with.

Rubeena_Shimmerz_Jan12_
I used watercolor brushes to color rose die-cuts and A2 size watercolor paper. When I first started coloring, I wasn't sure what kind of cards or layouts I would create. I let the ideas come to me while crafting all day. Once all the pieces were dry, I die-cut some large words from an alphabet die set in white, black and gold glitter cardstock. I also heat embossed various sentiments perfect for crafty friends! Then, I set about making as many cards as I could since I had a lot of pieces created. I even created a shaker card! 

Rubeena_Shimmerz_Jan12_ Rubeena_Shimmerz_Jan12_ Rubeena_Shimmerz_Jan12_ Rubeena_Shimmerz_Jan12_ You'll notice the textured look as well as shimmers on pretty much every card! These pastes made me feel like a true artist, letting my creative juices flow. To get a lighter look, I simply added water when I created some of these backgrounds.
Rubeena_Shimmerz_Jan12_ IMG_4282
These are perfect to give to crafty friends, which I plan on doing! I hope you were inspired by my projects. I look forward to sharing more with you in the year to come! Thank you so much for stopping by today! 

SUPPLIES

Dazzlerz: Tutti Fruiti, Pucker Up Pink, Dreamsicle, Coral Me Crazy, Jelly Bean Green, Sea U in the Mornin', Lemon Drop, Licorice Stick, Barely Blue, Gummy Berry Blue
Texturez: Gold Mine
Coloringz: Night Moves
Shimmeringz: Goldie Lox

Monday, July 24, 2017

Layers of Shimmerz for two toned effects

Hi Everyone, Beck Beattie here today sharing a card I used using the fun Shimmerz paint.  I love the shimmery goodness that are contained in these pots, and sometimes even a bonus that with just a little stir it is ready to go!


Shimmerz Products Used:
Shimmerz - Bubble Gum Blast
Shimmerz - Antique Lace


I thought I would take you through the process of creating the sweet two toned stripes in the background of my card today.

First I took the Bubble Gum Blast Shimmerz, gave it a little stir and then added some stripes to the background.  I really love this look and how it transforms the background instantly.


I wanted to add a little more colour so after I gave the first layer a dry off I added a second layer of a differeent color.  This time the Antique Lace.  This color seriously goes with anything!  It is definintely one of my favourites!


I just love how the two toned stripes really help tie all the other elements of the card into the background and make it all one.  You could really have some fun with this technque!

Here are some more pics of my card:


I Hope you enjoyed my share today.

Happy Crafting!


Monday, November 28, 2016

A Quick Card using Shimmerz Christmas Set

Hi There Friends,

There is nothing better than receiving a handmade
Christmas Card in the mail.

So today I wanted to share with you a Quick Card Tutorial using
Shimmerz Vibez Snow Storm & Velveteen Green
from the Shimmerz Christmas Set.


For this card I wanted to show you how easy it is to create a
chalkboard effect border using the Shimmerz Vibez Snow Storm 
and Black Cardstock.

I used my Limited Edition Clique Kit for Christmas Cards
which featured the My Minds Eye - Comfort and Joy Collection.

Here is a close-up:


How gorgeous is that Merry Christmas chipboard
that I colored using Shimmerz Vibez - Velveteen Green.
I think I have a new favourite!

Here is my tutorial for you to watch.


Thanks so much for stopping by!!

Merry Christmas and a Safe and Happy New Year to you.