Showing posts with label Cotton Candy. Show all posts

Tuesday, November 24, 2020

Autumn Days | Mixed Media Layout with Simple Stories Cozy Days

 Hello everyone!

Thanksgiving is just around the corner and, while I know that things have been a bit different lately, there's always something to be thankful for.

Today's layout is mostly focused on making one's own background and piling on the embellishments. If you'd like to see how it's made, click here.


I began with a cream cardstock as my base and began spraying my base with Bamboo Leaf, Moody Mauve, Glorious Day, Cotton Candy and Hot Fudge. I didn't add any gesso this time around because I didn't want my colors to blend too much. After spraying the colors, I added a couple of splatters of Hot Fudge.

I fussy-cut some tags and icon squares from the collection (Simple Stories Cozy Days) to add to the embellishment clusters that would hang tight around each of the pictures.

My embellishment clusters contain a mix of stickers, ephemera, foam stickers, and chipboard stickers to really play with the dimension on the layout. Each picture is popped up on some craft foam, and each has a tag as a layering piece beneath them. Once I was done with everything, I splashed a bit of Moody Mauve and Glorious Day around my layout to add some more Shimmerz goodness!


That's it! It was a super simple and quick layout to make, and I hope I've inspired you to get your stories documented while playing around with your Shimmerz Paints. Remember, you can always receive a freebie in your next Shimmerz order if you type LORIMAR in the comments section when placing it.

Thank you so much for joining me today! Stay safe and happy Thanksgiving!

- Lorimar

Tuesday, May 5, 2020

Happy Spring Day | 12x12 Mixed Media Layout using origami butterflies

Hello everyone!

    Lorimar here, sharing this gorgeous, butterfly-filled 12x12 mixed media layout. I've used more or less the same color-scheme as that of the May Color Kitz. I played around with making some origami butterflies and also pulled out 4 different butterfly punches. Here's the process video: https://youtu.be/eMMF4TICjUI

Let's get started!
For my origami butterflies, I colored some leftover white cardstock with Paradise Punch, Mustard Seed, Bahama Mama, Limoncello, 1 Hot Mama, and Bumbly Bee; set it aside to dry. Be sure to let your cardtock/paper dry completely before folding it as it might tear easily if it's still damp.

Selected a sheet of Tutu Pink Bazzill cardstock and sprayed Snow Storm, Tuscan Sun, Cotton Candy, and Chick A Dee in a diagonal line from right to left. I did this to further give my layout some sense of movement. Set my base aside to dry and got to work on my butterflies.

I trimmed out (2) 2x2 inch, (2) 3x3 inch, (2) 3.5x3.5 inch squares to use for my butterflies. Here's the video I watched: Origami Butterflies. With the remainder of my leftover cardstock, I punched out a lot (and I do mean A LOT) of butterflies. My design for the arrangement of the butterflies was to emulate them fluttering off the page from right to left, so I began to place them all scattered around the page and pointing towards different places to try and convey movement.

The origami butterflies are very dimensional so they don't require craft foam; however, some of the other butterflies have to wings popped up on craft foam. To finish off my layout, I matted my picture with a layer of patterned paper, popped it up on some craft foam, added a few butterfly wood veneers, placed my title beneath my picture and wrote the date underneath it. For some extra sparkle, I scattered some Spiegelmom Scraps Sequins (Pink Promenade).

And that's it! I hope I've inspired you to get your stories documented, get your Shimmerz out and play! Thank you so much for looking and I'll see you back soon!

Have a great Shimmery day!
- Lorimar

Thursday, February 20, 2020

A Sweet Date | Valentine's Day themed layout with process video

Hey everyone!

Here's another romantic layout which has some fussy-cutting and floral painting. Link to process video is at the end of this blog post.

Ever since I first saw that wreath paper from PinkFresh Studio, I knew that I wanted to fussy-cut it out and add it on some white cardstock and fill it out with more flowers.


But before doing that, I made a frame from a paper by Amy Tangerine and trimmed a white cardstock to 11.5 by 11.5. I then colored the cardstock by placing an overturned bowl in the center and spraying Jenni B Bleu, Cotton Candy and Granny Gray over it. By adding the bowl in the center, I created a whited-out section in the center and this further accentuates the circle look of the layout. Removed the bowl, waited for it dry before spraying some more Granny Gray all over the layout and splattered some Bumbly Bee as well.


Set it aside to dry and began to work on some fussy cut flowers I had previously worked on. They are also from a PinkFresh Studio patterned paper and they were white. To add more color to layout, I colored them using: Boogie Boarin' Blue, Ride the Tide, Jolly Green Giant, Bubble Gum Blast, Pink, Olive U Truly, and Dear John Letter. 


Once all my elements were dry, I added the cardstock unto the patterned paper frame, placed the wreath in center and popped it up on craft foam. Layered in the flowers into two clusters around my picture and a third in the upper left corner; the tips of these were popped up on craft foam for added dimension. Finished off the layout with some puffy heart stickers and pearls from my stash, added my journaling in light blue ink, and placed my title above the picture. Splashed some Old Yeller for a pop of gold.


And that's it! Love, love, love how it turned out! Hope I've inspired you to get crafty and get your story documented. Thanks for looking! Process video: https://youtu.be/mmW9NnehZXs 

Remember, you can get some free paint by writing my name in the comments section of your next Shimmerz order. 


With February ending in just 9 days, I'm gearing up to welcome the Spring sunshine and join in on the Shimmerz Spring Forward challenge! Join us as we create projects without ANY patterned paper.


- Lorimar


Tuesday, February 4, 2020

Sweet | Color Kit Cut File Layout with Process Video

Hello Everyone!

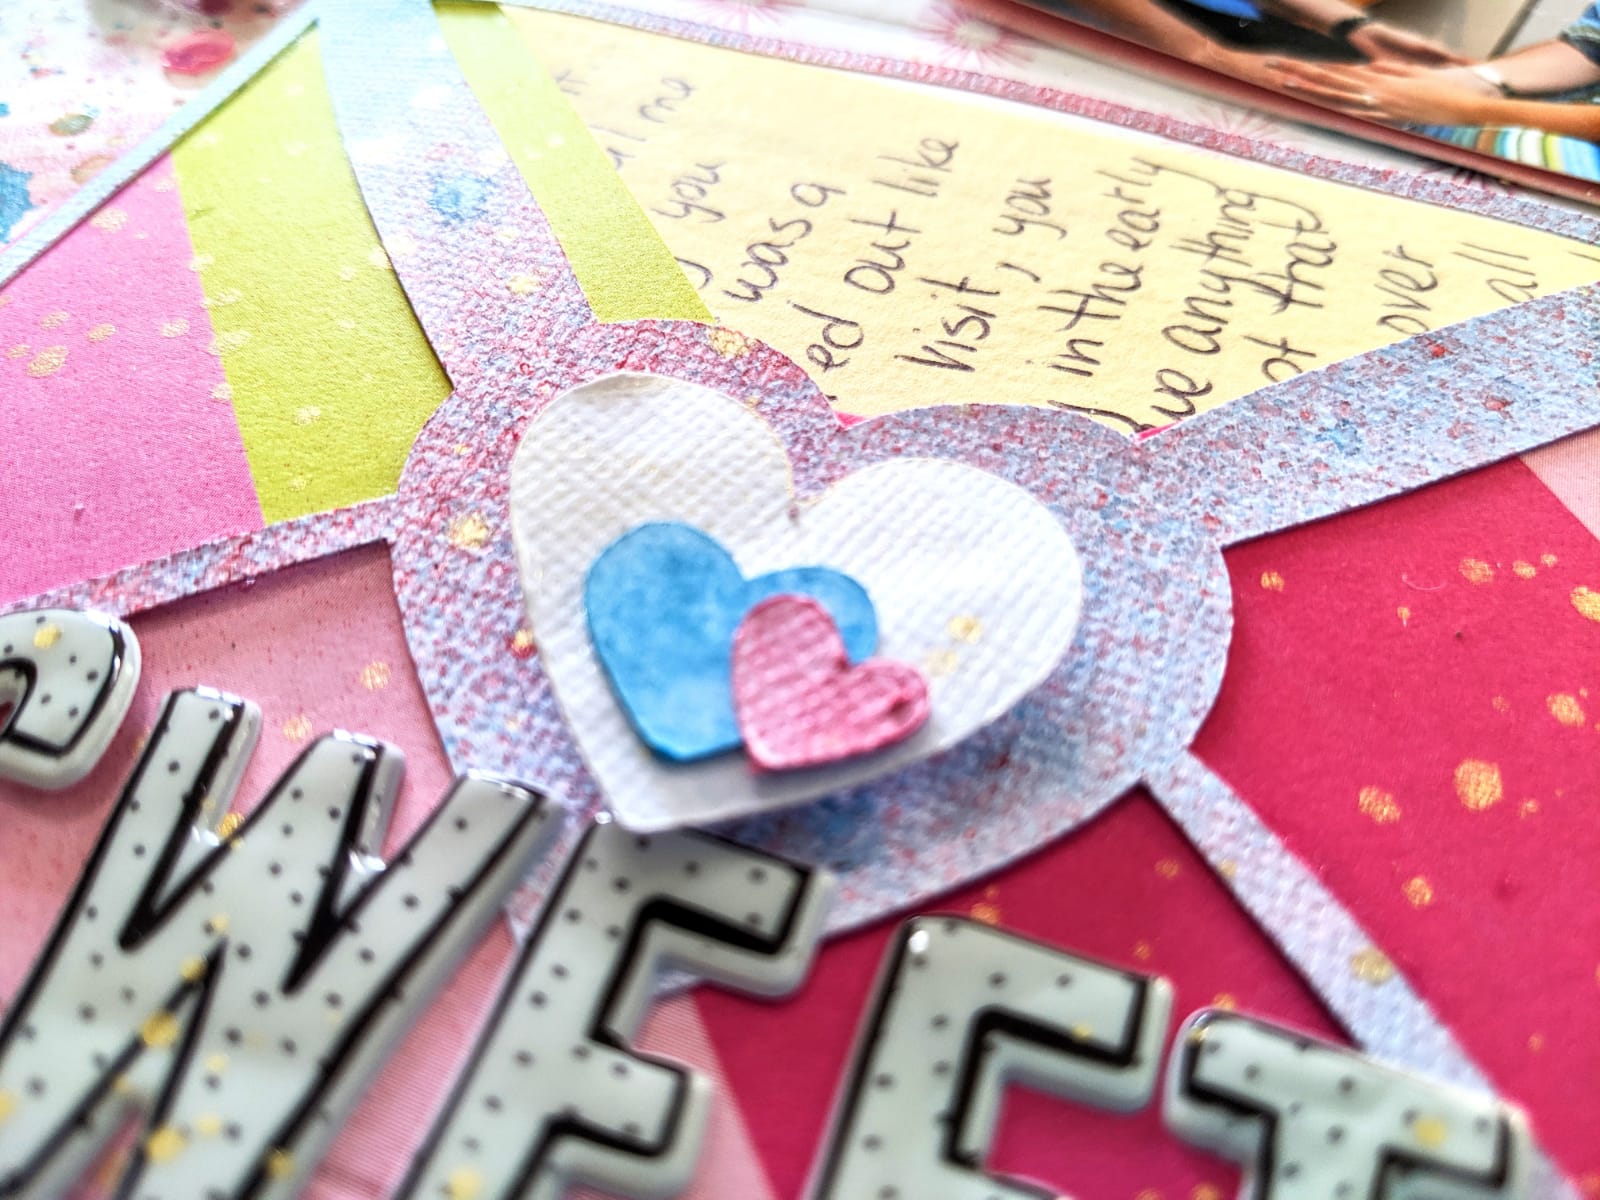
Thank you so much for joining me today and viewing how to make this "envelop explosion" layout. Ever since I first saw this gorgeous cutfile (designed by Samantha Robles for the February Color Kitz), I fell in love with it! I instantly knew that I wanted to create a layout which would convey the idea of a dropped envelope full of mementos with its contents spilling out, and after finding out memory I wanted to document, I got to work. So, let's get to it! (Process video is linked at the end of this post).

Since Valentine's Day is right around the corner, I wanted to use more pinks and reds in this layout, and in order to tie in the photos with my color scheme, I added a bit of blue into the mix. I began by cutting out the cutfile; Altered it a bit to have some extra hearts in various sizes and made sure that that envelope within the cutfile measured at least 4x5. This is so my pictures could really seem like that really did spill out of the envelope.


Then came the process of coloring all of the elements in my layout. Listed below are the colors and where I used them:
Background
- Peacock's Plume (Shimmerz)
- Coral Reef  (Inklingz)
- Cheeky Pink (Creameez)
- Pink Caviar (Shimmerz)
- Pink (Shimmerz)
- 1 Hot Mama (Creameez)
- Pip Pip Cherry-O (Shimmerz)
- Dear John Letter (Inklingz)
- Bubble Gum Blast (Shimmerz)
Hearts and Envelops Over Lay
- Razzle Dazzle Berry (Vibez)
- Cotton Candy (Spritz)
- Bed of Roses (Spritz)
- Jeni B Bleu (Vibez)
- Goldie Lox - (Shimmeringz)


Once all my items were dry and my pictures were matted on craft foam, I placed the envelope with the envelope cut file laid over it at the bottom left-hand corner followed by the pictures placed at an angle as if spilling from the envelope. Then I spent some time rearranging the hearts all around the pictures; some of the hearts are placed on craft foam, others laid on top of each others, and still others are glued directly unto the background.

After this, I added some pink, yellow and white sequins from Spiegel Mom Scraps that I had in my stash (Freezin' for a Reason). I then splattered some Miner, Miner 49er all around the layout to tie things together and add a pop of gold. Wrote my journaling on some scrap pieces of yellow cardstock and added a border around my layout using Jenni B Bleu and a brush.


I loved how this turned out! It had many processes, but I loved playing around with the colors and cutfile. Hope I've inspired you to get your story documented. Remember, you can get some free paint by writing my name in the comments section of your next Shimmerz order. 

Process video: https://youtu.be/0wryaEJ3RMg 

See you soon!


Wednesday, December 18, 2019

Jolly Good Cheer | Christmas Layout with process video

Hello everyone!

Thank you so much for joining me today for another colorful, Christmassy layout. From start to finish, this layout took me about 3 hours to complete, but most of it was spent backing the cutfile and waiting for the base to dry. In terms of patterned paper and embellishments, I paired Simple Stories Holly Jolly and Say Cheese Christmas collections; and the cutfile is called Santa Hats background by Virginia Walker (I'll leave the links to her shop and cutfile at the end of this post). You'll find the link to the process video there as well.


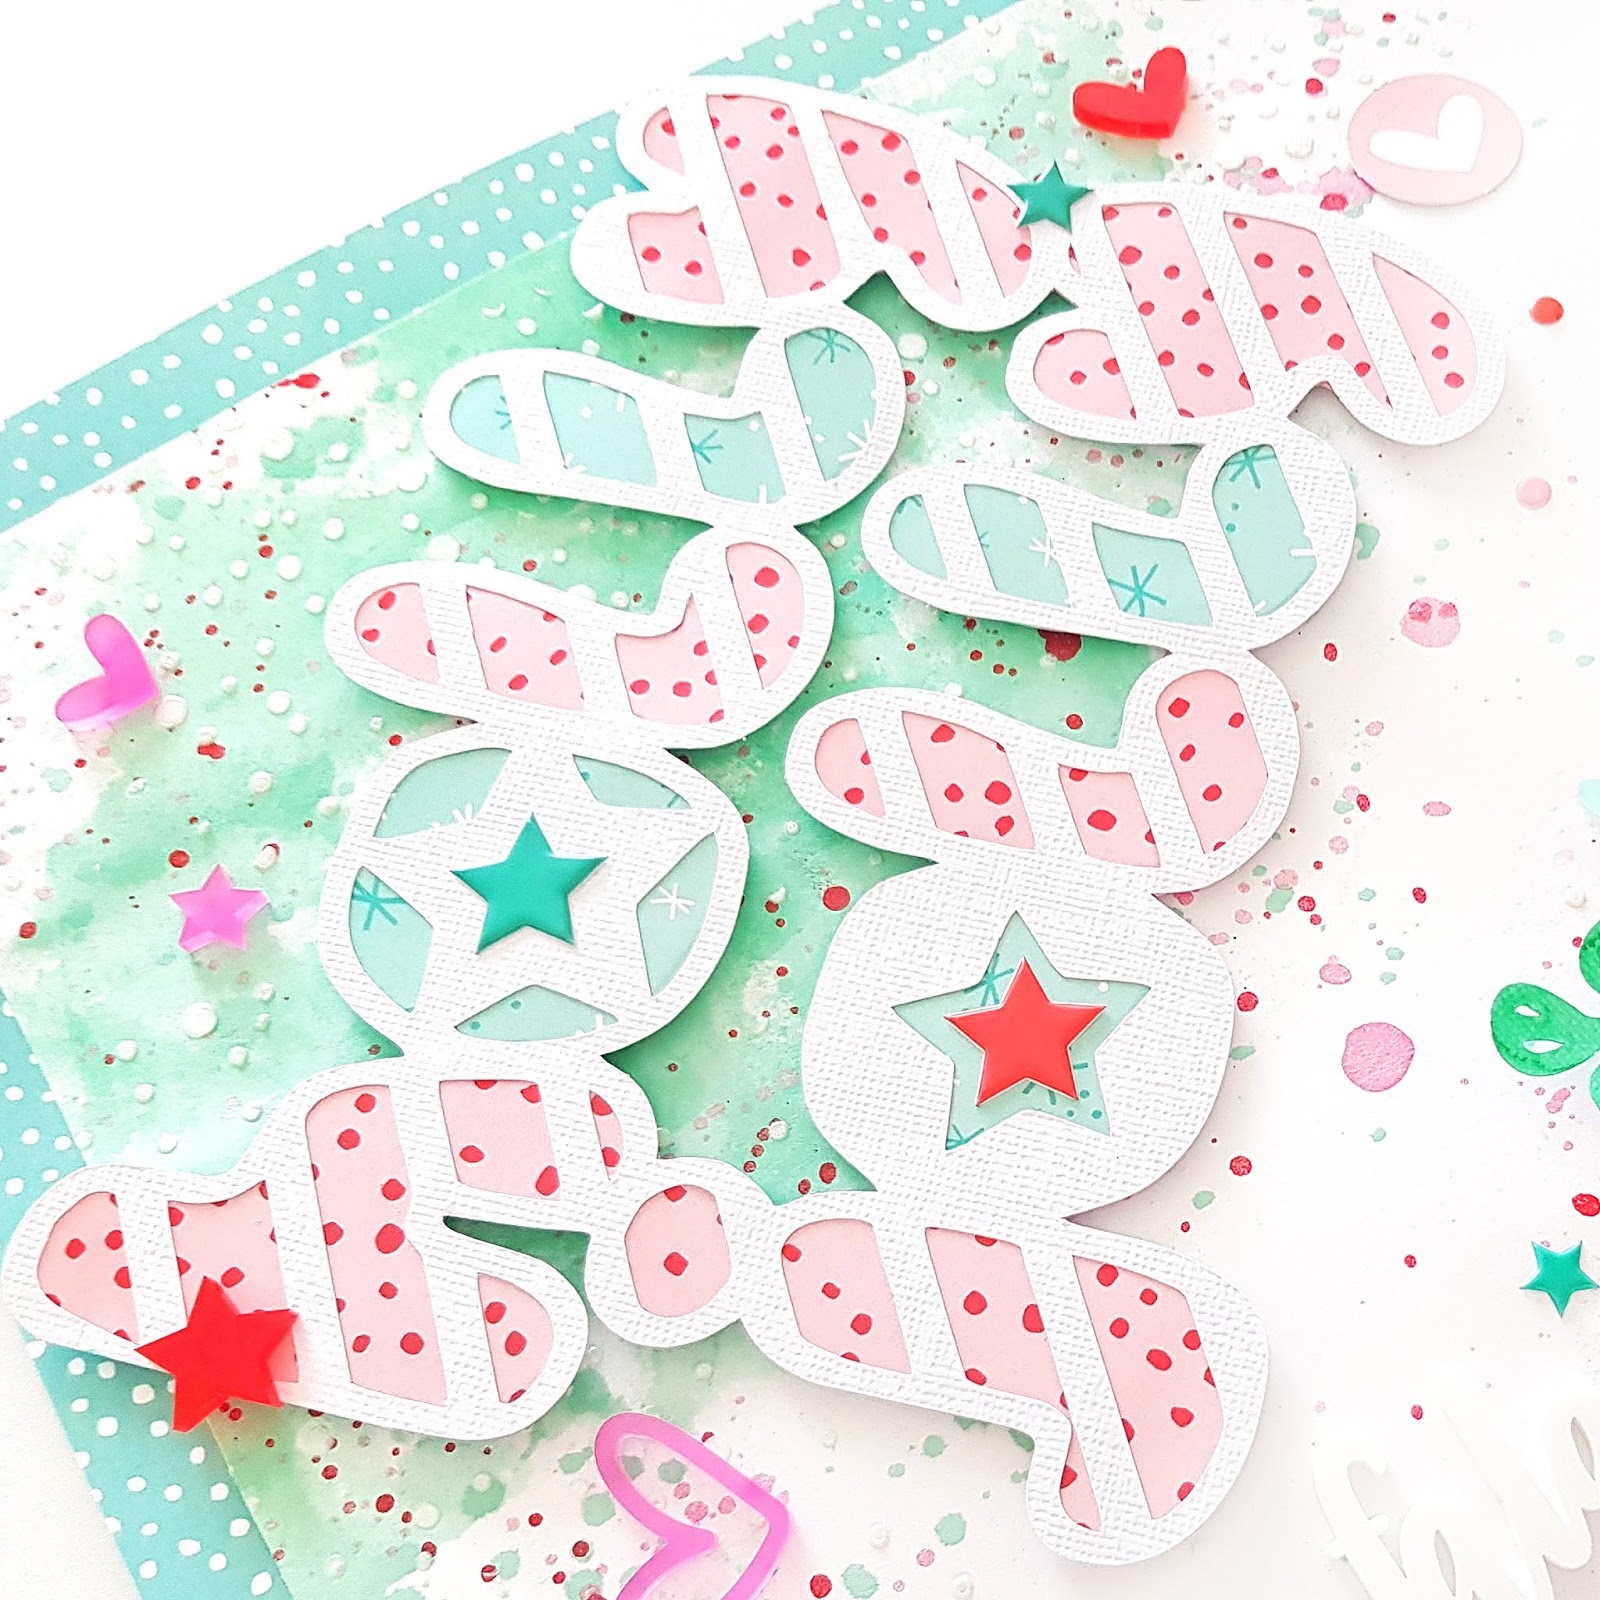
I first began my layout by backing the cutfile. I cut it out on white cardstock, and used the text paper from Say Cheese Christmas collection to place a Christmas-themed word on the border of the Santa hats. Various papers were used to back the actual hats. For some texture, I used Dazzlerz Puttin' On The Glitz and Paige Evan's star stencil on some light blue cardstock; this was used to back the little balls at the end of the Santa Hats.


For my base, I used a Vicki Boutin Foundations papers, Shimmerz Mists and white acrylic paint. Sprayed some water onto the paper to give the mists some extra wiggle and blending space, and sprayed Cotton Candy, Jeni B Blue, and Hermit the Frog. I realized that the colors were a bit too bright when compared to the patterned paper that I had used so I sprayed some Chance of Rain and Razzle Dazzle Berry also and let them blend together. Without waiting for the mists to dry, I watered down some white acrylic paint and splattered it onto the base. This techniques creates a marbled look, almost looking like a galaxy! Before setting the base aside to dry, I watered down some Dazzlerz Puttin' on the Glitz and splattered it unto the background just to add a bit of glitter to it.


While my base was drying, I matted my pictures using the same light blue cardstock and added some craft foam behind them for some dimension. I then began to pull embellishments out from the Simple Stories Holly Jolly Collection and divide them among the pictures. Once my base was completely dry, I added in the cutfile (also on craft foam) and then placed my pictures. Glued down my embellishments and finished off the layout by adding the title to the upper left hand corner using foam thickers by Pink Paislee and a die cut from Simple Stories. And that's it! Here are a few more close-ups.


I love this layout; so much so that I've placed it in a 12x12 shadow box and it's part of the Christmas decor in my living room!

Here are the links:
- Process video: https://youtu.be/xhi6xg5HSbU


Hope I've inspired you to create gorgeous layouts using lots of Shimmerz colors. Remember, you can receive some free paint by typing in my name in the comments section of your next Shimmerz order. Thanks for looking!
Have a great day!
Stay Crafty!
- Lorimar

Monday, August 19, 2019

Beautiful Kitty | Kelly Janes

Hey Shimmerz Paints fans! My name is Kelly Janes and I am so excited to share my first design team layout as part of the YouTube Education Team!


I started with a butterfly cut file from The Cut Shoppe and painted the butterflies with multiple Shimmerz Paints. My color choices were based off the Pinkfresh Studio Just a Little Lovely Collection, so I painted the butterflies in shades of blues, pinks and purples.


You definitely wouldn't need as many blues as I used to achieve this look. I had just received an order with new paints and was anxious to try them out! HA! 


I color grouped the butterflies together after they were painted, added a layer of vellum here and there, and then stitched them together down the center. I love the added dimension this give the layout!


I arranged the butterflies on my background, but I added a splash of color to the background using Cold As Ice Vibez, Cotton Candy Spritz and Princess Vibez before I adhered anything down. I then moved onto embellishing. I color blocked the embellishments; which is a really great way to embellish quickly. I added my title using a die cut, and white puffy alphas. I also added subtitles with my kittens names using a smaller puffy alpha set.


I created a process video that you can watch by clicking HERE.

Thanks so much for joining me today and I will be back again next month with a new layout and process video! Don't forget to mention my name in the comments at check-out at the Shimmerz Store to get a free gift!

-Kelly Janes

Friday, December 28, 2018

Holly Jolly December Creating | Amanda Baldwin

Hi Shimmerz Friends & Fans! 

Amanda here, and today I am sharing a lil Holly Jolly Christmas inspiration! 
I trust you all had a safe & very Merry Christmas, 
and now have a ton of Christmas photos to scrap?! 
Well, I think I have the best Christmas color combination to share with you today - inspired by peppermint candy canes, no less! 
Here's what I'm talkin' 'bout......


I told you it was the BEST!!! 
Ga - ga - gorjus! 
I've combined my favorite Coloringz: Oh Say Can U Sea

What a stunning combination of our Shimmerz favorites! 
Here's what I created with them,  

"Holly Jolly"


Sigh! Isn't this so soft, & pretty for Christmas?!
I just love the fresh & modern look this creates - so light and playful! 
Perfect for my 2 darlings in the photo! 
Here's a closer look for you....


Wow!
I have combined these stunning colors with a couple of cut files, as well as Elle's Studio scrapbook supplies. 
I start by creating my mixed media bases which my cut files layer onto.
 I use the packaging technique and add lots of color droplets and splatters too! 
Once dry, I apply the tiny dots stencil with Dazzlerz Spun Sugar. 
I also spray the snowflake cut files with that soft jade color, Coloringz: Oh Say Can U Sea, and then give a light coat of Shimmeringz: Baby's Breath for a gentle hint of shimmery goodness! 
I love how this turns out!
You can see the entire process in my video HERE. 

Here's a few close-ups for you....


Those colors are just divine! Such a perfect combination! 
Oh, & that cut file is a FREEBIE! Yesss! 
I've popped a link for it in the description box on my channel - so be sure to check it out & subscribe to Happy Arty Days too! 


That snowflake cut file is gorgeous! 
It's called 'Snowed In', and is another Freebie - from The Cut Shoppe!
 I love the soft hint of shimmer that the Baby's Breath adds to the Coloringz: Oh Say Can U Sea - so pretty!!! 
And such a great way to add gentle interest to my photo cluster! 


So.much.gorgeousness!!!


See more of this pretty Christmas layout on the Shimmerz Paints channel HERE

Thanks so much for stopping by today!
I hope you enjoy watching my process video! 

REMEMBER: Type AMANDA in the comments section of your Shimmerz Paints Store order to receive a FREE paint! Yay!!! 


Thanks again, & Best Wishes for the New Year!


Friday, April 28, 2017

Pops of sprayed color stars in this Thank You card

Hi Everyone, Beck Beattie today with a fun background to a sweet card I created using the my Shimmerz sprays to contrast against neutral tones of the pattern papers, florals and die cuts.

 Products Used:

Shimmerz Vibes Pop Art Pink
Shimmerz Spritz - Ruby
Shimmerz Spritz Cotton Candy

Other products:
Bella! New York Paperz 'Join Together' pattern paper
Bella Fundamentals doilies
Bella Fundametals square cards - grey
Ruby Rock-It Faded Empire Collection Florals
RG Silver and gold collection - full bloom
Fun Stampers Journey - 'Circle Bliss' stencil
silver cord
white and grey cardstock

To create the colorful contrasting background I first layered up the three colors of Shimmerz sprays overlapping some of the colors in areas.  I then dried off this layer before adding and additional layer using a stencil.  I used the stencil by spraying the 'Pop Art Pink' onto the stencil and then stamped with it over the now colored cardstock.

To create the contrast I then added a number of die cuts in a neutral tone (Grey) and adhered them cutting off the excess before adding this onto my card with pattern paper and florals and embellishments.

The Shimmers sprayed color really pops against the grey die cuts and the effect looks so wonderful!
Here are some more pics so you can get up close to my project today :)


I Hope you enjoyed my share today.

Happy Crafting!


Tuesday, April 18, 2017

OH so cute Owl

Hey Everyone, Beck Beattie here today with a sweet off the page project share.  

A little while ago I picked up this cute wooden Owl at my local Kaisercraft outlet.  I have been dying to use it and I knew some Bella! papers teamed up with my Shimmerz products would look perfect for what I had in mind.


Products Used:

Shimmerz Vibes Spray - Hot Fudge
Shimmerz Spritz Spray - Cotton Candy
Shimmerz Texturez - Sandy Stone

Bella! New York Paperz - Chevron
Bella! Raw & Rustic Paperz - Valentine
Bella! Raw & Rustic Paperz - Bunting
Ruby Rock-it 'Bolt' floral
Bella! Bling - Hearts
Bella! Bling - Small Borderline
Kaisercraft Wooden Owl
Assorted metal flowers and embellishments
Assorted lace trim

I created a video for you to watch it come together, it was sure fun creating it!  If you want to head over to my blog you can check the video out HERE

I love how my Shimmerz products really helped me match in the various products I wanted to use to create my sweet owl.

The base for my project is a sweet Kaisercraft Owl that I recently picked up at my local outlet store.  After choosing my pattern papers to use, I stitched them together with a wide but close together zig-zag stitch and adhere them to the owl.  I used a sanding block to remove the excess paper from the wood.  This is best shown in my video.


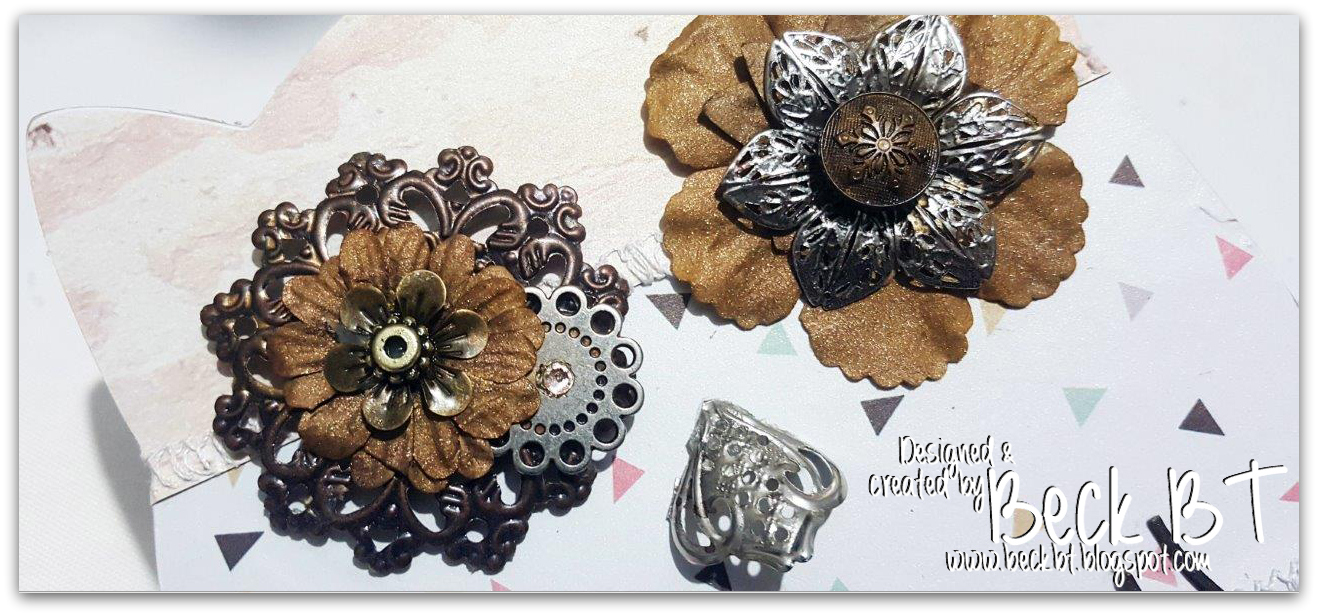
To create the eyes I sprayed the yellow 'Bolt' flowers with the Shimmerz 'Hot Fudge' spray and layered with metal flowers and embellishments using silicone adhesive.  I also used Silicone adhesive to adhere them to the wooden owl


Next I colored up the lace trim using the Shimmerz Vibes and Spritz sprays along with the Texturez paste for this divine glimmery color.


Additionally I colored up the chipboard pieces using the same Vibes spray in Hot Fudge for the lovely dark brown color it became.


My Shimmerz products really helped me match in the decorative flowers, trim and chipboard I used to embellish the owl.

I hope you enjoyed my share today and I might have inspired to you go a little 'off the page' and create something fun and a little different!

Happy Crafting!