Showing posts with label #ShimmerzPaints. Show all posts

Friday, June 21, 2024

My Person | June Color Kitz | Brandy Vaughn

 Hello, friends! I'm back with a new layout using the gorgeous June Color Kitz!


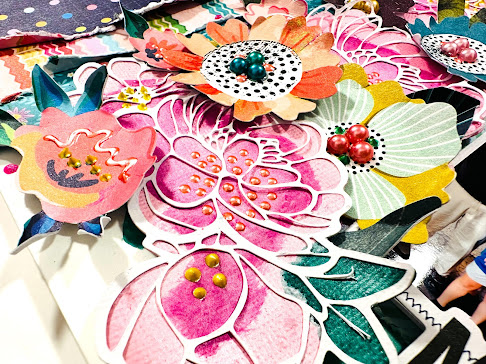
I started by choosing a starburst pattern in Cricut Design Space and cutting all of my pieces out. I used 3 of the patterned papers in the kit and one piece of smooth white cardstock.


Then I painted the cardstock with Inklingz-Punchy Pink.


Next I stamped a bunch of flowers and leaves on white cardstock, painted them with all the colors in the kit and fussy them out.


Finally, I chose some of the cardstock elements from the kit and started building my clusters. I added a finishing touch with Color Splash-Black Hole.


I hope you are inspired to reach for your Shimmerz Paints when you create your next layout. Don't forget to add my name to your order for a free product!

xoxo
Brandy


Friday, April 5, 2024

A Dry Brush Blending Technique That You Have Got To Try | Brandy Vaughn | April Color Kitz


Hello, friends! It was love at first sight. As soon as I opened my April Color Kitz from Shimmerz I knew I was going to have so much fun! I had to dive in right away to create this simple, colorful mixed media layout. You all should give this one a try! 


I began by covering smooth white cardstock with gesso. Once it was dry, I dipped a dry paintbrush into a little bit of Vibez-Blue Jeans and applied it to the center of the page in a circular pattern. 


Then I repeated the process with Coloringz-Well Blue Me Down, Coloringz-Sunny Side Up (kit only color), and Creameez-Piggy Pink in that order. I overlapped each color so they would blend to create this pretty rainbow effect. I added a second coat to deepen and blend the colors a bit more. It dried very quickly so I had to work sort of fast to get the colors to blend. 
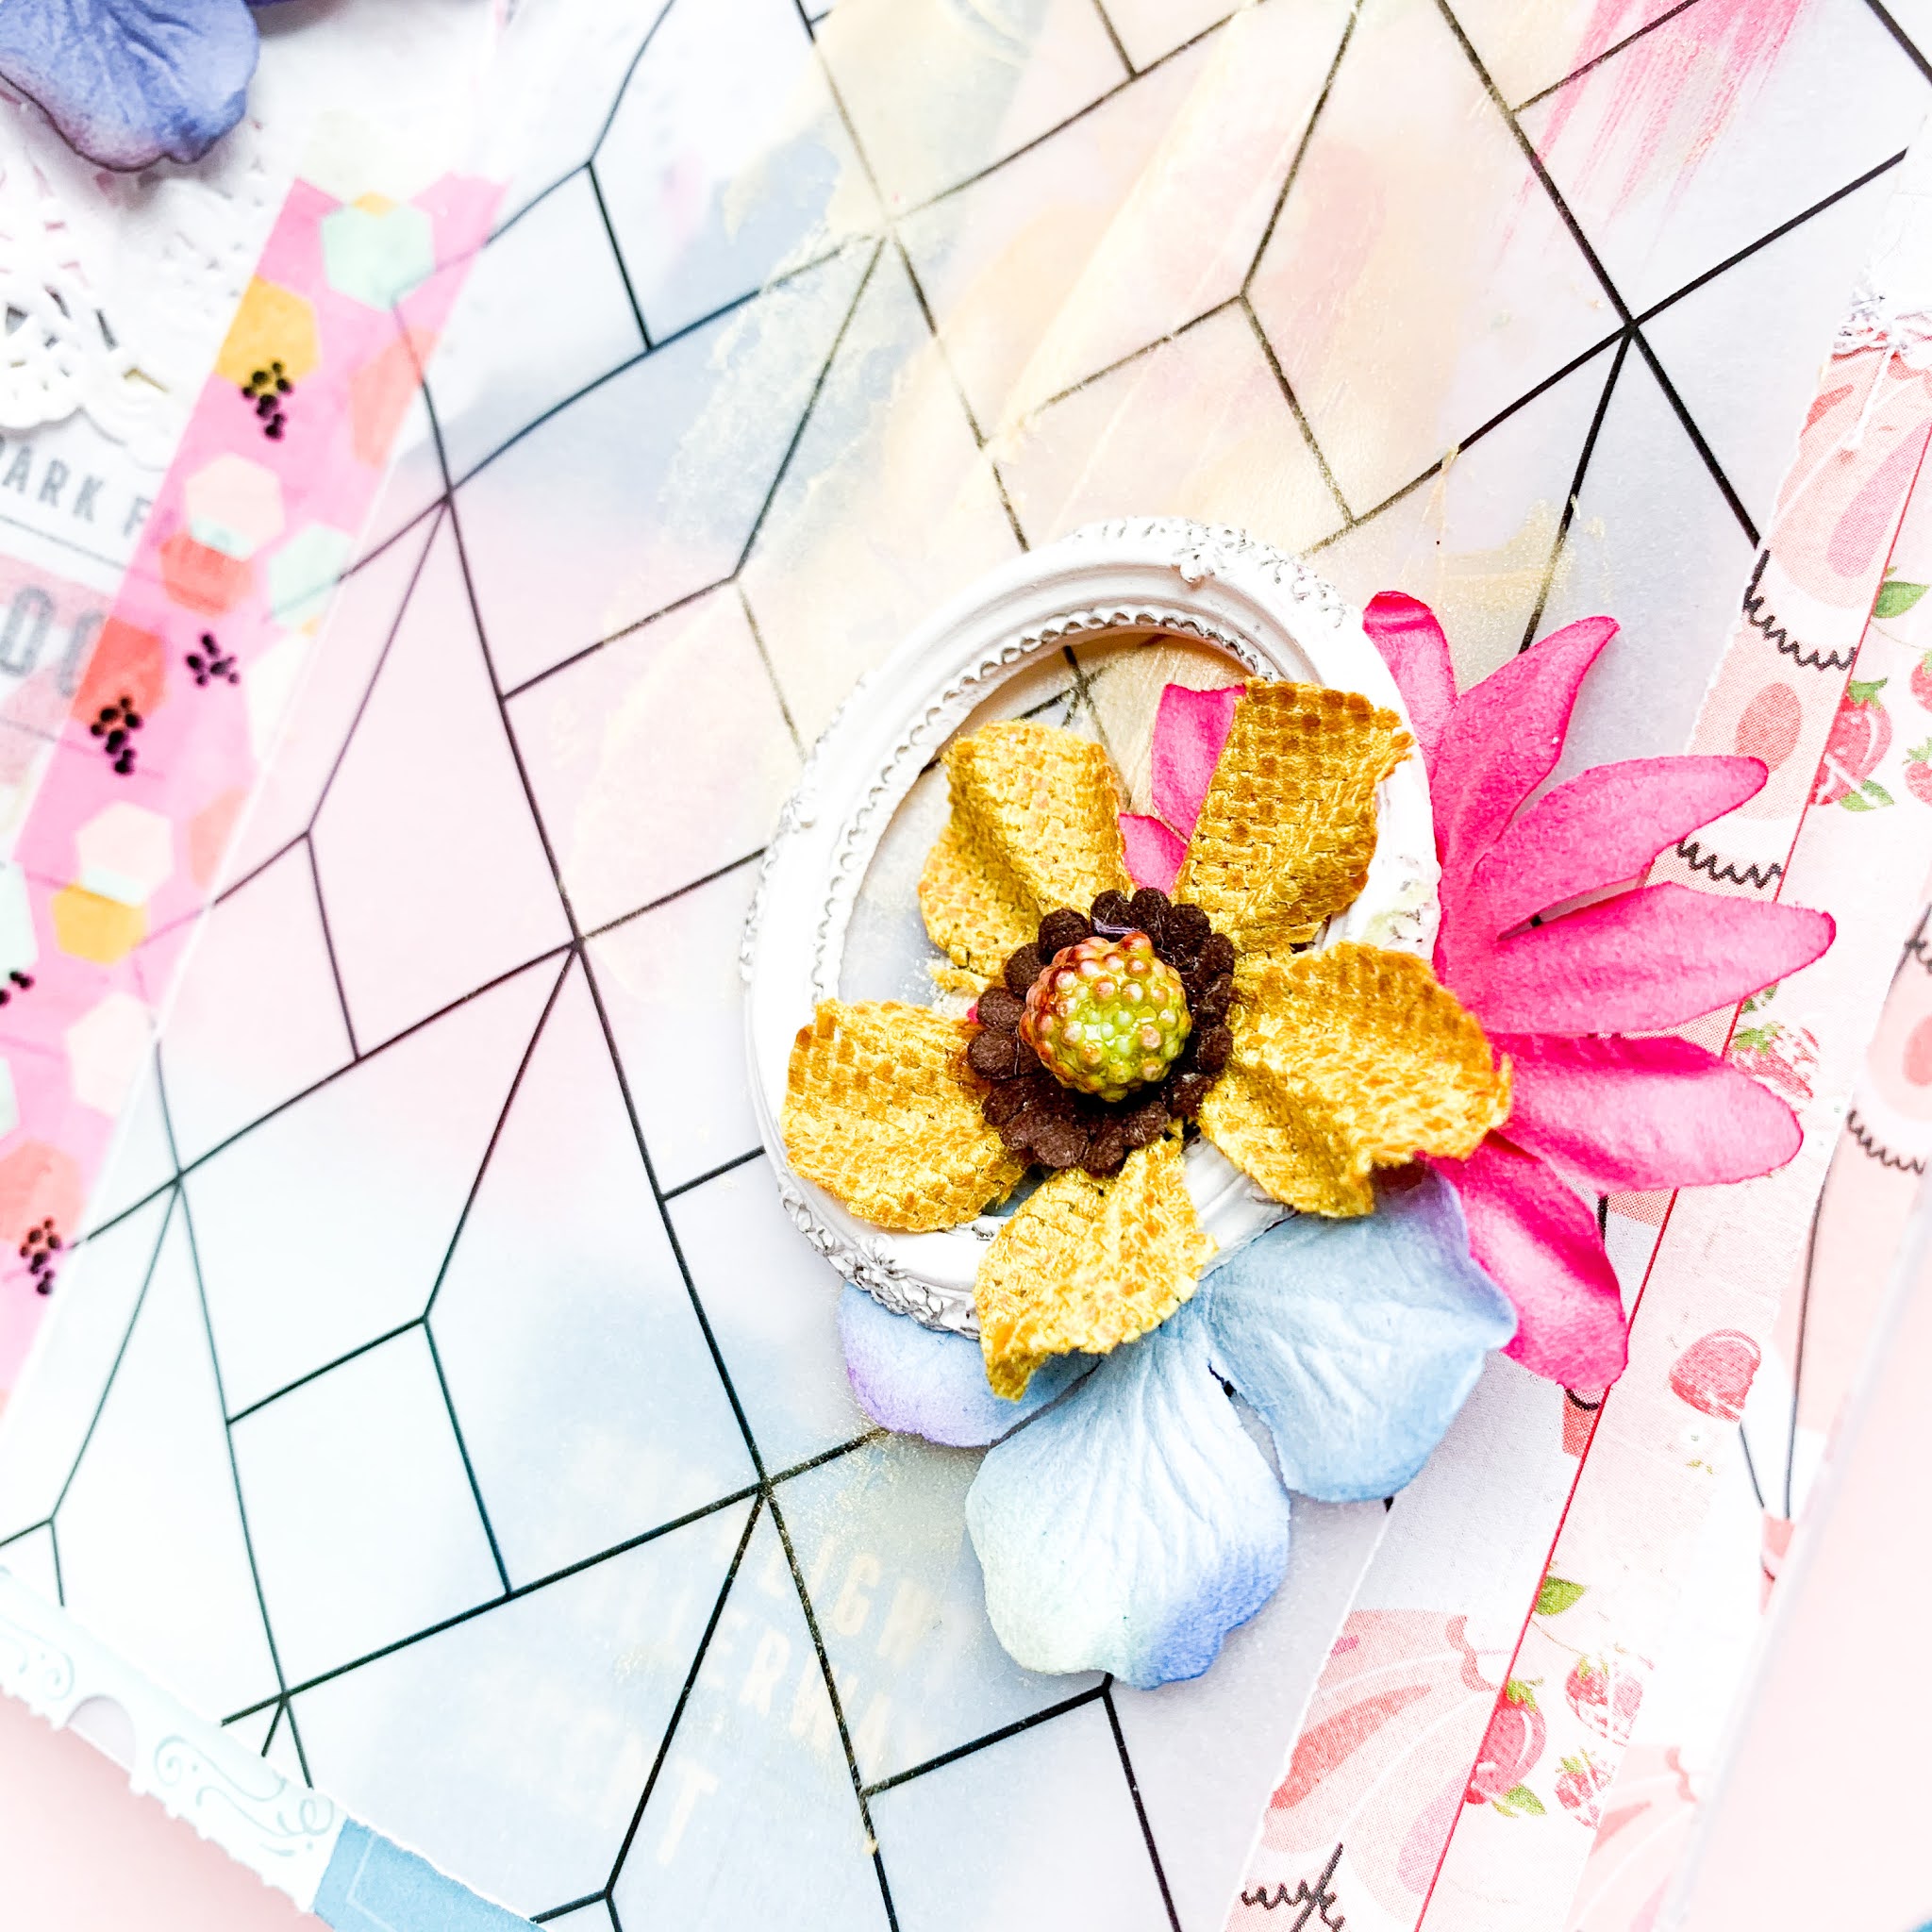

My next step was to roughly cut the mixed portion out in a circle and distress the edges. I took that to my sewing machine and stitched a wonky spiral in the center to firmly attach that to my background paper. (I used a small amount of adhesive to keep it in place while I sewed.) I had previously cut my title out with my Cricut so I decided to paint it with Shimmerz-Peaces and Cream. I LOVE how the Shimmerz adds so much shine and presence to my simple title piece!


Now it's time to add my embellishments. I created a floral cluster with the super pretty flowers and leaves that come in the kit. I also added a couple of word phrases and heart stickers from the kit. And that wraps up this layout. 


I love the final result of this dry bush technique! I can think of so many ways to use this. If you would like to see how this all came together you can check out my process video here: 


Head on over to the Shimmerz Shop to check out all of the goodies that come in the April Kitz. Don't forget to add my name to your order for a FREE paint!

xoxo

Brandy


Saturday, February 24, 2024

Enjoy Life and Have Fun | Brandy Vaughn | February Color Kitz

 Hi everyone! I'm back today with another layout using the February kits. I really wanted to get these photos scrapped before the end of the month. 


I began by running a smooth piece of white cardstock through an embossing folder. I cut the pieces down to 5-inch squares and applied my mixed media. I added my first color and let it dry completely before adding my second color. I then let that one dry completely and went in with my 3rd and 4th colors while each was wet. 


When those were dry, I added some machine stitching around the edges and adhered them to black cardstock. Then I fussy cut the flowers from a piece of paper in the kit and used a fine paintbrush and Shimmerz paint to color them in. 


Next, I stamped my title and some leaves with black solvent ink and fussy cut those out. I also chose a Vibes from my stash to color in the leaves. 


Finally, I completed my layout with more embellishments from the kit, and a few gems from my stash, and then backed the whole thing with another patterned paper from the kit. 


I hope I have inspired you to try mixed media on your next layout. Check out the Shimmerz Paints store online to see all of the amazing products. If you purchase, don't forget to add my name, BRANDY VAUGHN to your order for a free paint! You can also view my full process video below. 


Have a lovely, crafty day! 
xoxo
Brandy


Wednesday, March 29, 2023

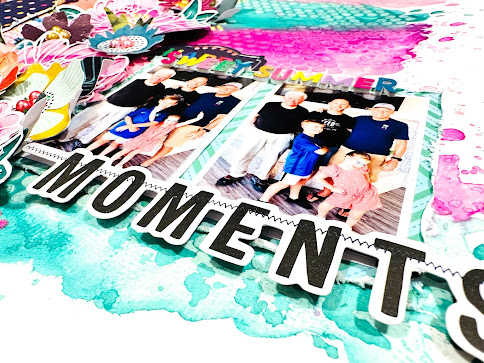
Sweet Summer Moments | March 2023 Color Kitz | Sarah Millerhouse

Hello, Shimmerz Paints friends! I am excited to share a new layout with you today featuring the March Color Kitz! I love the colors in this collection! I had so much fun letting them shine on both the background and on the cutfiles that came with the kit this month! I have a link to the full process video at the bottom of this post!


I started by adding texture paste to the background through a stencil from Peartree cutfiles. I let that dry, and then I added the beautiful colors from the March Color Kitz. I added the *NEW* Inklingz - Loose Lips Pink Ships, Vibez - Ocean Water, and Creameez - Paradise Punch. I turned the paper sideways and added the color, along with water, to let it run across the page. 


I love the shimmer and shine these mediums have, and that is intensified when you let it run over texture on the background.


I also cut the beautiful flowers from the two cutfiles that we got this month, and I used the same colors to paint the solid backing piece (created using the Contour tool in Cricut) behind the cutfile. I love that these flowers feature the same colors as the background and help tie everything together!


I paired up the Color Kitz with the Blooming Wild Collection by Paige Evans and also ephemera from the Print Shop collection by Vicki Boutin. I love how the corals, oranges, and mustard yellows contrast with the purples, pinks, and deep green in the Color Kitz. 


I have all of the details in the full process video linked below! Be sure to add my name to the comment section on your Shimmerz Paints order to get a free gift! 


Thursday, August 26, 2021

Painted Sunflowers|Sara Scraps

 Hello Everone! Sara with you today! When I sat down to create my project for today, I decided I wanted to paint..and I wanted to paint a flower. A shimmery, pretty sunflower. The best way to make my sunflower be the star of the show would be to put it on a card. 

 I started by grabbing some metal dies..painting freehand is not my best ability. Sooo..I decided to die cut my sunflower and leaves using some hot press watercolor paper. this allowed my to add layers of paint to my flower without it warping or becoming too wet and tearing.


Once I had all my pieces die cut it was time to paint! I chose 2 or 3 colors in different shades for each of my flower elements. By choosing different shades of each color I could add highlights and shadows to my flower to create depth to my painting.
For the center of my flower, I chose Burnished Buckle Inklingz and Coffee Shimmerz. 
For the leaves I chose Celery Shimmerz, Honey Do List Inklingz, and Greener Pastures Inklings. I applied the same technique I would use to color an image with alcohol markers to the painting. started with a base coat of the lighter colors and then adding some shadows with the next two colors, working light to dark.


And here is my card! I used some cream cardstock for the base and some brown ink to bring out the edges. I added a dark burgundy stacked die cut sentiment and a smattering of sequins to highlight my sunflower.
I love how mixing the colors added so much interest and depth to my flower. It certainly does not look flat! 
And just look at all that pretty shimmer! 
As summer transitions into fall, sunflowers are the perfect late summer flower. Do you like sunflowers in your crafting? If so, be sure to grab some of this paints for perfect sunflowers! 
Have A Lovely Day! 
Sara 


Monday, October 26, 2020

Loving This Moment - Samantha Robles

 Hi everyone! Samantha popping in to share a fun mixed media layout using some unexpected item you might find in the most ordinary of places. I'm one of those "make it work" type designers. Sometimes, the most random of finds makes for project gold. Get ready!

 I absolutely love this picture of my husband and son. I shot it really quick during our family pictures last year. Idaho Autumns are, in my opinion, some of the most beautiful ever. I started by pairing some of my new PinkFresh "Days of Splendor" ephemera pieces and sheets of paper from the Simple Stories "Cozy Days" collection. The perfect match! Once those are matched up, I wanted to find some colors in my Shimmerz stash to go along with my groove I had going. This is where you find the most random of things in unexpected places. I was walking through my all time favorite place: Target. I always browse the Bullseye's Playground, aka the dollar spot. It's my trouble place. I always come home with stuff I don't need. So the Fall stuff rolls around and there are packages of 9 piece balsa wood leaves. Price: $1.00. Normally, you'd pay 2-3x as much for that on a scrapbooking website. So my advice, ALWAYS CHECK BULLSEYE'S PLAYGROUND!

 I snagged two packaged and brought them home. I narrowed down my color choice to:
Pip-Pip Cherry-O Shimmerz
When Skies R Grey Shimmerz
Run! Forest Shimmerz
Dear John Letter Inklingz
Dandy Lion Creameez

 While my wood pieces are drying, I start tearing up my cardstock pieces. Once I have them right where I think they're perfect, I begin to add my ephemera.  I start with my flowers around my photo. Then after, begin adding my wood pieces tucked between the flowers and photo.

The final finishing touch is this adorable Dotz from a previous Color Kitz Collection that I had saved.

Thanks so much for stopping by!
Have the best last week in October <3


Wednesday, September 23, 2020

September Color Kitz With Emilie Chamel


Hey friends! Emilie here today for a very special project as part of the Shimmerz Design Team. I am using the stunning September 2020 Color Kitz. which contains:


  • Blue Jeans Vibez
  • Magenta Shimmerz
  • Iris My Case Shimmerz
  • *NEW EXCLUSIVE COLOR* Sage Advice Inklingz
  • *COMEBACK COLOR* Butter Cream Shimmerz
  • 1 exclusive Stella Layered Flower Design cut file created by Shimmerz Paints 
  • 1 set of "My Happy Place" Dotz
  • 1 package of Mini Rustic Crafting Clothes Pins


You can find my process video on my YouTube Channel.


Lately I have been finding my Faith again and part of my ritual is to write down in mini-book I created several months ago Verses and Scriptures which "Talk" to me and adding a text or Prayer which came out of me reading this verse. I really love and enjoy this time with Him as well as the creative process. 


My Shimmerz Paintz, Vibez and Inklings have found a central place in this book and I reach for them every time I create a new entry. I even added a little bit of  24 Karat Gold Foilz to this spread. I can't get enough of this gold and have been using it loads!


One of the thing I love to do is cerate an ombre effect with my Shimmerz, which I did here with Buttercream, Magenta and Iris M y Case.


I colored the wooden peg with the Blue Jeans Vibez and mixed some 24 Karat Gold Foilz with a little bit of Magenta on my Velum.


A few flowers and embellishments for added details and my entry was completed!


I have so much love for these products!


Make sure you grab this gorgeous, fall kit from the Shimmerz shop before they are gone and add my name "Emilie" in the comment section for a free surprise gift! See you soon!


Emilie xxx

Monday, August 31, 2020

Blessed Joy | Shimmerz Paints Creative Team | Masculine Mixed Media Layout

 Hello everyone!

Who's up for some Fall Fun right about now? As one day leads into the next, we are slowly transitioning from Summer to Fall, and hopefully some cooler weather. I have a masculine mixed media layout to share with you today, and it can easily be adapted to more of a Fall theme. Not only that, but it also took under 20 minutes to make!


Let's get started. I began by choosing a navy cardstock as my base and added 3 horizontal brushstrokes of white acrylic paint followed by two areas of modeling paste in the upper right and lower left hand sections. I set my base aside to dry off the modeling paste and in the meantime began selecting my embellishments. I didn't got to crazy with the embellishing so as not to cover up the mixed media. 

Once my base was dry, I sprayed Rollin' In The Hay and Bed of Roses near the modeling paste; and splashed a bit of Granny Gray on the other areas. I then began to add in my pictures (matted on silver cardstock and backed with craft foam) nestled a bit on top of each other and began placing the previously selected embellishments (for added dimension, some of them were popped up on craft foam as well). Finished off the tags with some off-white ribbon, added a few drops of golden Stickles, and splattered some more Rollin' In The Hay and Bed of Roses to tie everything together. 

And that's it! Pretty quick and simple, but altogether a stunning masculine layout. Hope I've inspired you to crack out your fall colors and get creative. Thank you so much for reading up to this point. Remember, you can always get a freebie in your next Shimmerz order by typing "LORIMAR" into the comments section.

- Stay Well, Lorimar.


Tuesday, August 25, 2020

Late Summer Floral layout with Samantha Robles

 Hey everyone! I hope August has treated everyone well. I'm SO ready for the Fall season. Before we jump into the new season, I needed to squeeze out one last Summer inspired layout for the season. 

I was so excited to break into my "Go The Scenic Route" Collection by Pink Paislee. I started by ripping the top and bottom part of the sheet of Paper 12. Not gonna lie, it was a little heartbreaking. But it's so worth it! After sticking it to a sheet of white cardstock, I then start by adding my photo to the center of my layout. Afterwards, I start piecing my flower ephemera pieces behind my photo. This photo is from 9 years ago when my husband and I were tiny and dating (HAHA). It's my all time favorite photo of us though. I've been saving it for some time.

 After gluing those pieces down, I start on my stamped pieces. I wanted these to be more highlighted. These flowers will look familiar to some of you. I used them in a March Color Kitz Collection layout. They're from Altenew.

The Shimmerz colors I used are the following:
Precious Posey Inklingz
Lapis Dance Creameez
Dandy-Lion Creameez
Magenta Shimmerz

Lapis Dance is one of my absolute favorites. It's an underrated color for sure. The amount of shimmer and vibrancy it added to your projects is perfection. After my paint dries, I highlight the little features of the flowers. The cutting doesn't have to be perfect when trimming them out. Messy doesn't always mean a mess. Perfection can sometimes be intimidating. Don't be afraid to color, paint or cut outside the lines.

I wanted my painted pieces to pop out more. That means we make them LITERALLY pop out with some 3D foam tape pieces.
The final touches are some awesome Dotz from the Shimmerz Shop and adding some cute polka dots around the flowers. Keeping it simple does not mean giving up that magical effect to your photos. 
Thank you so much for stopping by. Find one way to make Shimmerz help your layouts POP. Get stocked up on those fabulous transitional colors for Fall.

Have a wonderful week!

Friday, August 21, 2020

Ready For Adventure | August Color Kitz | Mixed Media Layout

 Hey there, friends!

Thank you so much for stopping by the Shimmerz Paints Blog. This is Lorimar, sharing one final Summer layout before we switch gears into Fall.

This layout was made using the super-colorful August Color Kitz, which you can grab or find out more about by clicking here. The colors and motifs were just perfect for documenting these two pictures of my youngest taken during one of his monthly photo-shoots.


Let me walk you through the process: I began by cutting out the cutfile on white cardstock. I then colored it using all the colors from the August Color Kitz and Granny Gray (click on the name to find out more). I then backed the cutfile with acetate and craft foam around the outer edge so that I could use it as a shaker pocket.
My base is a lovely yellow color which I thought was a perfect contrast to all the other colors. Using the negative from the cutfile, I sprayed the center of my base with Glorious Day and Bamboo Leaf. After removing the negative, I splattered a bit of Pop Art Pink to the base.
Once everything was dry, I emptied out the Melon Ball sequin packets unto the center of my base, glued the cutfile on top to make a huge shaker pocket, and then stuck down my photos. In order to make the background and cutfile stand out, I kept my embellishments to a minimum; added the Dotz from the Color Kit, and finally splattered some Slow Ocean and Bamboo Leaf.
That's it! Close-up are done below!

Thank you so much for reading this fair. Remember, by typing my name "LORIMAR" into the comments section of your next Shimmerz order, you'll get a freebie!
- Stay Well, Lorimar