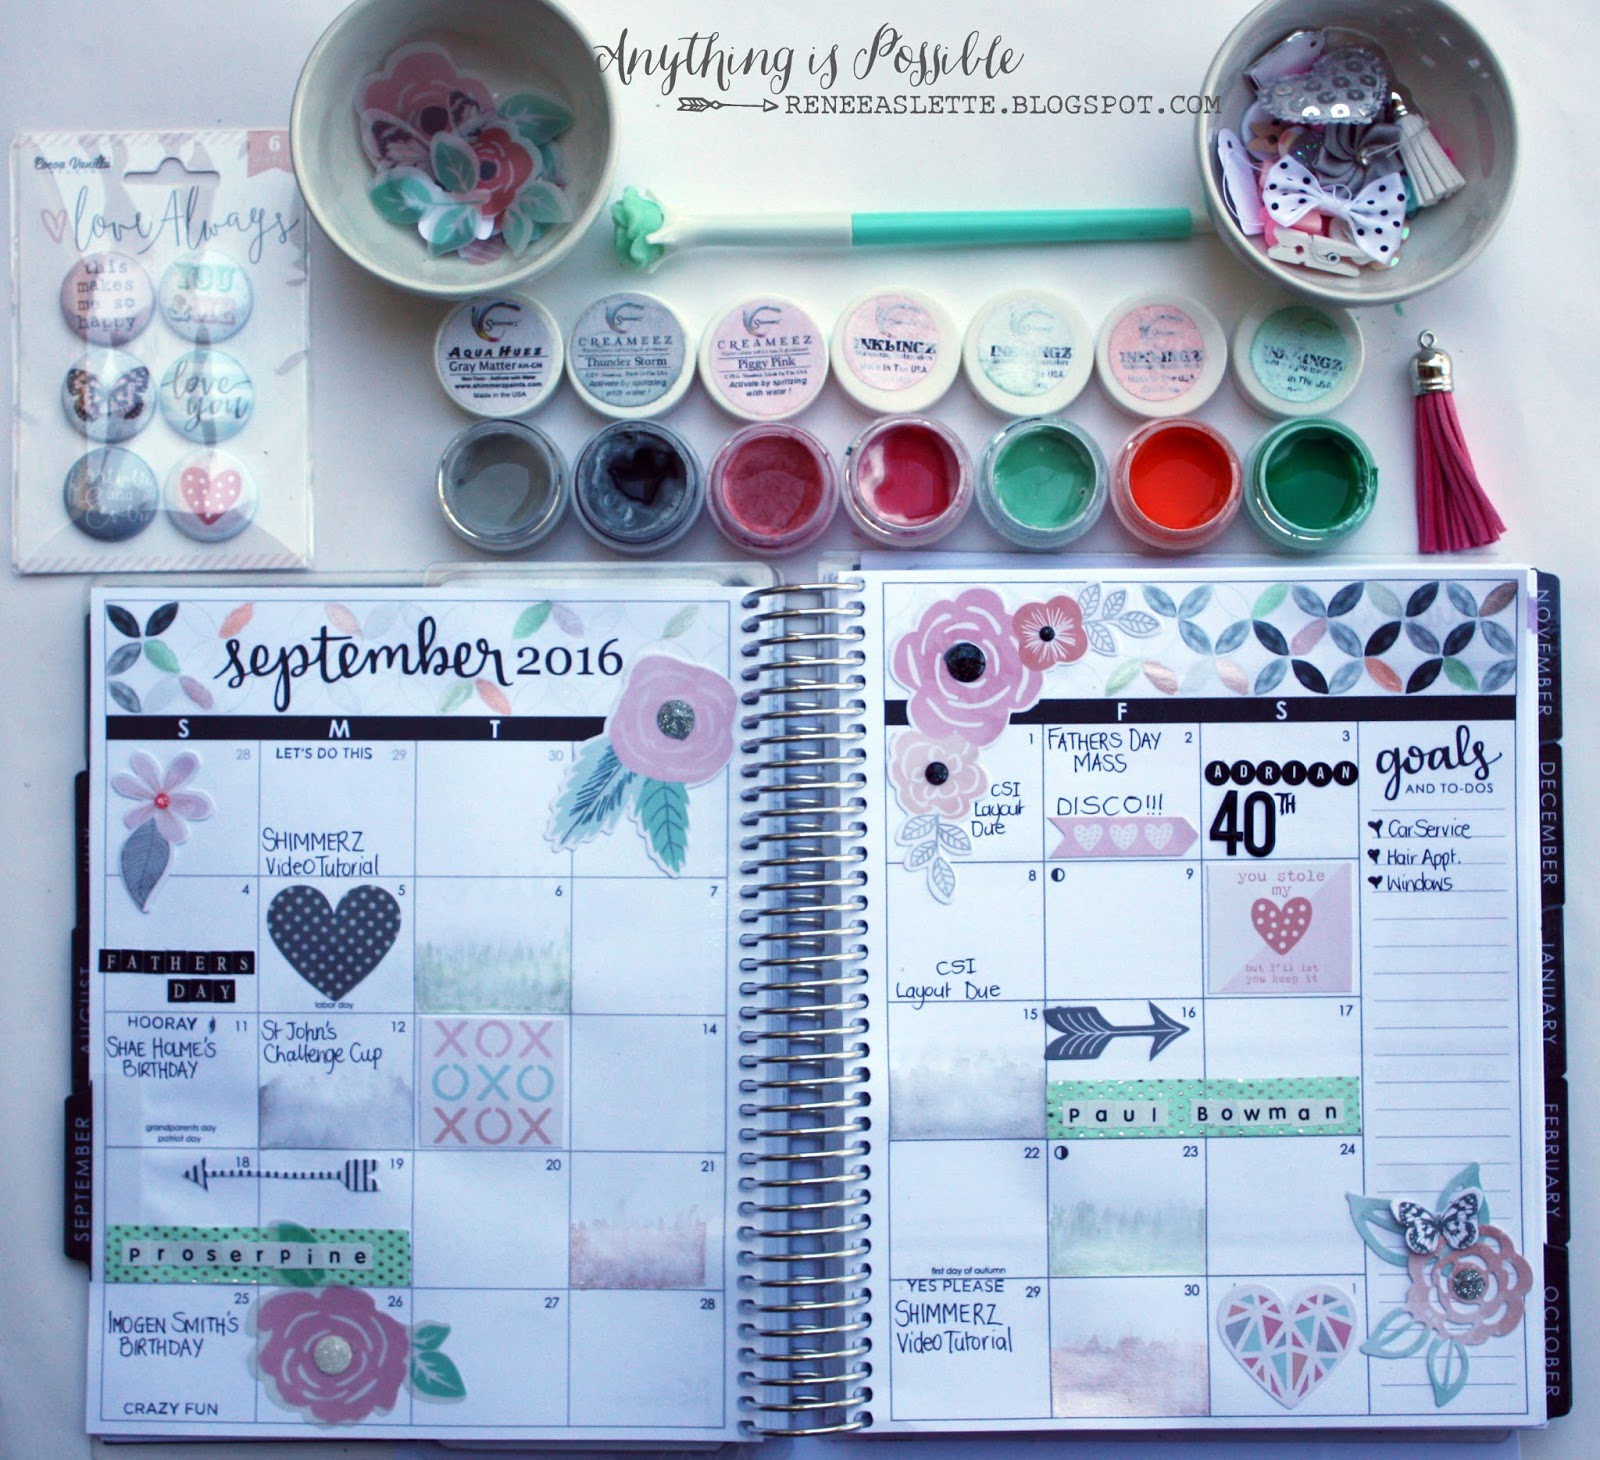
I started with my 'Brain Dump' / monthly log for August. I added some simple Lettering and a 'glaze' type technique for adding a graduating colour border to my pages.....really pretty!!!
See the Video below to watch how I did the background and the title in this one
You can see how easy the doodles are. Straight stems with different shaped flowers on top!
Add a few touches of shimmer here and there with a gel pen and its done!
I used a Kuretake Fudengokochi brush pen, which makes the lettering pretty easy. Like regular brush lettering with a paint brush or waterbrush you just press heavier on the down stroke and nice and light on the upstrokes. Keep that rhythm and you have it! This particular style of font in the hand lettered quote is a mix of letter styles in the once piece, adding capitals in with cursive and some serifs as well. Looks really cute mixed up like that!
Some other sample spreads that are coming up for this month......
This has to be my favourite way to use Acritonez yet I think. Painting florals with my fingers!
I dip my finger in pink, and swirl it around in rough rose petal shapes, then dip again into white and swirl some more into the still wet pink paint, adding highlighted area to the petals. You can go back in with pink or a darker red tone and end up with a pretty cool looking, slightly textured rose. Very pretty!!!
ANOTHER TECHNIQUE.....
This one was done by 'smooching' (technical term, I know.....lol) a piece of heavy plastic onto some watery paint on my craft mat and repeatedly pressing it onto my planner pages. Its a great artsy way of applying paint that you don't want too strong....ie in areas you want to add writing to!
the next few pages are created this way!
I hope you find some fun ways to use Acritonez in the future. This is seriously an awesome product. You need to give it a go!!!
Another month has rolled on by and its June already!
But that also means another Love Letters Video.
This time I am sharing a page from my Planner.
I love my Planner. Its always with me, and it really does contain my life!
This month I used Shimmerz for some watercolour elements and some calligraphy. It always creates a lovely page with the shimmery lettering and details. So beautiful to work with too!
I used a selection of greens from The Shimmerz, Inklingz and Creameez ranges and a water brush. I tried to choose colours that fit in three different ranges. lights, mediums and darks so I could get some dimension in the leafy wreath.
Check the Video to see the process.
So thats it from me for this month.
Find me on Instagram (@lydellquinart) or Facebook for more snippets!
Happy New Year! It's Beck Beattie here to share with you a fun planner project. So the new year is here, and I'm getting myself organised! I would like to keep myself inspired and want to have some little prompts and words of focus for the year ahead. Although I haven't yet created my 'wish list' - still thinking on those, my card is ready to go and i'll add some wishes using a typewriter and then cut them into strips before adding to the card.
I created it to be able to be affixed to any part of the planner with a bulldog clip. This will enable it to move with the dates and always be a great visual memory enabling me to keep focus on achieving those 'wishes'
To create the background on my card which you could use this technique on any project you desire... maybe a scrapbook page or a card or even an Art Journal page.
I started out with the die and some Shimmerz Aqua huez. I took 2 pieces of white cardstock and die cut one, the other forming the base of my card.
I then used the die cut as a stencil an painted the colour through onto the card with the Little Boy Blue at the top and the Gray Matter at the bottom, blending them in the middle.
Doing this I found I had color on my die cut, I added a little more and then stamped that onto some cardstock for another project
As you can see it quickly came together! Then adhering all the elements together with paper and embellishments it came together rather quickly. I also added an additional piece of the pattern paper as a base for the white cardstock cutting it slightly larger to achieve a decorative boarder around the card.
Shimmerz Products Used:
Aqua Huez in 'Little Boy Blue'
Aqua Huez in 'Gray Matter'
Other products used:
Fundamentals Doilies
Fundamentals Sentiment toppers
Bella True Romanic Paperz 'Love'
Kaisercraft Mixed Media circles die
White cardstock
Fun Stampers Journey Planner
Hope you enjoyed my share today, and maybe found some inspiration for the new year ahead!
Hey there fellow Shimmerz Lovers! It's a beautiful Saturday here in Australia, I hope your Saturday is a great one, wherever you are!
I am sharing my page for next week in my Leuchtturm 1917 Planner today. I really enjoy playing with watercolours in my planner making it pretty. I find myself more motivated when it's pretty!!!
So week 38/52 is ready to go!
I am working in the Leuchtturm 1917 Planner (with Graph paper- so I can include my Bullet journaling in the same journal) It has really nice paper that handles paint and wet media very nicely so long as you're not too heavy handed!
I used Shimmerz Aqua Huez for this, with a water brush and once completely dry I inked with a black fine tipped Sharpie.
I fill in all the things I know ahead of time, then add in meal ideas, hydration, daily goings on and other things that pop up along the way.
Using Shimmerz Paints in your Planners makes prettying up fast and easy, and you get some creativity in at the same time! Very good for the soul!