Showing posts with label Boy Layout. Show all posts

Thursday, July 28, 2022

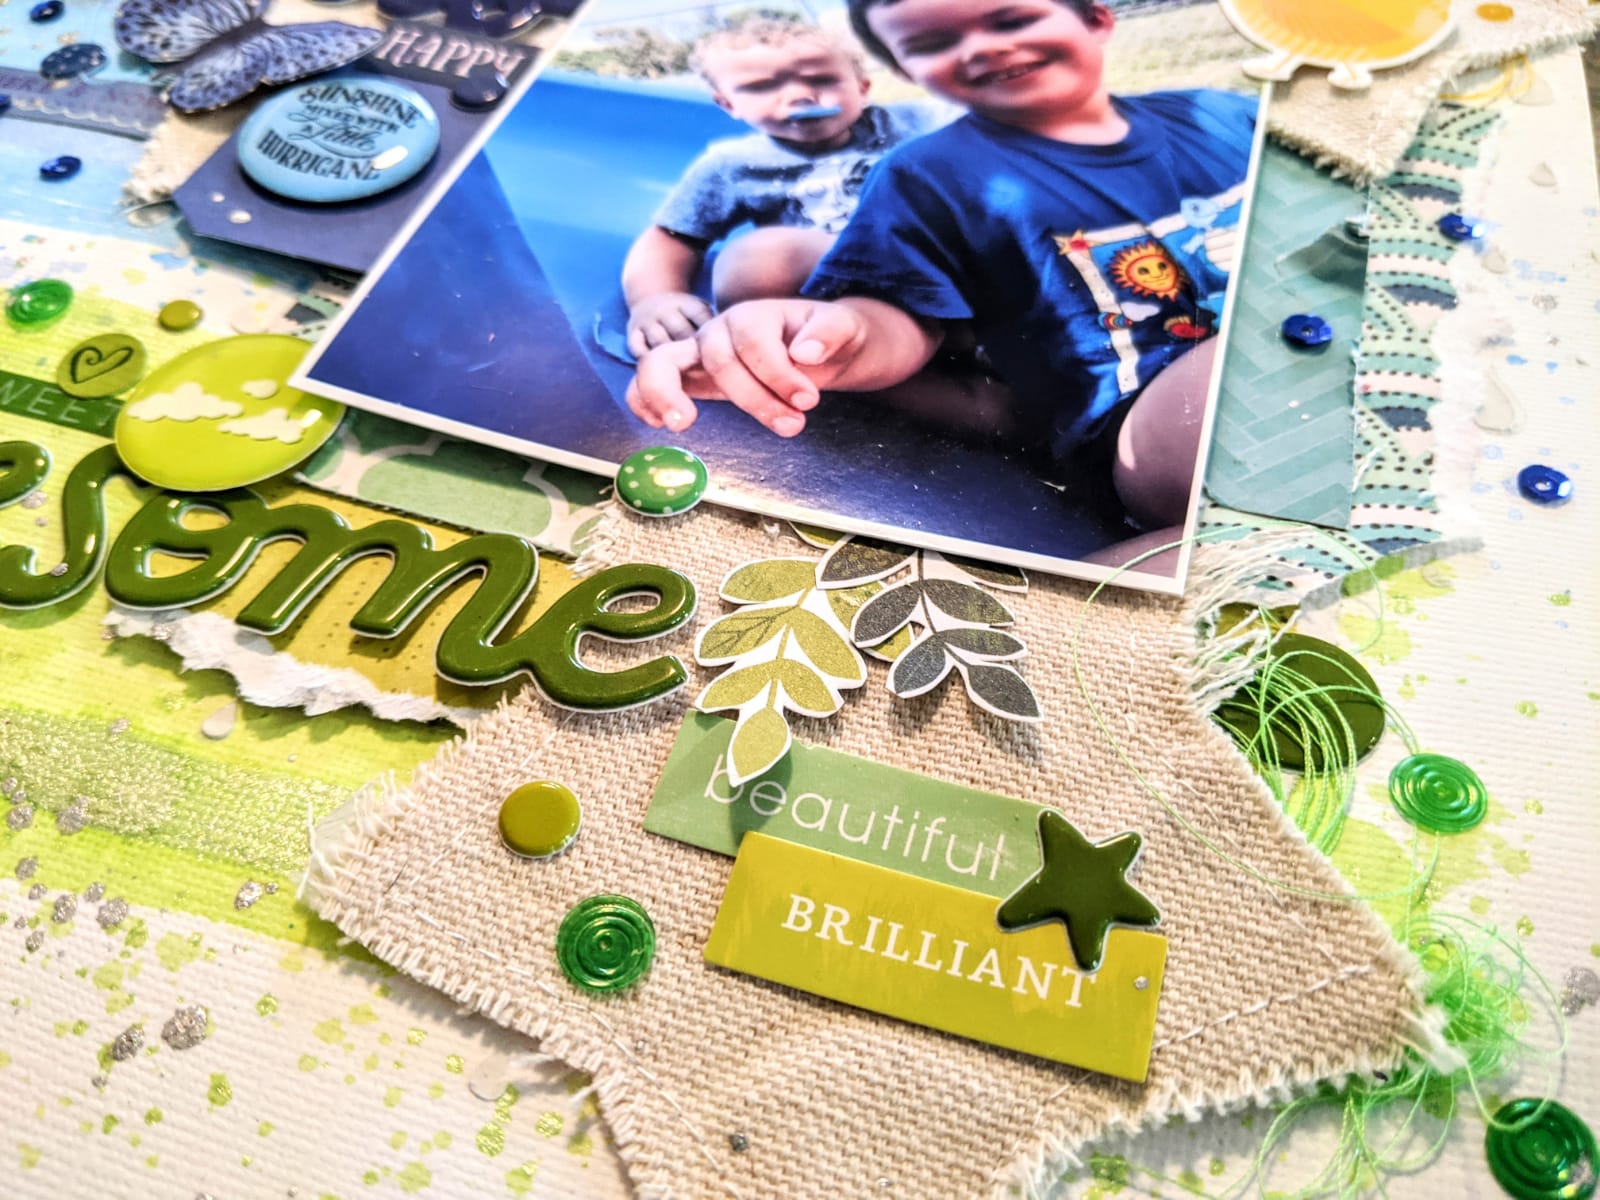
Awesome Buds | Lorimar Ortega | Cocoa Vanilla Studio No Limits

 Hello Shimmerz Paints Pals,

Today's layout will show you just how easy it is to make a stunning mixed media layout. I used papers and embellishments from Cocoa Vanilla Studio No Limits collection and 2 4x4 photos, but you can use anything you have on hand.


Let's get started!

I began with a light gray-blue mixed media patterned paper from the collection and a rainbow striped paper. The first one will be used as a based while the other will be used to add color unto the layout as a layering piece and mats for my photos. 

On the base I sprayed You're The Zest, No Yolkin', Sapphire, Freshly Squeezed and Caribbean Sunset. For an added mixed media effect, I splattered Sapphire and Caribbean Sunset as well. While the base dried, I trimmed my photos to measure 3.75x3.75 and matted them with the yellow side of the rainbow paper. After cutting a strip of the same paper, I tore one of the long edges off and distressed the other three; this was glued down horizontally in the bottom center of the page.

Both pictures were popped up on craft foam and placed at an angle on top of the rainbow paper. I then began to add in the embellishments and journaling. Finished off the layout with some splashes of Christmas Cheer, and done!

Thank you so much for joining me today! Remember, by writing "Lorimar" in the comments section of your next Shimmerz order, you can get a freebie!

Take care,

Lorimar


Wednesday, October 14, 2020

Oh Joy, I Got This Feelin' Inside My Bones | October Color Kitz | Lorimar Ortega

Hey everyone!

The October Color Kitz are up (they even sold out earlier, but have since been restocked). Have you picked up yours? They are amazing and so versatile. Yes, versatile even if they are very Halloween themed. That's exactly what I did for my layout; I deconstructed the elements from the October Color Kitz to tell the story of my youngest's "oh so joyous" phase. If you are interested in hearing about the story behind the pictures and why I deconstructed the kit to fit my story, click on the link to the process video at the end of this blog post. Also, since I didn't have any embellishments that would fit my story, I made my own by using some Vicki Boutin Stamps.

Here we go! I began by cutting the cutfile (part of the October Color Kitz) on lime green cardstock, and selected a green swiss dot Bazzill cardstock as my base. I purposely tilted the title and made marks with a pencil where my pictures were going to be. Then I began adding my colors unto the background by scraping it on with a pallet knife; without waiting for it to dry, I also added some Mother of Pearl Foilz. Afterwards, I splashed the same color on top just to get the different variations. These colors were Love Ocean #9, 4 Leaf Clover, and Plum Pudding.

As my base was drying, I began to work on my embellishments which were stamped stars that were haphazardly colored in with Marigold. Once my base and embellishments were dried, I fussy cut the stars out and began to stamp small stars and the phrase "Happy Moments" all over the background and in the same angle as my title. Added some crazy lines as a border around the base for an extra pop of black. Finally, I popped all the stars on craft foam and began to sprinkle them all over the layout.

And that's it! Thank you so much for joining me today! Remember, you can get some paint by typing my name "LORIMAR" in the comments section of your next Shimmerz Paints order. There are a couple more close-ups below, and a process video here.

Stay safe and Shimmerz On!

- Lorimar


Wednesday, April 22, 2020

Cool Kid | Color-Blocking Layout Using the April Color Kitz w/ process video


Hello everyone!

Lorimar here sharing a new layout for Shimmerz Paints! I mainly used the colors from the April Color Kitz  (Sold Out) and also added some other colors from my stash to create this color-blocking, tone-on-tone layout. 
Also, Type "Lorimar" into the comments section of your next Shimmerz order to get a freebie.
Link to process video: https://youtu.be/rYZo93_CW8M 

Let's get started:
Using a sheet of white textured cardstock, I made three distinct color swatches using Don't Citron Me, Heidi Ho Blue, and Chick-A-Dee. I then layered some more colors unto the swatches with Someone Like Blue, Limoncello, and Key Lime. Added some splatters with the same colors. Set Aside to dry. 
While it dried, I went into my stash and selected embellishments in greens, blue, and yellows. Afterwards, I added some modeling paste using the rain drop stencil from the April Color Kit. Once it was dried, I began to layer in the embellishments in their corresponding colors. Finished off the layout with some sequins from SpiegelMom Scraps and some splatters of Hi Ho Silver. Close- Ups are down below!


Thanks for looking!
- Lorimar 


Friday, March 20, 2020

Super Heroes Enjoy Splash Time And Sunshine | Mixed Media Layout with Large Title w/ Process Video

Hello everyone!

It's Lorimar, sharing this "very-much-outside-my-comfort-zone" layout today. In keeping with the Spring Forward Challenge, I haven't used any patterned paper, but I compensated that by adding a large title and lots of mixed media. Link to process video: https://youtu.be/zC09VZlZSSE


The inspiration for this layout came from leftovers I had from some cutfiles. They are the negatives of titles cutfiles that I had used in other layouts. So decided to put them to good use; these words were "Super Heroes", "Splash", and "Sunshine". To add some proper grammar into the mix, I added the words "enjoy", "time", "and" by using thickers from my stash.
If you are interested, those cutfiles were designed by Virginia Walker for Confessions of a Paper Addict.

Now let's jump into how I made it all come together. I selected white cardstock as my base and covered it with clear gesso. To add a bit of texture and dimension, I added stars unto it using a 12x12 stencil and modeling paste. Once it was dry, I sprayed Heidi Ho Blue (Coloringz), Jenni B Bleu (Vibez), and In Deep (Coloringz) unto the background and tilted the base here and there to allow the colors to blend a bit. Setting my base aside, I worked on the negatives from the cutfiles. "Super Heroes" was sprayed with Granny Gray (Vibez), "Splash" was colored with Jenni B Bleu (Vibez), and Sunshine with revamped with Lil' Yellow School Bus (Coloringz) and Tuscan Sun (Vibez).


I set everything aside to dry and, in the meantime, began to look around my stash for embellishments. Since I had 4 photos and a big title, I knew that my embellishments had to be on the smaller side. Finally, to bring everything together, I popped the bigger words of the title on some craft foam, trying to work the photos in around them. Added thickers in to finish off the title and then added in an embellishment cluster for each of the photos.

And done! Thank you so much for looking; I really hope that I've inspired you to use up anything you may have on hand. I also hope that you join for the Spring Forward Challenge and share your project with us over on the Facebook Group.


Also, you can receive some free paint by typing "LORIMAR" in the comments section of your next Shimmerz order.

Take care friends!
- Lorimar


Thursday, March 5, 2020

Create Magic | Mixed Media Layout without Any Patterned Paper w/ Process Video

Hello everyone! Lorimar here sharing this super "messy" mixed media layout with you. Link to Process Video: https://youtu.be/on6FUoFhvEE

Have you had a chance to participate in our Spring Forward Challenge? It's a bit scary, at first, knowing that you can't use patterned paper, but I promise you, it's so fun to really push yourself and know that you make something just as amazing!

Here's my layout using the Spring Forward Challenge. Since I couldn't use patterned paper, I decided to up the ante and really use a lot of different mixed media products.

To begin, I chose a black cardstock as my base and added white acrylic paint with a palette knife to make a sort of frame beneath where my picture was going to be placed. After waiting for the paint to dry, I added Shimmerz in Mango Tango (Vibez), Jenni B Bleu (Vibez), Mustard Seed (Coloringz), and Hermit the Frog (Vibez) onto the white paint using the packaging technique, and added splatters of the same colors to the black cardstock.


If you look closely at my photo, my sons are playing with their toy cars in the midst of a big ol' mess. I don't mind the mess as long as they are playing and learning! In fact, it works out because the messiness served as inspiration for the "messy" vibe the overall layout has. After waiting for the Shimmerz to dry, I used a 12x12 star stencil and Dazzlerz in Gummy Beary Blue to add some texture and dimension to the layout. I've also used Dazzlerz Gold Mine with a Paige Evans Stencil to add even more interest and texture.


As soon as everything was dry, I dug into my stash for the eclectic array of embellishments that you see in the layout; I used ephemera, stickers, chipboard stickers, a bow, and wood veneers to further play on the boyish, messy theme. To tie everything together, I splattered some Pixie Dust (Blingz) all through-out the layout.


There you have it! Hope I've inspired you to join us in the Spring Forward Challenge. Let's get our stories documented.

Remember, you can receive some free paint if you write my name "LORIMAR" in the comments section of your next Shimmerz order.


Have a great day,
- Lorimar


Tuesday, January 7, 2020

2 Cute | Boy-themed layout with process video

Hello everyone!

Started this new year by making a boy themed layout with lots of colors and layers. It's a pretty simple layout so let's get started! For further help, link to process video is posted at the end of this blogpost.


Started off my background with white cardstock covered in clear gesso and began spraying in colors with the following mists: Bed of Roses (Spritz), Lil' Yellow School Bus (Coloringz), Jeni B Blue (Vibez), In Deep (Coloringz), Princess (Vibez), Tuscan Sun (Spritz), Rollin' In The Hay (Vibez). I added these colors just by spraying them unto the background and rolling my paper towel roll over them. After doing this 3 times to ensure a bold colored background, I splattered black and white acrylic paint. Set it aside to dry.


While the background dried, I began to work on my paper layers. Used Shimelle's Field Trip collection patterned papers;began trimming them into various widths and lengths and finally distressed most of the edges. Once the background was dry, I layered all the pieces of patterned paper unto the background, adding an extra layer of paper with a teal polka-dot acetate sheet. 


Added some stars (leftovers from 2 different cutfiles) which I previously colored with Hermit the Frog (Vibez), Lil' Yellow School Bus (Coloringz), Bed of Roses (Spritz), Hint of Mint (Spritz) and In Deep (Coloringz). Popped these up on craft foam and layered in some more ephemera and stickers from Field Trip. For more interest and color, I punched out some leaves and also layered them in. I added some vellum beneath the title thickers in order to make it pop even more.


Finished the layout off with splatters of Pixie Dust (Blingz) and some Nuvo Drops in dark green, and added my journaling beneath my title.


That's it! I hope I've inspired you to get creative with your Shimmerz colors and get your stories documented. Remember, you can get free paint in your next Shimmerz order by typing in my name in the comments section. 


Here's the link to the process video: https://youtu.be/-728OKwDhVI 

Take care, friends, and stay crafty!

- Lorimar


Monday, December 9, 2019

Boys Rule | Boy Themed Layout using Mists from November Color Kits

Hello friends!

    Lorimar here sharing a new boy-themed layout! I just loved the rich, deep color mists found in both November Color kits; and loved them even more when I saw how well they paired up with Chance of Rain (Vibez). Rather than document a Christmas picture, I went with more of a colorful, boy-themed, winter-feel layout.


     Here's how I made it: Using a 12x12 white cardstock, I added clear gesso using a palette knife to the whole sheet; set it aside to dry. In the meantime, I started pulling out boy-themed embellishments from my stash. Once the base was dry, I began adding color by spraying it on one side (enough to form a puddle) and then lifting and turning the base just so to form the drips. I did this twice with all four colors just to get a bolder look; I alternated the placement of the puddles and drips. They were: Rolling In The Hay, Rose Gold Red, Hot Fudge, and Chance of Rain. Finally finished the base by adding splatters.


     Once my base was dry, I trimmed an inch off of each side to get a 10x10 inch square of cardstock; ruffled up the edge with a distressing tool and glued it in the center of my patterned paper. For my pictures, I matted them with from red cardstock and black and white gingham patterned paper. Added some craft foam behind them and tied some red and white twine along the bottom portion of the picture.


For finalizing my layout, I used a variety of boy themed stickers, chipboard stickers, puffy stickers, sequins, ephemera and wood veneers. Wrote my journaling in black ink in the left hand corner of the layout and splashed some Rain of Chance all around the finished layout to tie everything together.


     So that's it! Pretty simple, and yet so stunning! Hope you're inspired to create something like and get your stories documented. Thanks for stopping by! Remember to type my name in the comments section of your next Shimmerz order to receive some free paint!

- Lorimar