Showing posts with label peacocks plume. Show all posts

Wednesday, June 4, 2025

June 2025 Color Kitz | Mermaid Life | Stephanie Dang

 Hi everyone! I’m Stephanie Dang, and I'm back on the blog today to share my project using this month’s color kitz. If you would like to see more of my work or follow me, please find me at https://www.instagram.com/paperandi/ and https://paperandi07.blogspot.com. This kit is so fun and filled with beautiful aquatic colors. You will find all supplies to recreate the layout at the bottom of my blog post.


Step 1: Start with the multi-color artistic background, layout with white cardstock that has been prepped with gesso.

Step 2: Using a waterbrush and water, add the following colors: Spritz (Walkin' A Tight Heliotrope) and Shimmerz (Peacock's Plume). Adding more water if necessary to move the colors around. Note: do one color at a time and let dry.


Step 3: Frame photo in white. Add a layer of aquatic paper behind photo along with a strip of stripe purple paper towards bottom. Everyone's photo is different and of different size, so adjust accordingly and trim.


Step 4: Add larger embellishments as seen and then smaller embellishments to follow. Use foam adhesive to create dimension to layout.


Supplies:
• Shimmerz Paints JUNE 2025 Color Kitz,  Spritz (Walkin' A Tight Heliotrope), Shimmerz (Peacock's Plume), gesso, white cardstock, foam adhesive, enamels, and regular adhesive.

I hope you enjoyed my project, and felt inspired to create this yourself by using the June 2025 Color Kitz. If you would like to see more of my work or follow me, please find me at https://www.instagram.com/paperandi/ and https://paperandi07.blogspot.com. Thank you for reading and have an awesome blessed week!


Tuesday, February 4, 2020

Sweet | Color Kit Cut File Layout with Process Video

Hello Everyone!

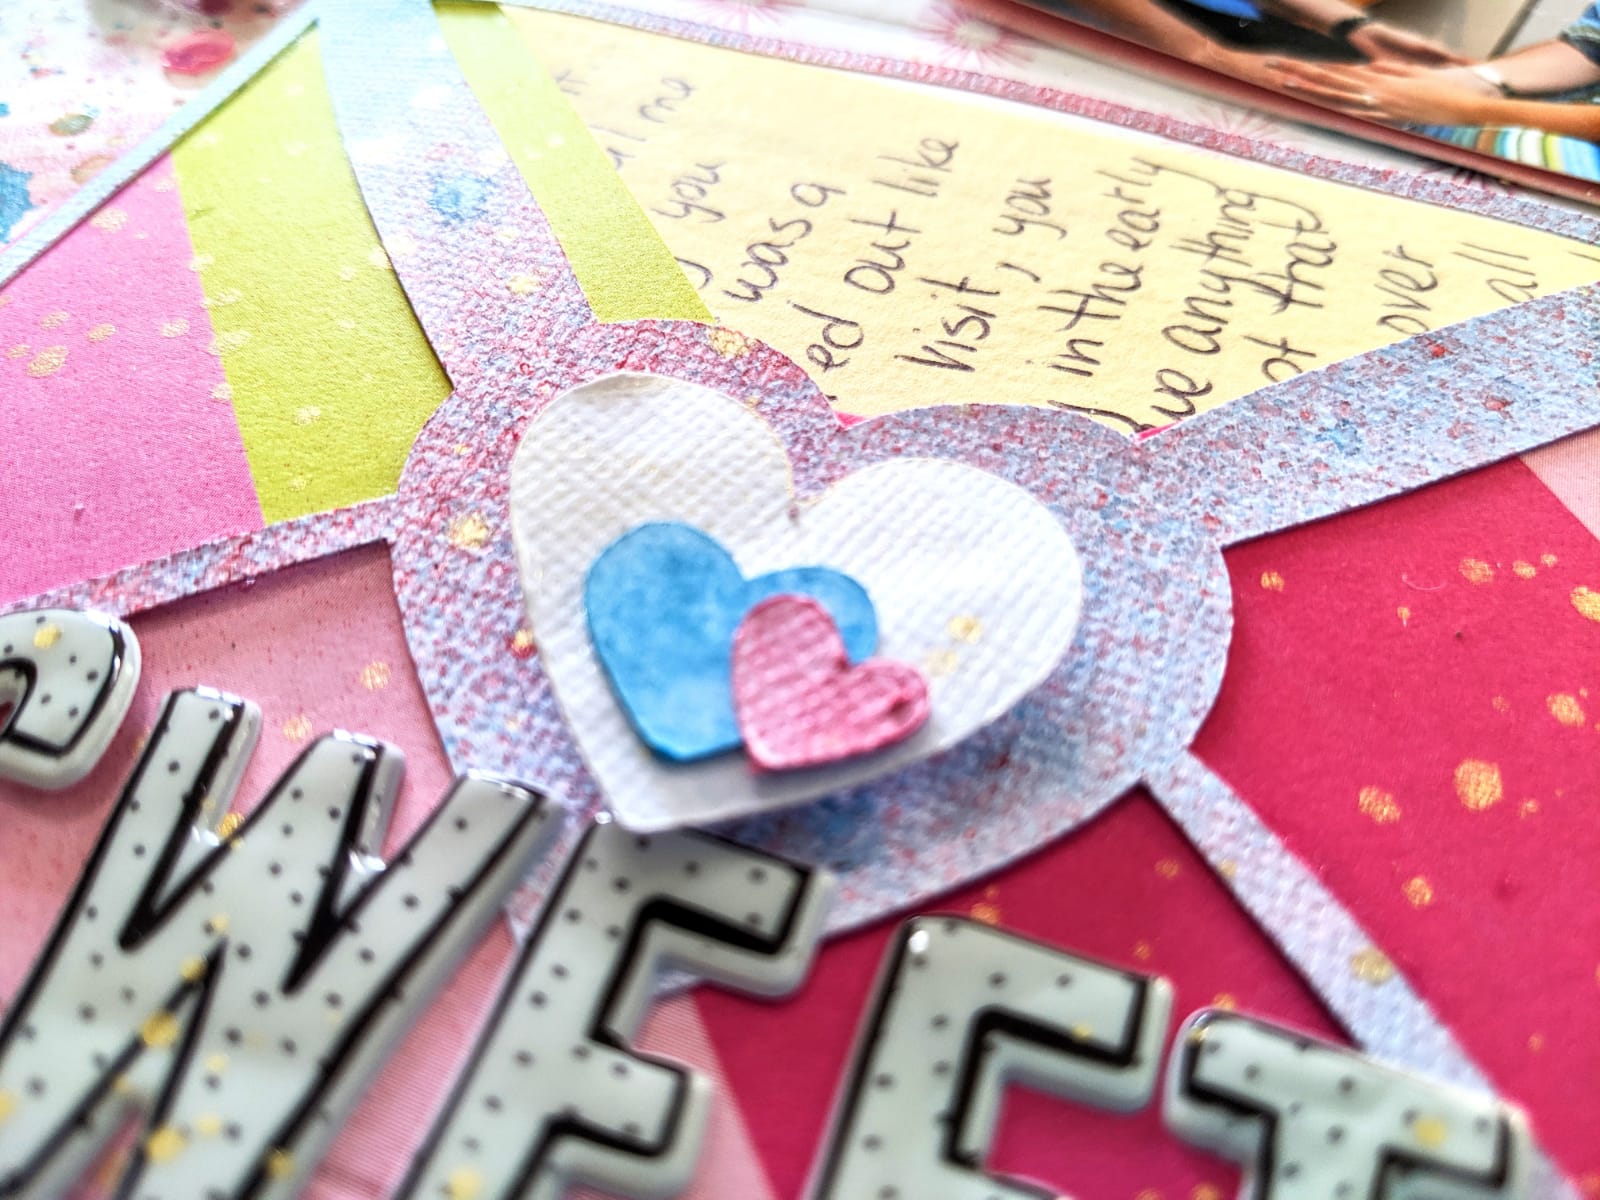
Thank you so much for joining me today and viewing how to make this "envelop explosion" layout. Ever since I first saw this gorgeous cutfile (designed by Samantha Robles for the February Color Kitz), I fell in love with it! I instantly knew that I wanted to create a layout which would convey the idea of a dropped envelope full of mementos with its contents spilling out, and after finding out memory I wanted to document, I got to work. So, let's get to it! (Process video is linked at the end of this post).

Since Valentine's Day is right around the corner, I wanted to use more pinks and reds in this layout, and in order to tie in the photos with my color scheme, I added a bit of blue into the mix. I began by cutting out the cutfile; Altered it a bit to have some extra hearts in various sizes and made sure that that envelope within the cutfile measured at least 4x5. This is so my pictures could really seem like that really did spill out of the envelope.


Then came the process of coloring all of the elements in my layout. Listed below are the colors and where I used them:
Background
- Peacock's Plume (Shimmerz)
- Coral Reef  (Inklingz)
- Cheeky Pink (Creameez)
- Pink Caviar (Shimmerz)
- Pink (Shimmerz)
- 1 Hot Mama (Creameez)
- Pip Pip Cherry-O (Shimmerz)
- Dear John Letter (Inklingz)
- Bubble Gum Blast (Shimmerz)
Hearts and Envelops Over Lay
- Razzle Dazzle Berry (Vibez)
- Cotton Candy (Spritz)
- Bed of Roses (Spritz)
- Jeni B Bleu (Vibez)
- Goldie Lox - (Shimmeringz)


Once all my items were dry and my pictures were matted on craft foam, I placed the envelope with the envelope cut file laid over it at the bottom left-hand corner followed by the pictures placed at an angle as if spilling from the envelope. Then I spent some time rearranging the hearts all around the pictures; some of the hearts are placed on craft foam, others laid on top of each others, and still others are glued directly unto the background.

After this, I added some pink, yellow and white sequins from Spiegel Mom Scraps that I had in my stash (Freezin' for a Reason). I then splattered some Miner, Miner 49er all around the layout to tie things together and add a pop of gold. Wrote my journaling on some scrap pieces of yellow cardstock and added a border around my layout using Jenni B Bleu and a brush.


I loved how this turned out! It had many processes, but I loved playing around with the colors and cutfile. Hope I've inspired you to get your story documented. Remember, you can get some free paint by writing my name in the comments section of your next Shimmerz order. 

Process video: https://youtu.be/0wryaEJ3RMg 

See you soon!


Wednesday, June 13, 2018

"Happy" ... a Girly layout with Sandi

Hello, Shimmerz fans! 

Sandi here with you today sharing my most recent Shimmerz DT project! 

I have a sweet girly layout that has been sitting on my desk for a few days until I had a chance to find some creative time! We have a new puppy at our house and things have been a little hectic! :)


"Happy"

I had some inky fun with my background after applying a layer of clear gesso. Super heavy gesso was pushed through a stencil to create some texture and then I applied the Plum Pudding Spritz heavily throughout using a "transfer" technique. My chipboard pieces (Creative Embellishments) were colorized with the gorgeous Peacocks Plume Shimmerz.


Next I began building my layers and adding my photo. Because I had a ton of florals left over from a previous kit I'd been using, I decide to go BIG and add them all! Also tucked in were some die cuts pieces, cheesecloth, twine and a flair button from Creative Embellishments. 


Once everything was in place, I enhanced the focal point with more of the Plum Pudding Spritz using a brush and blending it in, Then I splattered using the remaining 3 Shimmerz colors: Lilac Blossom ShimmerzRoyal Purple Shimmerz and Limoncello Shimmerz. Limoncello was also used to highlight some of the florals. It's a great new color! 


My very last step was to add some purple prills for additional texture.


I'm so glad that you came by today! 
For a FREE Shimmerz product, please add SANDI to the memo line on your order. 
See you next time! 

Sandi

Shimmerz Products used: