With these little pots of water Colour paints you just add a little clear water and let them sit to activate for a minute or two, then use them with a regular brush, or an aquash brush (holds water in the barrel so there's no need to wash the brush out between colours, a paper towel does the trick!)
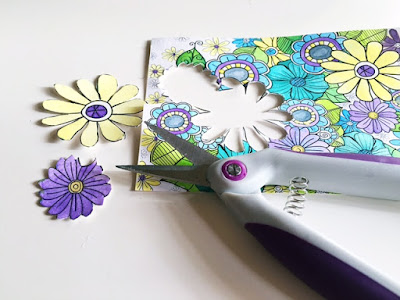
Once I had finished Colouring my card I did some fussy cutting, locating full and partial flowers and leaves that I could cut apart.
Once I did that I inked all the edges with black distress ink, just to hide the white cut edges, and and edges that were not all that neat. It creates dimension in the finished product too!
I spent a little time playing with some arrangements to see how I could re position these flower elements to create a pleasing image. There are loads of options here, and I wished I could make this card several times over with the options!!!!
I used a text stamp and brushed some gold Inklingz across it, and then dabbed on some more black distress in, and stamped that on my card base. I also ran round the edge with several pen line borders.
Once I was ready to put it altogether, I added a piece of patterned paper and built my arrangement on top, adding foam tape to some of the more forward elements and just glue on the elements that were sitting in behind.
I added a little calligraphy sentiment using black Inklingz and a calligraphy nib, and called it complete!
I quite enjoy finding ways to use my Colouring cards in the Stakz collections, that puts them to good use. :-)
Anyway, until next month, happy creating with your Shimmerz Goodies!


No comments:
Post a Comment