Showing posts with label Shimmerz Inklingz. Show all posts

Sunday, September 1, 2019

Many Thanks for Fall

Hello Again!  

Lee Ann here, with another card for you, this one with a fall vibe.  It's getting to be that time of year, 
even though it may not feel like it!  Once school has started, I am ready to break
out all things autumn!

Watercolor paper is the base of this panel.  I started with a light wash of 4 paints then let the
paints dry.  The paints I used are~


While waiting for the paint to dry, I die cut my leaf in vellum and then the skeleton of my leaf from 
a berry color cardstock.   

Once the wash of paint was dry, I adhered a A Colorful Life Stencil, which was spritzed lightly with Pixie Spray, applied a light wash of water to the panel and then  added the same four colors of paint randomly over the stencil.  Because I only used a light amount of Pixie Spray, much of the water and paint oozed under the stencil,but I decided I liked this grungier, less than perfect look.  


Because of all of the intermingling of paints, I got a lot of shimmer, even though 3 
of my paints were Creameez; Creameez are watercolor paints with just a hint of shimmer.  Pair them with the Inklingz- they are also watercolors, but they are chock full of glorious shimmer- and you get shimmer everywhere! 
  I absolutely love how this panel turned out!  
I die cut the painted panel, then adhered a matching cardstock strip, some black and white striped paper, the leaf, and sentiment with some gold thread, nested beneath it.  


I hope you have been inspired to break out your Shimmerz Paints and all things fall!  
And don't forget, the NEW Shimmerz Paints Color Kitz are in the store!  

Should you decide to do a little retail therapy at the Shimmerz Paints store, don't
forget to add my name- Lee Ann- in the comments section to receive a FREE gift.


Lee Ann 

Friday, December 21, 2018

Merry Christmas by Isha Gupta

Hello Shimmerz friendz, Isha here sharing a clean and simple Christmas card with you using the non Christmas floral stamp.

I decided to use the Stampz: Floral Grace to create my card. It's a pretty image I used Creameez: Pining For You and Dandy-Lion; Inklingz: Coral Reef and Honey Do List; Shimmerz: Buddy's Favorite Color


I started by stamping the floral image onto watercolor paper using VesaMark ink and then embossed it using WOW! Gold Pearl embossing powder. I then started coloring the image in layers. First apply light color, blend it with water and then apply the dark layer on top. I then applied some colors around the flower and added a bit of splatters using the same colors. Let this dry.
I really love the shine of the mix of various paints.

I then stamped and embossed a sentiment onto a piece of red cardstock and adhered it to the card.

Here are the products I used:
Stampz: Floral Grace
Creameez: Pining For You and Dandy-Lion
Inklingz: Coral Reef and Honey Do List
Shimmerz: Buddy's Favorite Color

Thank you for stopping by!! Hope you like my creation and got inspired to create Christmas card using non Christmas stamps. If you decide to add some shimmery goodness in your stash, please don't forget to put my name "ISHA GUPTA" in the comments and get a free surprise freebie :)

Monday, April 16, 2018

Dreamer


Hi everyone! Melissa here with my second design team page of April, for Shimmerz Paints! 
If you like paint, you will love these colors, and the type called Shimmerz is thick, ready made, and has an intense shimmer.The Inklingz are very shimmery too and are watercolors, you just spritz some water on top, and wait for a couple minutes for the paint to activate. Depending on how much water you use, the result can be thick, or thin. 


Here's how I made this page:
I mounted the photo on watercolor paper. I cut up die cuts,mostly Spellbinders, and put them around the pic. 


I stenciled on a clockface and bee using texture paste and a credit card.


I used double sided foam tape and put the pic with layers of foam core board on the sheet of Tattered Garden paper by 49 and Market. I like using tape because if I change my mind about design, it's easy to adjust, rather than tearing the paper by something that's glued on.


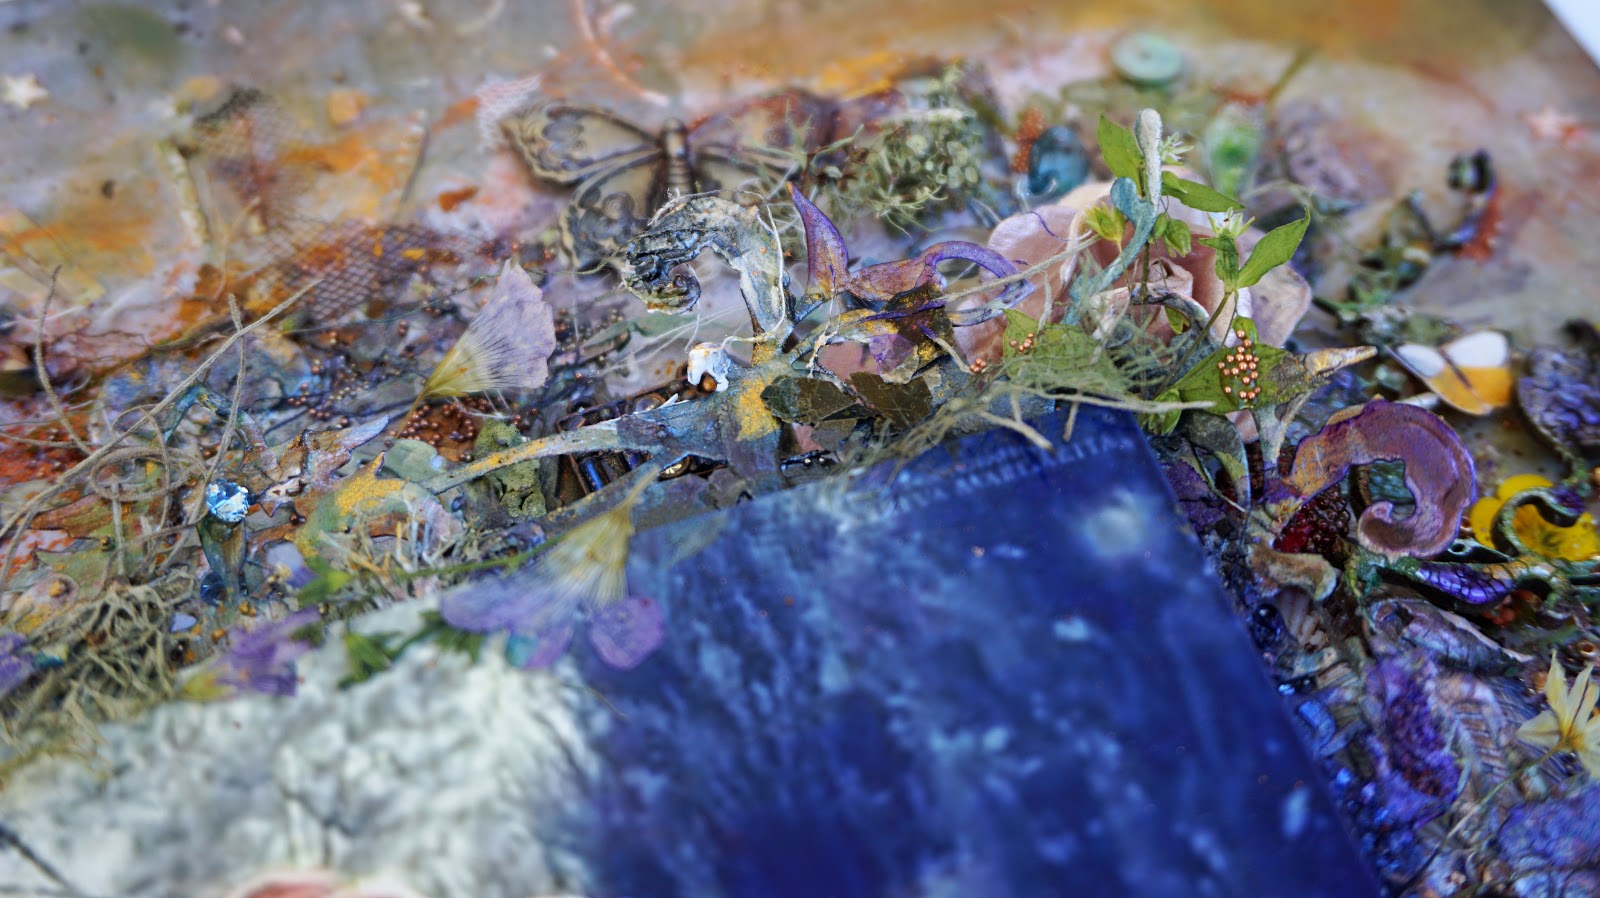
I added some big things like shells, glass pebbles, and flowers to support the die cut layers. There are metal pieces from Finnabair at the upper left and lower right corners. I painted the dusty attic chipboard and applied a thick layer of  Clear Rock Candy. For the paint I used Greener Pastures Inklingz first, then while it was wet, dropped in Penny 4 Your Thoughts Inklingz. You put a bunch on your brush and touch the green paint and the copper color flows right in. Be careful not to move the color around too much with your brush. I cut the Dusty Attic chipboard up and put it all over the page. I added Dear John Letter Inklingz to it, gold mica powder, and a mix of purple and blue mica powder. 


I painted the die cuts with Teal The End Of Time Shimmerz, and Greener Pastures. After I glued on micro beads and vintage glass glitter I painted on I Love You Onyxly Inklingz,I topped it with Imperial Amethyst Inklingz,a mix of watercolor crayons, and purple alcohol ink. 


I added gold mica powder to the die cuts, and also Dear John Letter. The copper and gold mica powder at the top was kind of covered up by stamped on Tsukineko chalk ink. I used a leaf stamp from Petite Poppies and sprinkled on mica powder over versamark.  Once I brushed off all the excess mica the images were too bright for the page. I smudged and inked over a lot of it.


I added a number of things for visual interest: the Tim Holtz metal butterfly, dried and pressed flowers,Spanish moss, and lichen I've collected, micro beads, vintage glass glitter, seed beeds, a few pearls, rhinestones, and Prima flowers.


A metal discovery tag by Tim Holtz, a couple fussy cuts fairies from G45, threads from plain and dyed gauze, fussy cut images of suns and moons from Stamperia paper, sequins, bling,new and old jewelry type items.


The bird at the bottom is a sticker with a clear background by 13 Arts. The title sticker is from 7 Dots.


Cut up lace, tulle, a little stencil work at the lower left and upper right corners using  Texturez Gold Mine,an art deco style costume jewelry earring art deco, from my sister in law. 


The little brass purse is from Vintaj. The green gem below it is Swarovski.  I used some green and white ball things from fall and holiday clearance flowers from Hobby Lobby.

Thank you so much for looking, and have a great week!


Friday, February 23, 2018

Color your own world | Rocío López

Hi!!

Rocío here with a new project and process video for Shimmerz Paints as part of their YouTube Education Team. For this time I made a scrapbook layout and I have to say that I really love the outcome. 


I start the project cutting a few paint brushes with a free cut file from Paper Issues. Then, I added some color to the handle with Paste-eez A Little Nutty. 

To create the paint strokes in the background I used Inklingz Plum Crazy, Shimmerz Peacock's Plume, Shimmerz Evergreen, Shimmerz Sunny and Shimmerz Magenta. 


I had to add splatters and for this, I used a few Vibez that coordinate with the colors I had already used: Vibez Grape Escape, Vibez Deep Blue Sea and Vibez Rose Gold Red. 


I thought that the title "Color your own world" was perfect for the page so I added it using a few adhesives alphabets. 


For the final decorations I used stickers from collection Cute Girl and Urban Chic and some splatters with Shimmerz Christmas Cheer because I love that gold! 


Here you can see another close up picture and now I leave you with the process video on how I've created this scrapbooking page. 


I hope you like it and see you soon!

PRODUCTS USED:

VIBEZ: Deep Blue Sea, Rose Gold Red and Grape Escape.
SHIMMERZ: Magenta, Sunny, Evergreen, Peacock's Plume and Christmas Cheer.
INKLINGZ: Plum Crazy.
PASTE-EEZ: A Little Nutty.

Friday, June 30, 2017

Wild @ Heart - A Background Tutorial using Shimmerz Paints

Hi There Shimmerz Friends,

It's Renee here, coming to you from school holidays here in Australia.
School Holidays mean lots of creative time at home.
My favourite kind of days.
Which sometimes require me not getting out of PJ's!!

Here is a layout I created
focusing on the background
which was created with Shimmerz Paints, of course!


Love how this turned out.  

These are the Shimmerz Products I used to create this layout.

Here are some close-ups:


For this layout I used the Cocoa Vanilla Studios - Wild at Heart Collection.


In the video below, I will show you how I created the background.
I used a Dusty Attic - Criss Cross Stencil.


Lots of layers.


Here is the video for you to watch.


Thanks so much for stopping by. xx

Don't forget.


Tuesday, May 30, 2017

Hello Awesome

Hello Friends,

It's Renee here today to share with you a 
layout I created using some yummy Shimmerz Paints.

Below you will also find a process video to show you how I created the 
layout from start to finish.


The Shimmerz Paints products I used are as follows:

Shimmerz Vibez - Sunset Strip
Shimmerz Inklingz - Naughty or Nice
Shimmerz Coloringz - Heidi Ho Blue
Shimmerz AcriTonez - Shimmerz Tar Tar

Here are some close-ups:


I love how bright and funky this layout turned out.
The background was loads of fun to make!


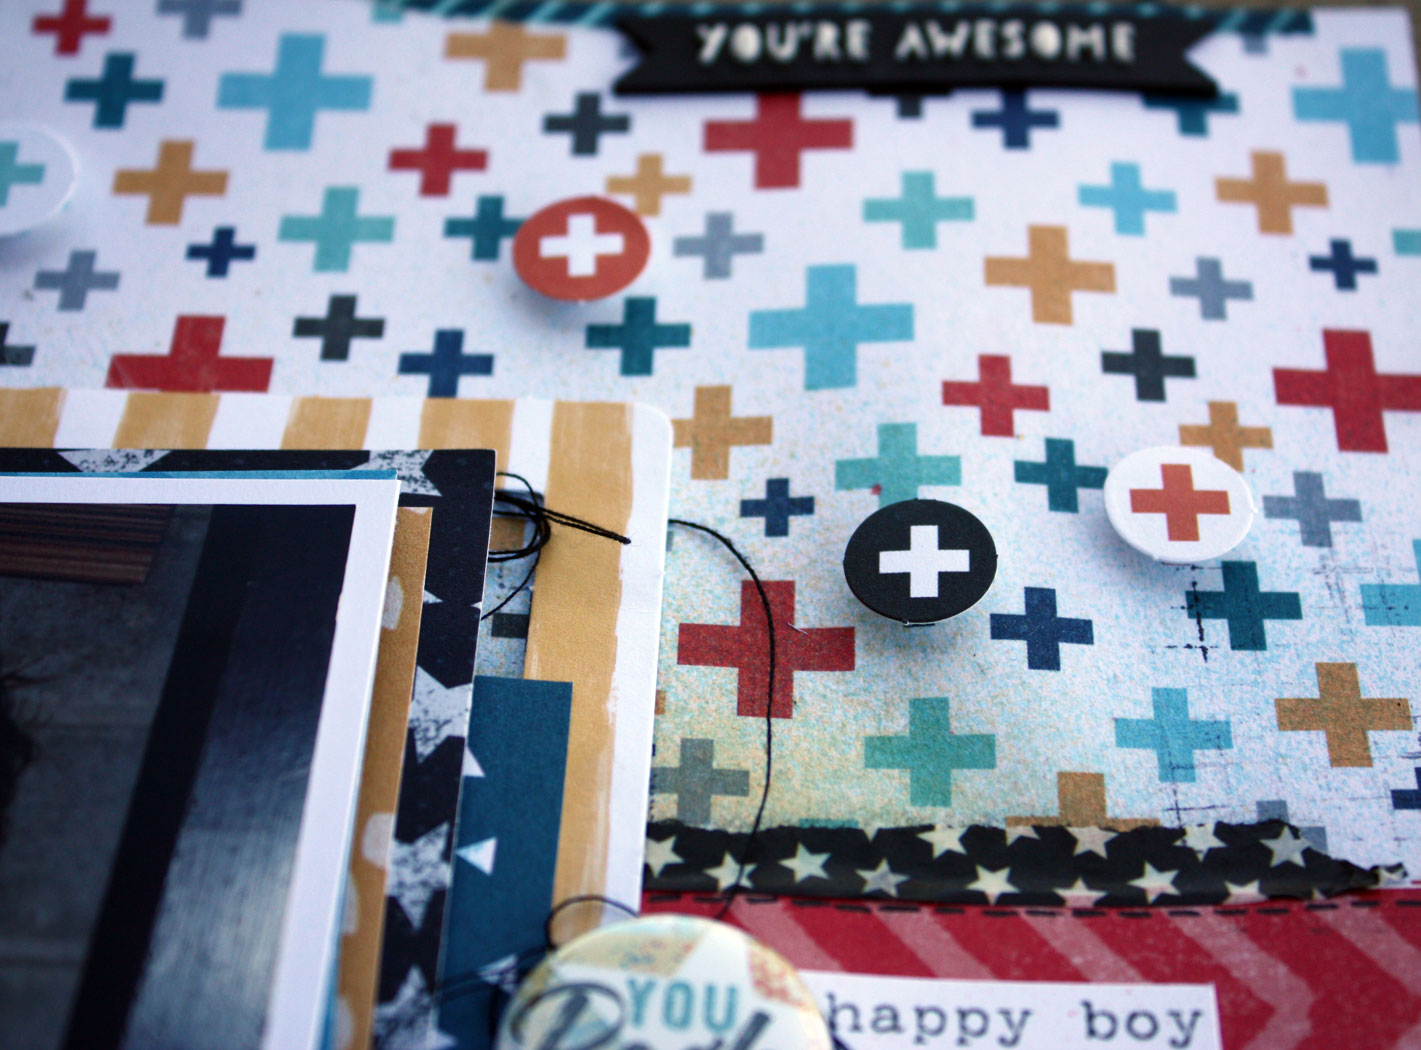
Using the Shimmerz AcriTonez - Shimmerz Tar Tar,
I painted the wood veneer crosses.  
I only need one coat, as these AcriTonez are so pigmented.


Some more paint for the title as well.


Here is the video so you can see how I created this layout.


Thanks so much for watching. xx
And don't forget to mention my name when you order!


Monday, March 27, 2017

You Rock

Hi Friends,

It's Renee Aslette here, to share with you a layout video tutorial
I created using all sorts of Shimmerz Paints yummies!

There is nothing like creating in the midst of a cyclone,
which is happening where I live in Australia.
It has given me the opportunity to take my mind off
all that is going on and just get creative.

So here goes!


I just love how grungy it turned out!

The Shimmerz Products I used are:

Shimmerz Vibez - Sunset Strip & Snow Storm.
Shimmerz Coloringz - Peachy Keen, Oh Say Can You Sea & Night Moves.
Shimmerz Inklingz - Tarnished Treasure.
Shimmerz Paste-eez - Lava Flow.
Shimmerz Acri Tonez - Shimmerz Tar, Tar.

Here are some close-ups:


You can see all the layers.


Loads of color.


I have created a video tutorial for this layout,
so you can see how I created the layers using Shimmerz Paints and the
Fancy Pants Designs - True Friends Collection.


Thanks so much for stopping by. xx


And don't forget!!


Monday, October 31, 2016

December Planner Layout 2016

Hi Shimmerz Friends,

I may be getting a little excited at the prospect of Christmas.
So much to plan, so many things to do!!

So, with that in mind, I decided to get ahead and get my planner ready for
the very busy Holiday Season.

So here it is, ready to go.


I went a little funky with this one.

And I love how it turned out!!

So those Christmas Baubles that are hanging, are made with
a circle punch and some of my favourite Shimmerz Products of course!!


The Shimmerz Products I used are:

Shimmerz Aqua Huez - Seeing Red and Ivy League
Shimmerz - Silver Bells
Shimmerz Inklingz - Naughty or Nice
Shimmerz Spritz - 4 Leaf Clover


In the video tutorial I show you how I created this layout
including the Baubles and the Christmas Tree.
The Christmas Tree is propped there by twine around the star,
and when you undo it, you can fold the tree down,
to write you notes and Christmas List under it.

So grab a cuppa and check out the tutorial below.


Thanks so much for stopping by!!


Monday, August 29, 2016

September 2016 Monthly Planner Layout

Hi There Friends,

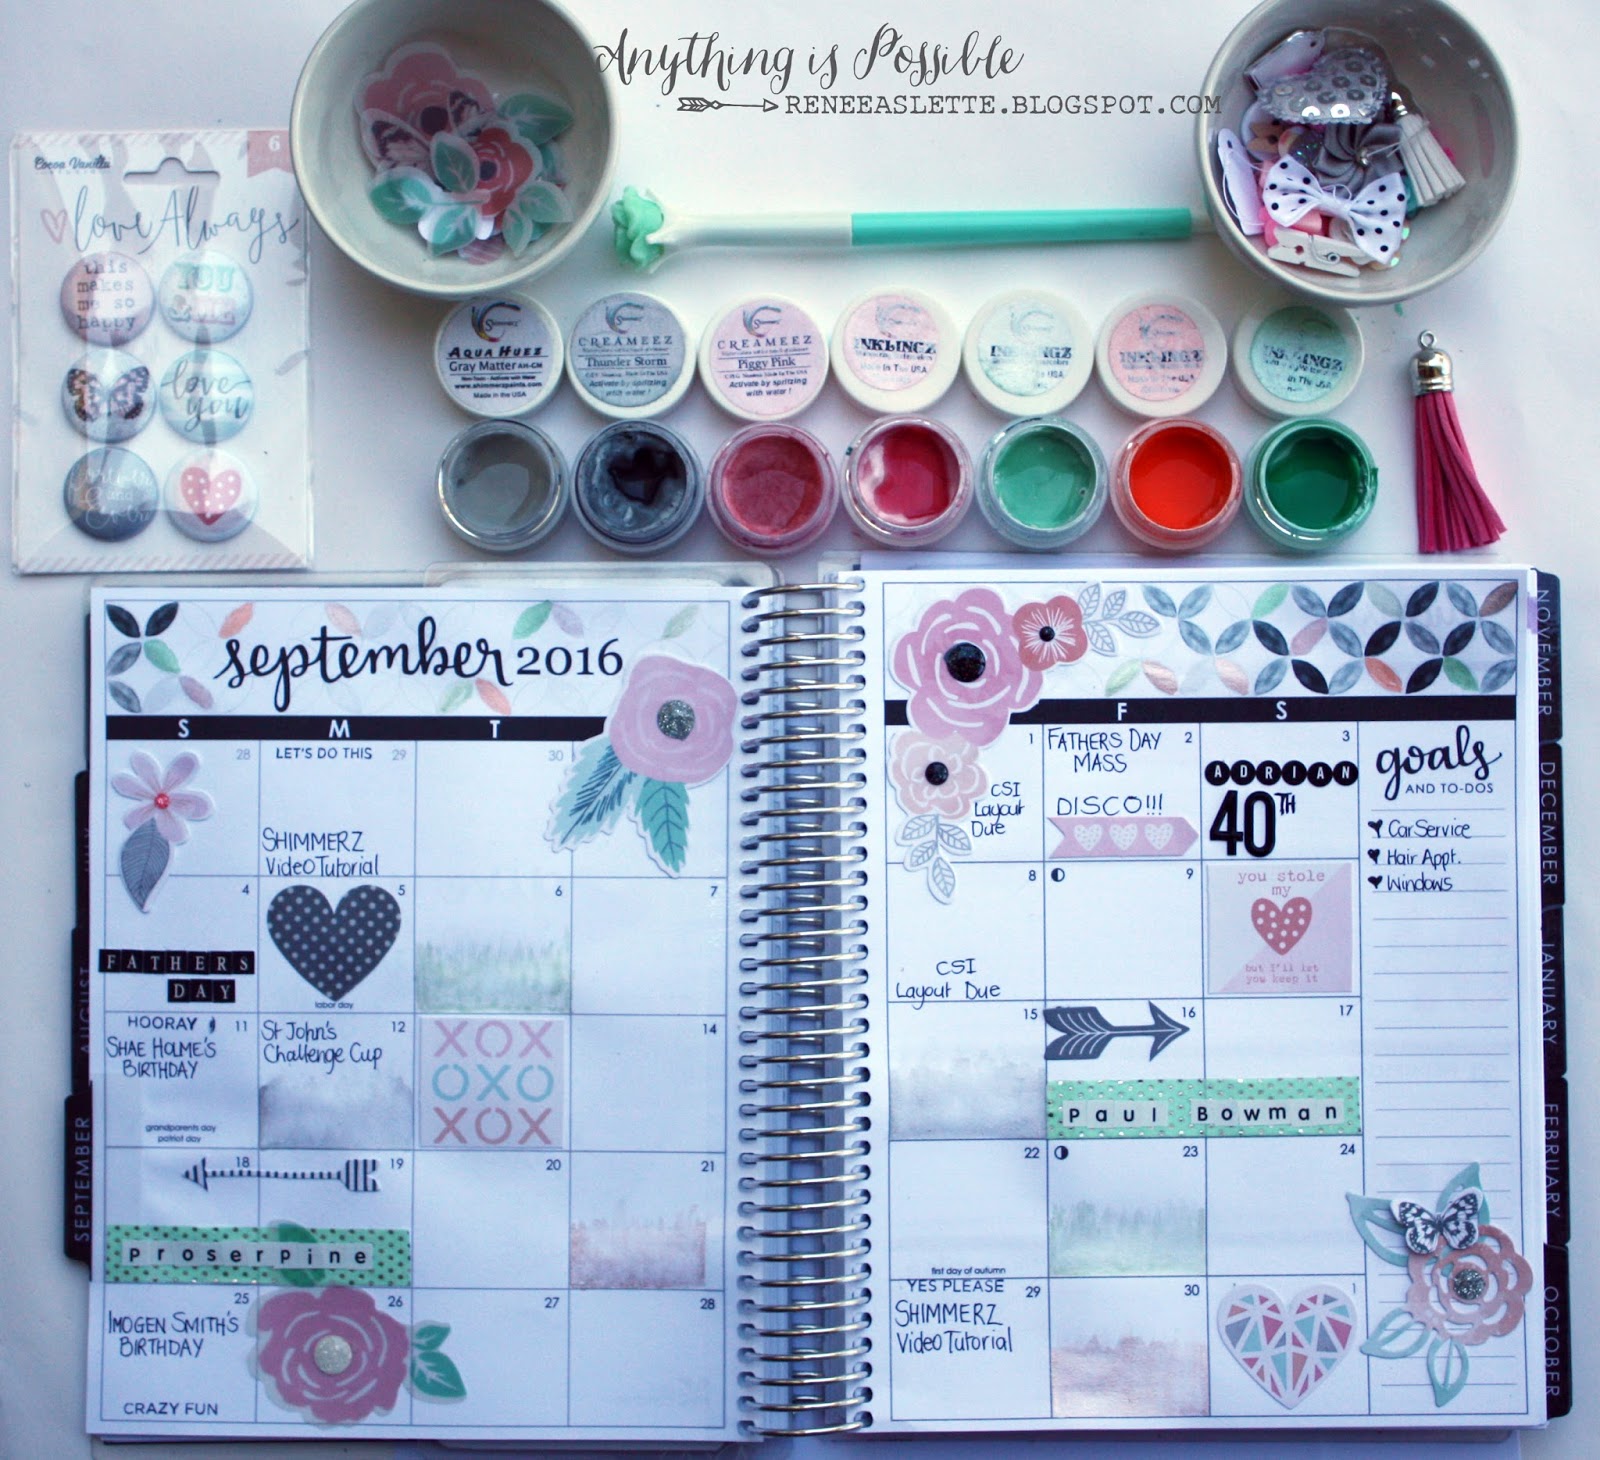
It's Renee here, to share with you my September Planner Layout
using Shimmerz Inklingz and Shimmerz Creameez.

I love how this turned out, and how easy it was to make my date boxes look faded.


This month was a super pretty color palette.

The Shimmerz Products I used are:

Shimmerz Inklingz - Giddy About Green, Pink-a-Boo, Sun Kissed and Freshly Minted.
Shimmerz Creameez - Piggy Pink and Thunder Storm,


This is a close up of the left side.


And the right side.

I have created a video tutorial for you to see how I created this layout.


Thank you so much for stopping by!