Showing posts with label Shimmeringz. Show all posts

Tuesday, April 6, 2021

April 2021 Color Kitz | Brianna Lepper

Hey friends!!  Brianna Lepper back with you today sharing a new layout using the oh so amazing and beautiful April 2021 Color Kitz.  This month, we get two new exclusive sprays!!  For $26.95 + shipping, here's what you get in this months kit: 

It's Mint to Be Shimmerz 
*NEW* Sweet Baby Girl Shimmeringz
Pixie Dust Blingz
*NEW* So Blue-ti-ful Spritz
1 exclusive layered process "Some Bunny Loves You" cut file created by Shimmerz Paints 
1 set of Dotz
1 package of *EXCLUSIVE* Spiegelmom Scraps Sequins "Baby Stella"

Here's my layout, make sure to check out my process video at the end of this post: 


I had so much fun with the kit this month!   The colors are beautiful and the two new sprays that we get are stunning!  To start, I cut the exclusive cut file out on a piece of white textured cardstock using my Silhouette.  I also offset and cut the backing pieces since I planned on adding lots of color to them.  In doing this, it made backing the cut file so much easier in the end!  I love backing cut files with mixed media, have you given it a try?  


Next, I got to work on my background.  I prepped a piece of thick white cardstock with gesso and painted all of the colors from the kit right onto it.  When I started painting on the Blingz Pixie Dust, I made sure to scoop a lot of the paint onto my brush to make sure I had TONS of shimmer and shine. 


 Once my painted backing pieces were finished drying, I went ahead and backed my cut file.  Then using the SpiegelMom sequins that we get in the kit, I created shakers in all of the "O's" in the cut file.  I love making shakers in a cut file, it's so fun and this sequin mix is so cute!!


Next, I popped up the entire cut file on some foam tape and adhered it down to my background.  Then I took the Dotz from the kit and added some tangled thread underneath each one.  I love the texture and interest that it gives!  


I embellished the rest of my page using the new Garden Party collection by Maggie Holmes and Crate Paper.  Talk about the perfect match!!


Here's one more up close shot!


Thanks so much for stopping by today, I hope I've inspired you in some way!  When you place your next Shimmerz order, make sure to add my name to the notes/comments section of your order and you'll receive a small freebie!  See you in my next post!

Process Video: 


Monday, March 1, 2021

Color Kitz Collection: March 2021 Edition with Samantha Robles

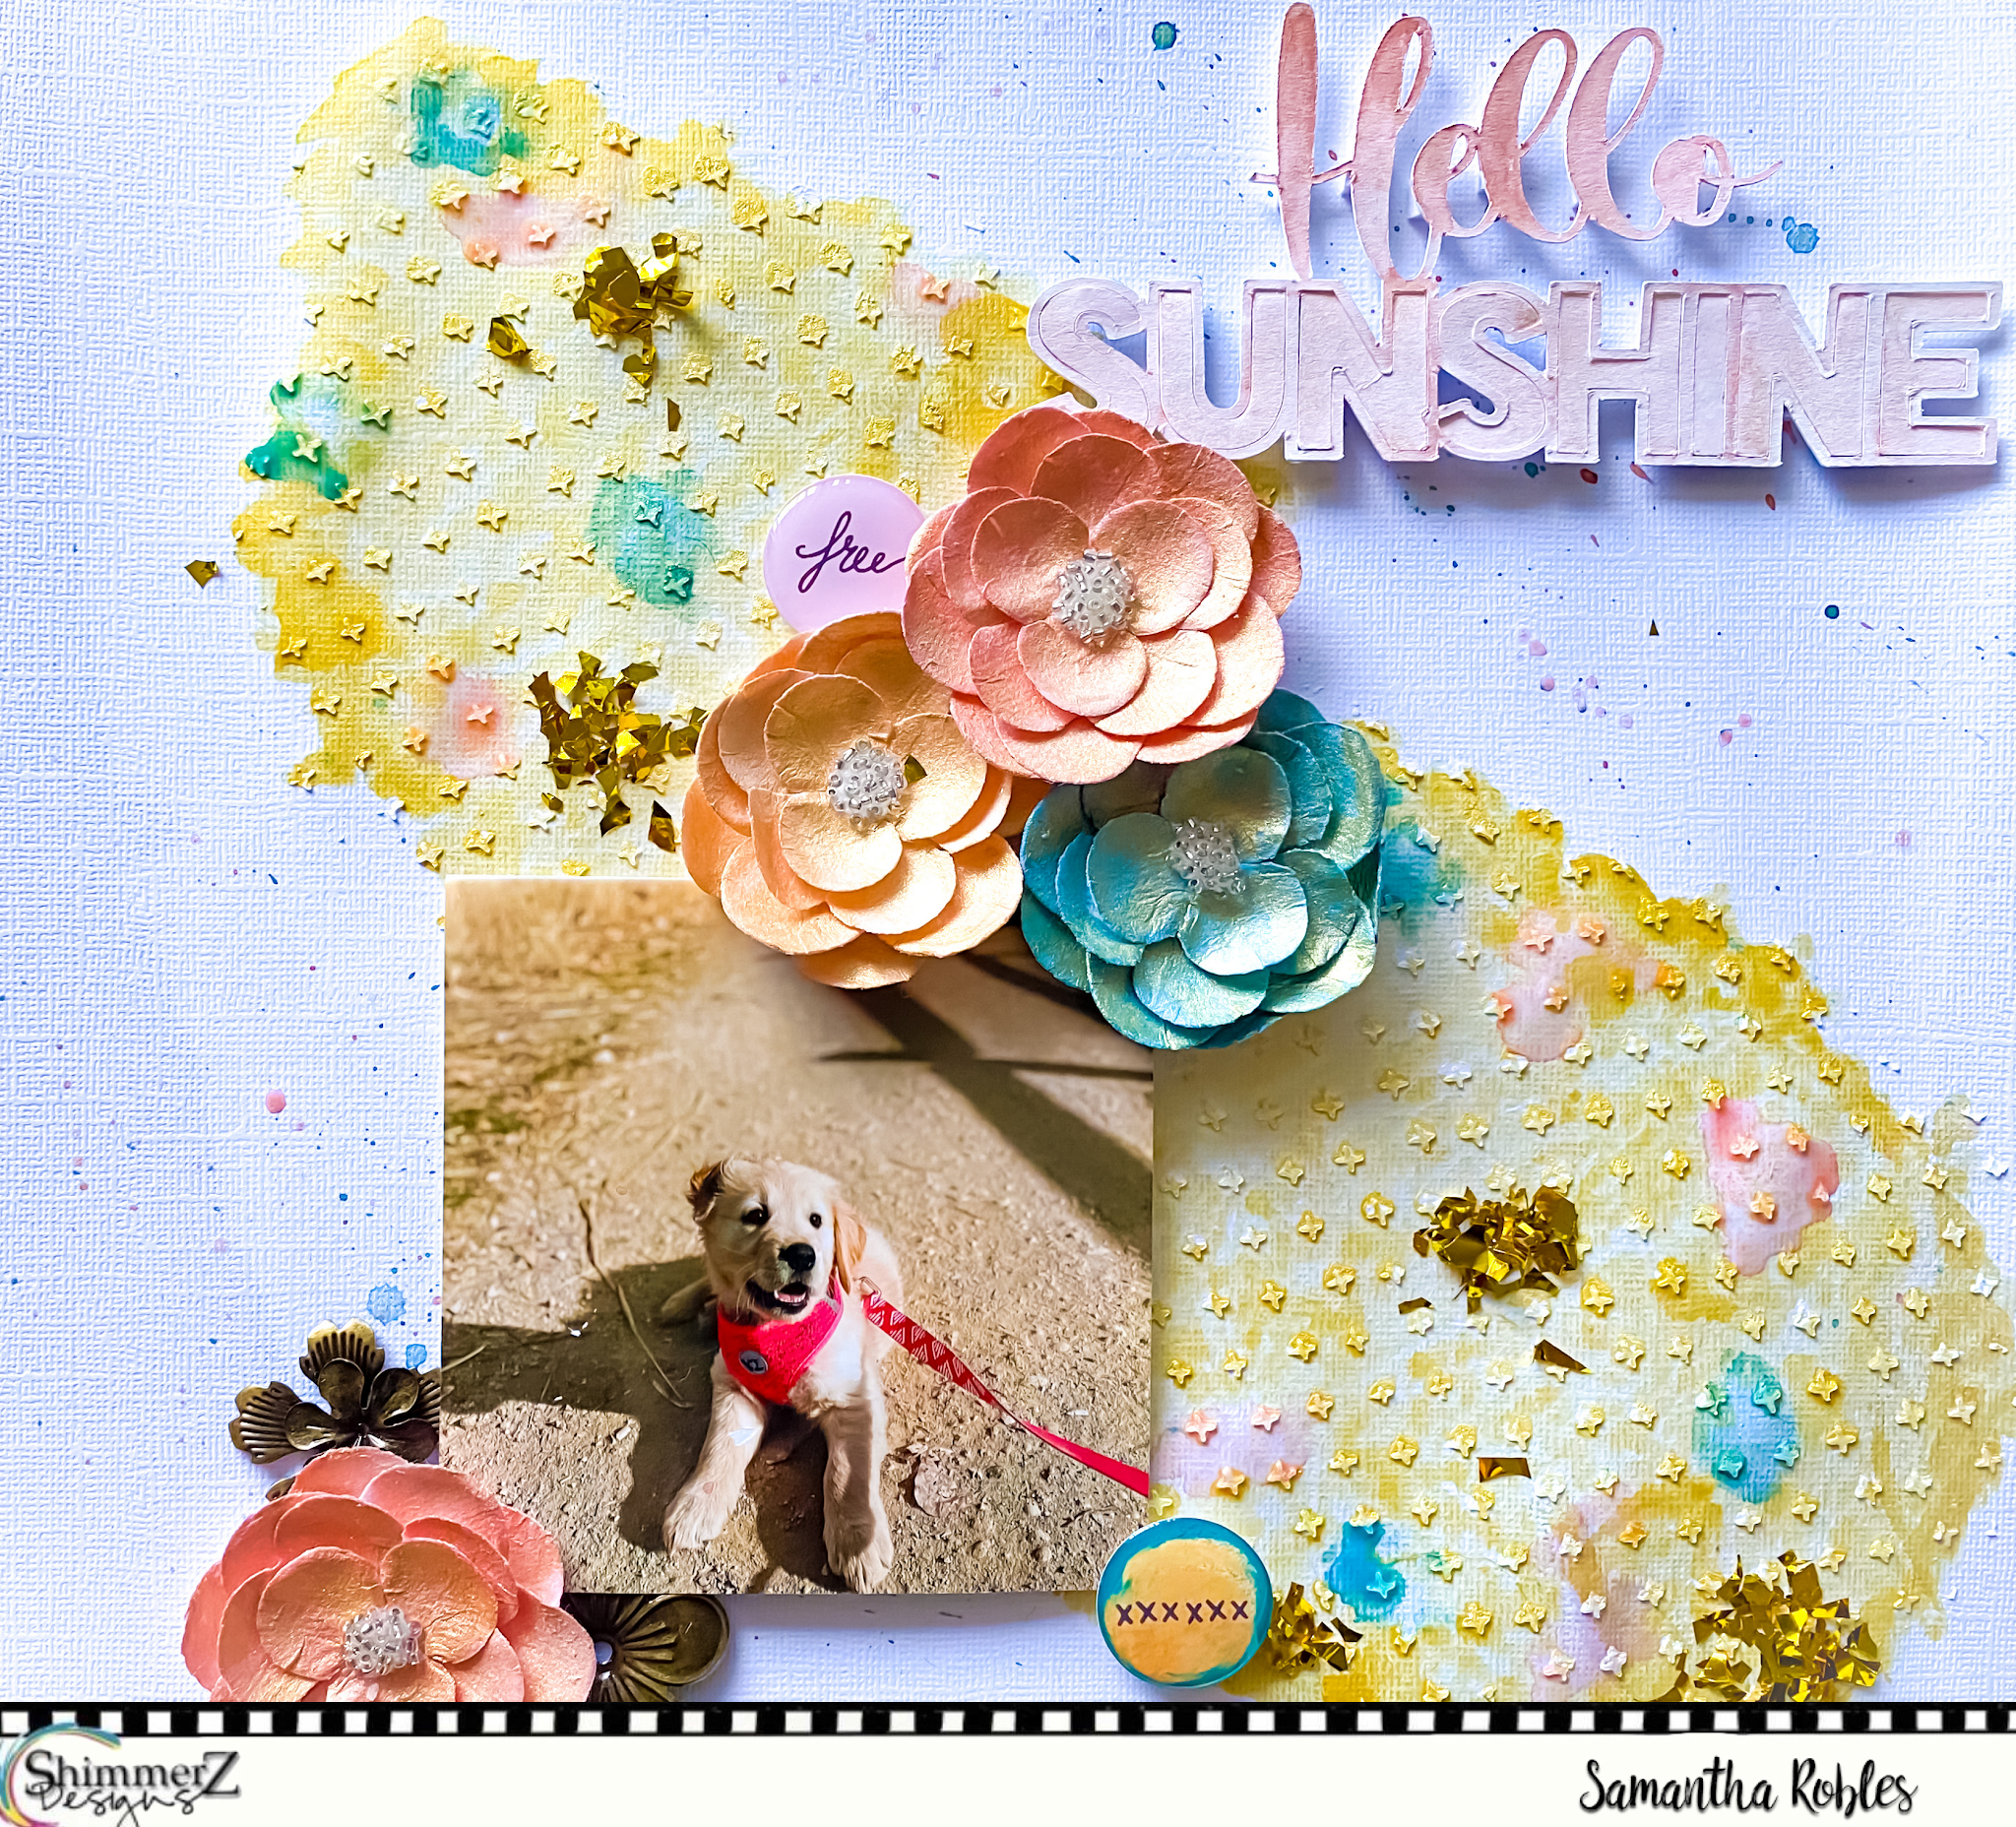
 Happy March everyone! My favorite month of the year! Really, today is like the first day of Spring. It's time to break out those pastels and vibrant hues. The March 2021 Collection is simply "golden". All things gold and shimmery is available in this kit. 

Let me start off by letting you guys know, you NEED the new exclusive color in this kit. It's called "Pink Lemonade Vibez" and it's one of a kind. To begin this layout, I gesso'ed my sheet of textured cardstock and then used my Carta Bella Hello Autumn Stencil with some modeling paste. Once my paste sets, then I  watercolor in some "Good As Gold" Inklingz and layered it with the "Goldie Lox" Shimmeringz that comes available with the paste. (Please note that Good As Gold is NOT available in the March Kit. You gotta pick that one up separately but it's so worth it!)


After my gold mixed media mess dried, I then painted my sweet paper flowers I found at my local Michaels. Behind those flowers, I then tucked some Prima Vintage Trinkets Mechanicals behind. My "Hello Sunshine" cut file was then ombre'd using both "Gosh Garnet" Inklingz and fading into the new Pink Lemonade Vibez. After my puddles dry, I then add some of the fun gold foil onto my geode background.
Thank you so much for stopping by today! I hope you have the best week. Don't forget to stop on by the Shimmerz Shop to pick up your March 2021 Kit. While you're dropping in your order, leave my name in the comments of your order to snag a freebie on Shimmerz Paints.

Happy March!
-Samantha Robles


Friday, December 28, 2018

Holly Jolly December Creating | Amanda Baldwin

Hi Shimmerz Friends & Fans! 

Amanda here, and today I am sharing a lil Holly Jolly Christmas inspiration! 
I trust you all had a safe & very Merry Christmas, 
and now have a ton of Christmas photos to scrap?! 
Well, I think I have the best Christmas color combination to share with you today - inspired by peppermint candy canes, no less! 
Here's what I'm talkin' 'bout......


I told you it was the BEST!!! 
Ga - ga - gorjus! 
I've combined my favorite Coloringz: Oh Say Can U Sea
& 

What a stunning combination of our Shimmerz favorites! 
Here's what I created with them,  

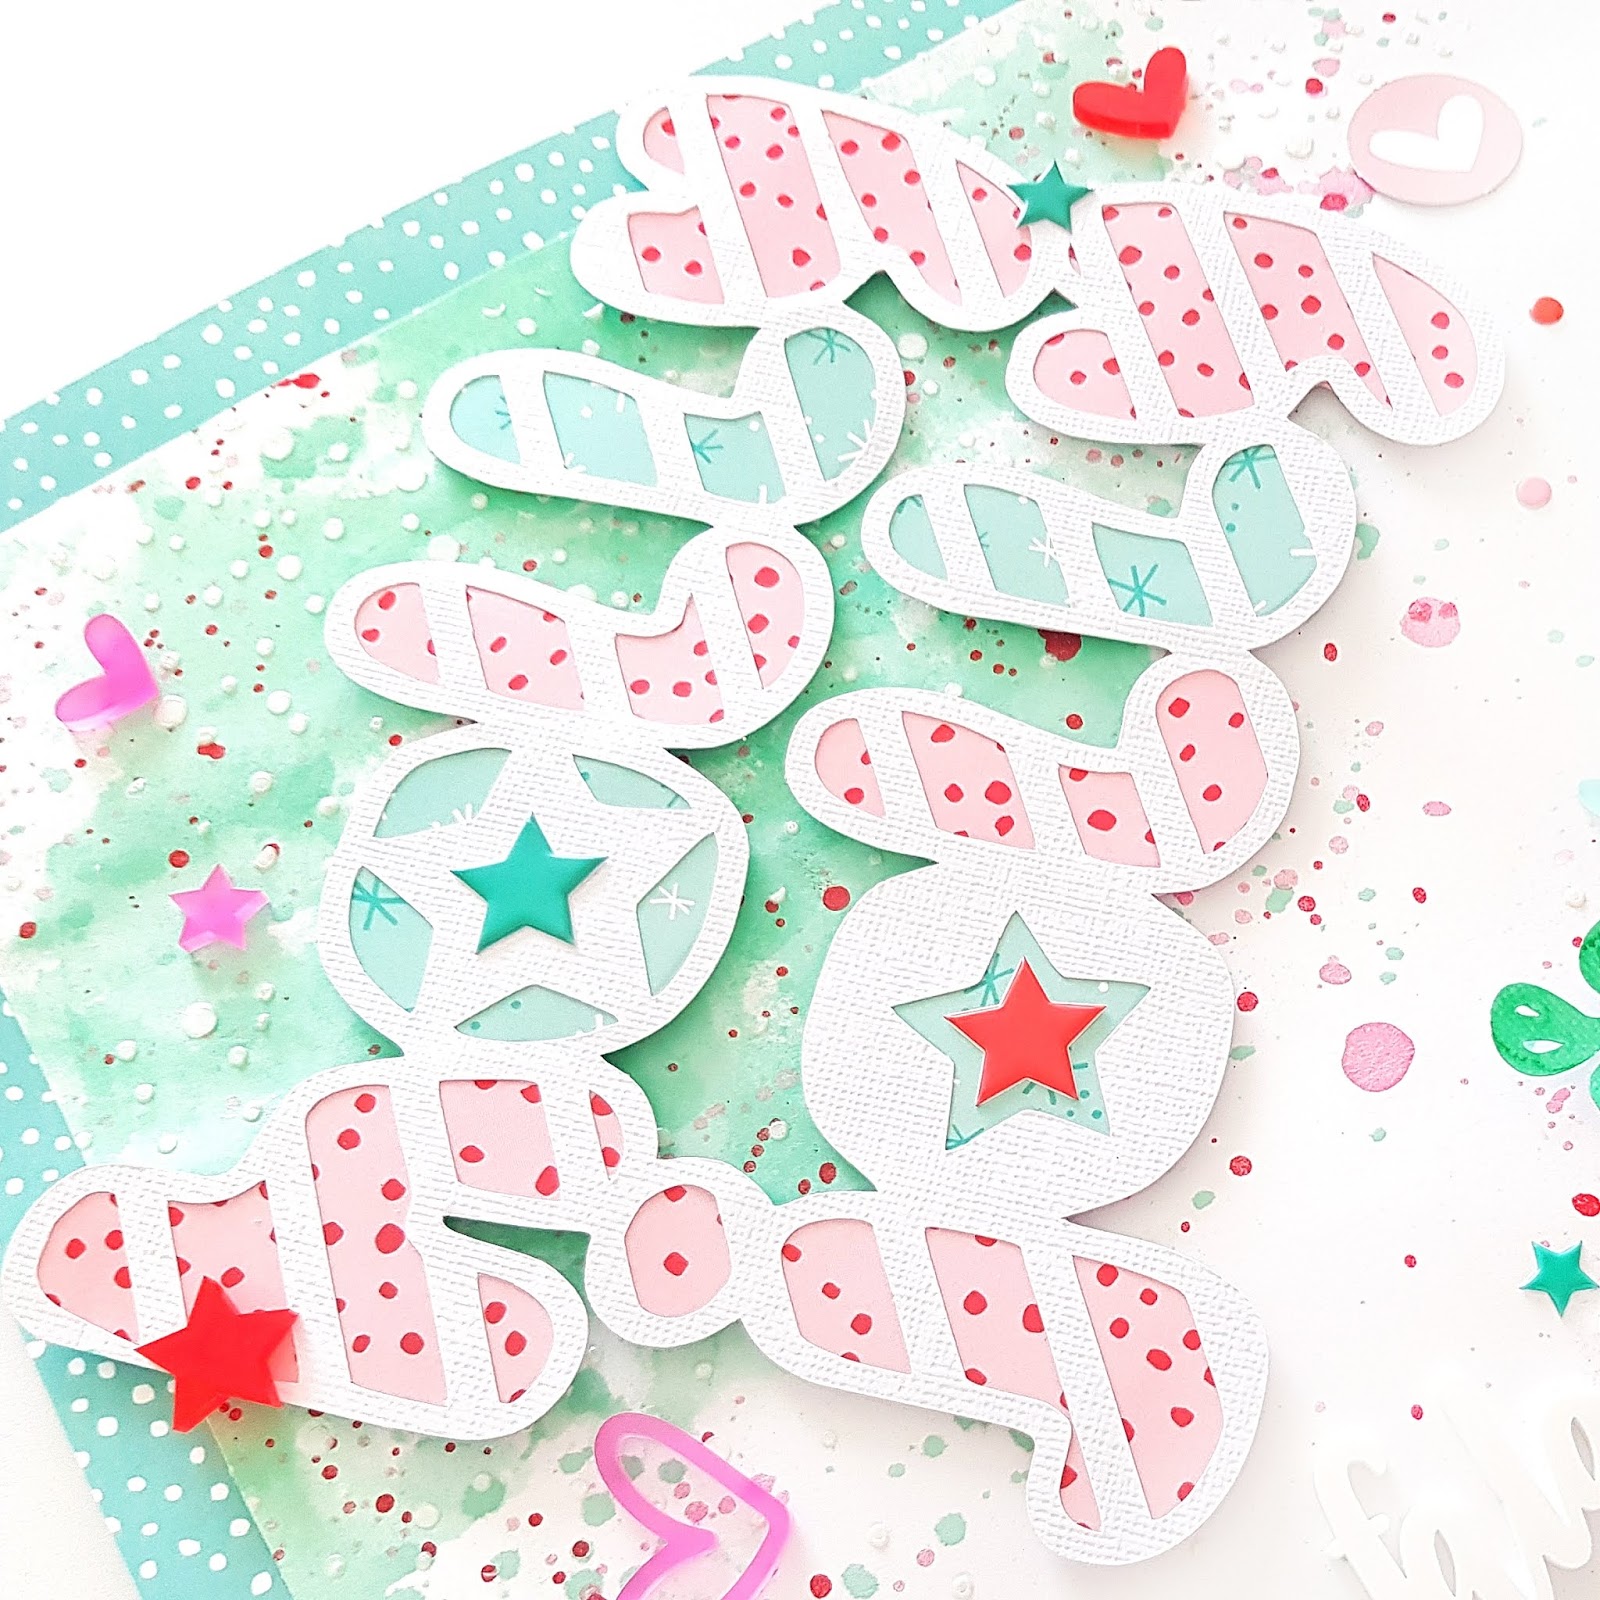
"Holly Jolly"


Sigh! Isn't this so soft, & pretty for Christmas?!
I just love the fresh & modern look this creates - so light and playful! 
Perfect for my 2 darlings in the photo! 
Here's a closer look for you....


Wow!
I have combined these stunning colors with a couple of cut files, as well as Elle's Studio scrapbook supplies. 
I start by creating my mixed media bases which my cut files layer onto.
 I use the packaging technique and add lots of color droplets and splatters too! 
Once dry, I apply the tiny dots stencil with Dazzlerz Spun Sugar. 
I also spray the snowflake cut files with that soft jade color, Coloringz: Oh Say Can U Sea, and then give a light coat of Shimmeringz: Baby's Breath for a gentle hint of shimmery goodness! 
I love how this turns out!
You can see the entire process in my video HERE. 

Here's a few close-ups for you....


Those colors are just divine! Such a perfect combination! 
Oh, & that cut file is a FREEBIE! Yesss! 
I've popped a link for it in the description box on my channel - so be sure to check it out & subscribe to Happy Arty Days too! 


That snowflake cut file is gorgeous! 
It's called 'Snowed In', and is another Freebie - from The Cut Shoppe!
 I love the soft hint of shimmer that the Baby's Breath adds to the Coloringz: Oh Say Can U Sea - so pretty!!! 
And such a great way to add gentle interest to my photo cluster! 


So.much.gorgeousness!!!


See more of this pretty Christmas layout on the Shimmerz Paints channel HERE

Thanks so much for stopping by today!
I hope you enjoy watching my process video! 

REMEMBER: Type AMANDA in the comments section of your Shimmerz Paints Store order to receive a FREE paint! Yay!!! 


Thanks again, & Best Wishes for the New Year!


Friday, January 12, 2018

Crafty Friends Card Set | Rubeena I.


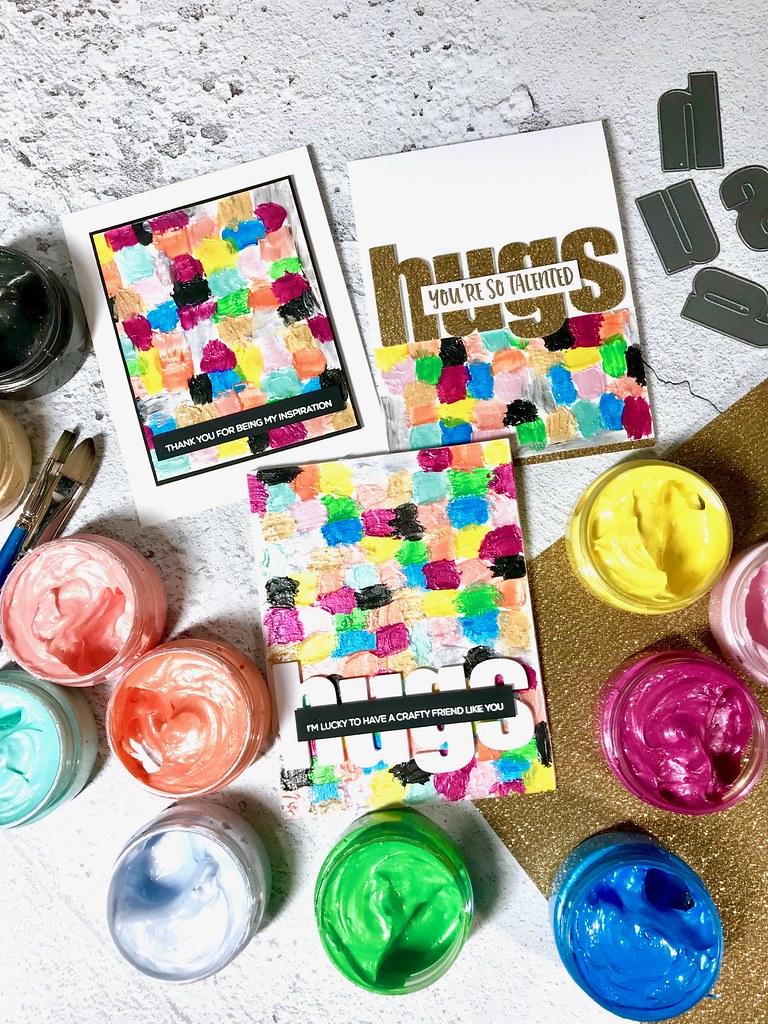
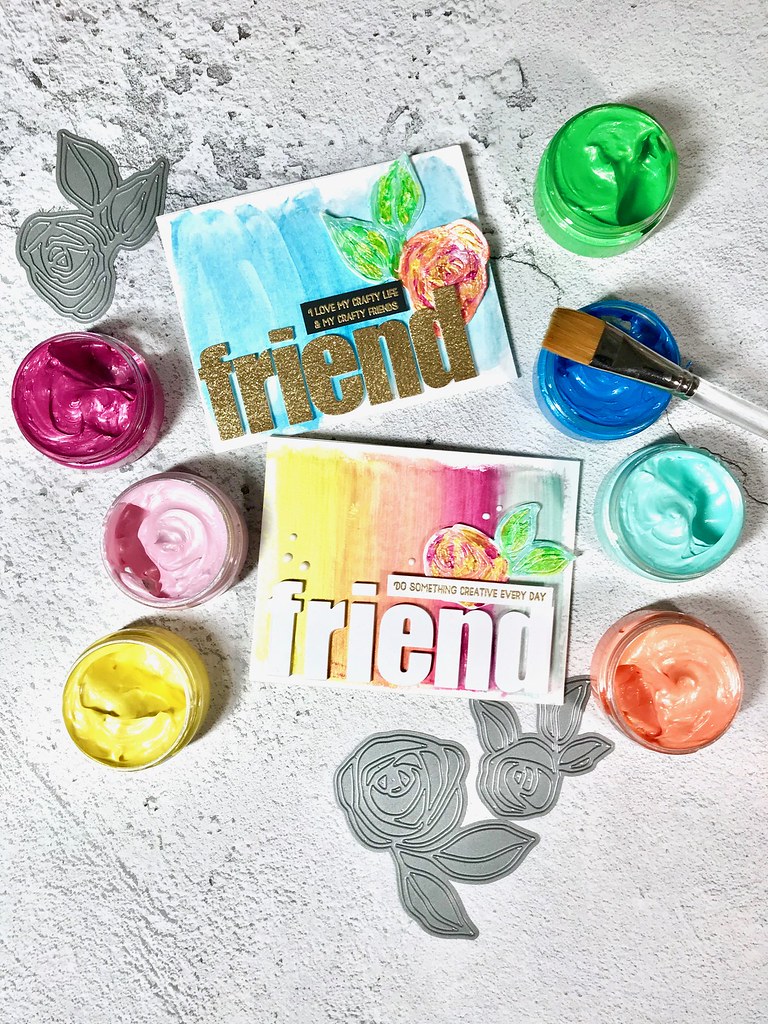
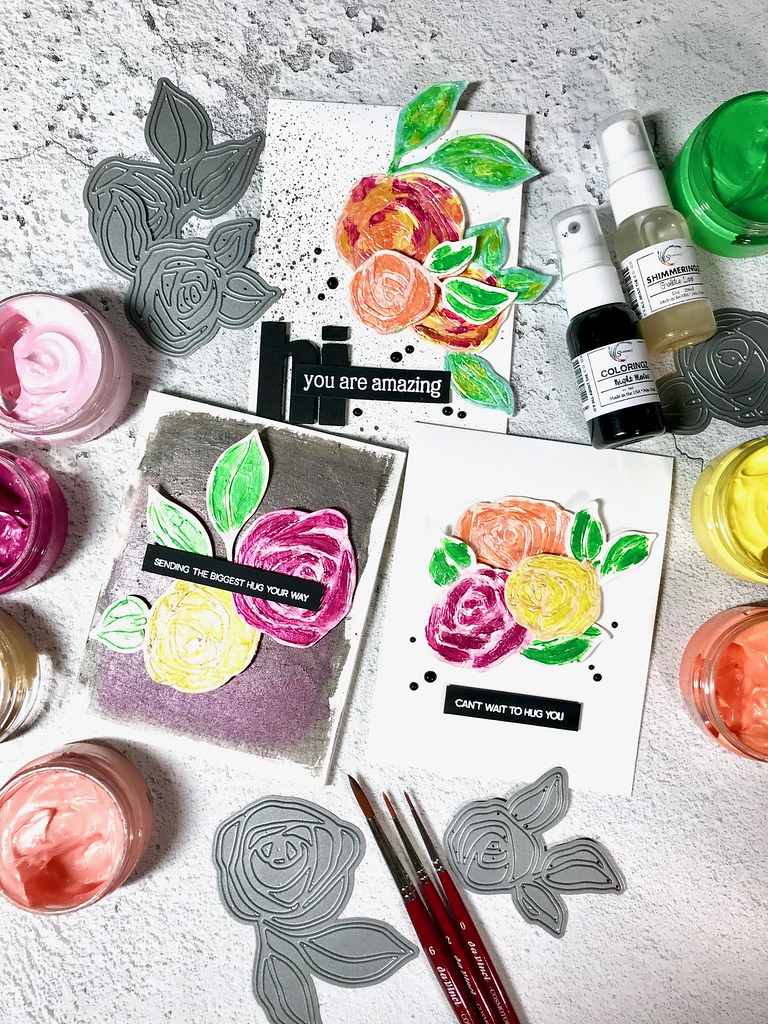
Hello, Rubeena here from A Rare Ruby with my very first post as new Creative Design Team member! Today, I’ll be sharing a set of cards I created that focus on the gorgeous Dazzlerz and Textures, which are shimmering dimensional pastes. Typically, pastes are known to be used with stencils and mixed media projects. After a year-plus long hiatus from crafting, however, I decided to use the pastes as "paints." I will list all supplies at the end of the blog post to make it easiest for everyone.

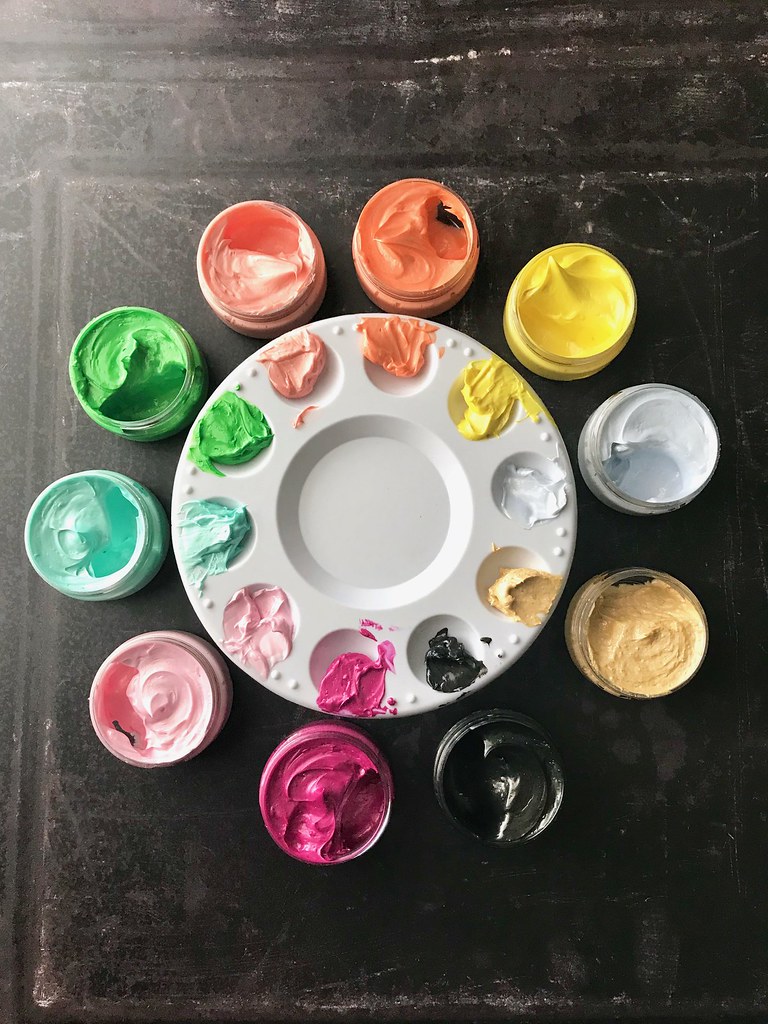
First, I picked out an assortment of colors that I thought I would play with.

Rubeena_Shimmerz_Jan12_
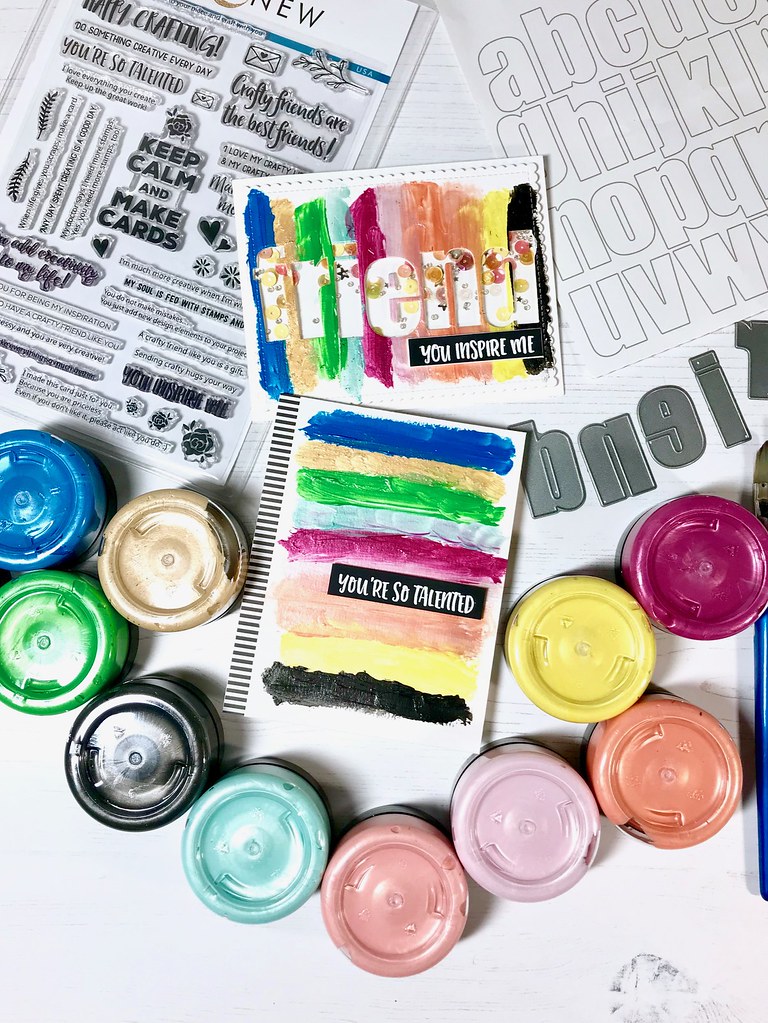
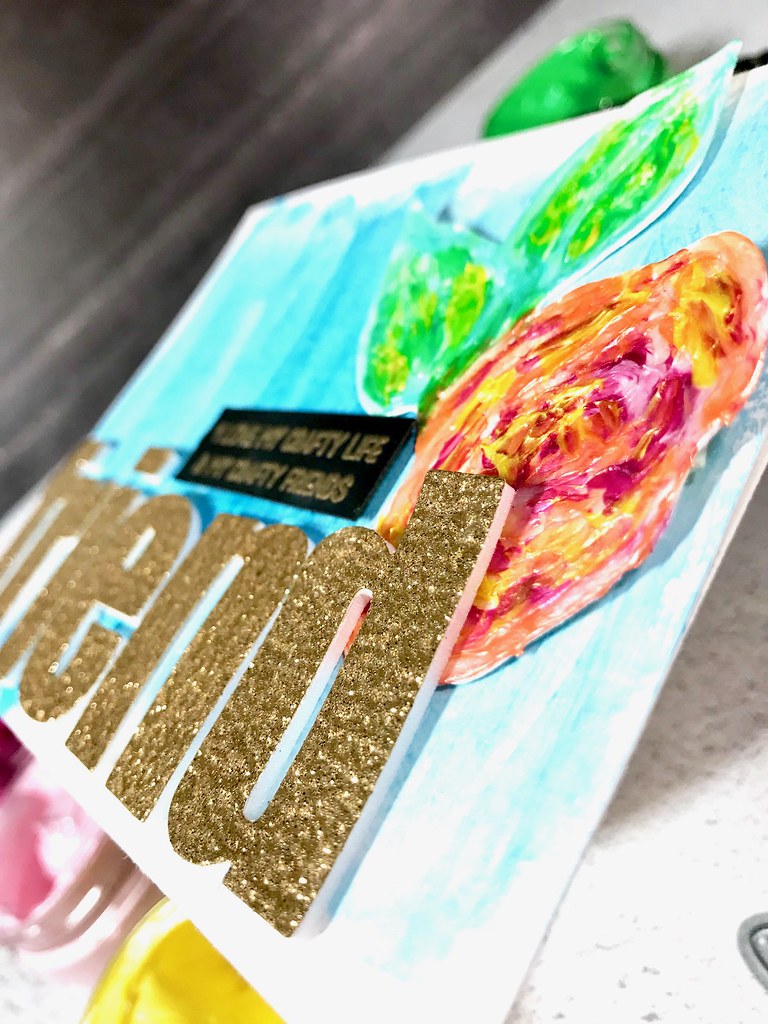
I used watercolor brushes to color rose die-cuts and A2 size watercolor paper. When I first started coloring, I wasn't sure what kind of cards or layouts I would create. I let the ideas come to me while crafting all day. Once all the pieces were dry, I die-cut some large words from an alphabet die set in white, black and gold glitter cardstock. I also heat embossed various sentiments perfect for crafty friends! Then, I set about making as many cards as I could since I had a lot of pieces created. I even created a shaker card! 

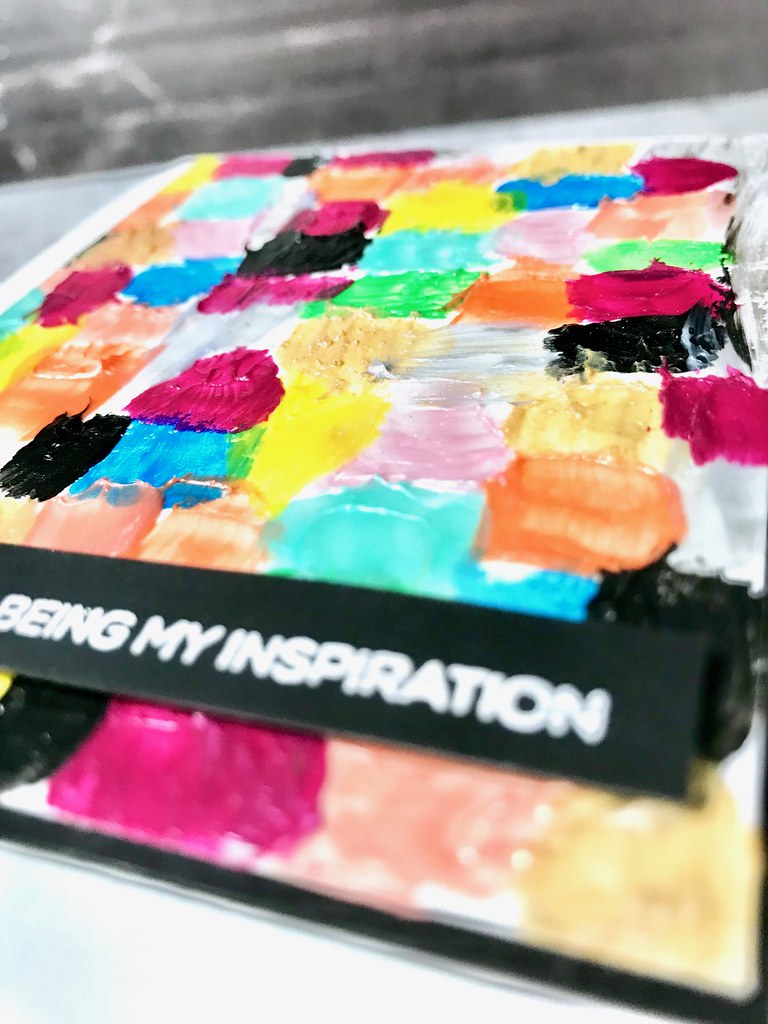
Rubeena_Shimmerz_Jan12_ Rubeena_Shimmerz_Jan12_ Rubeena_Shimmerz_Jan12_ Rubeena_Shimmerz_Jan12_ You'll notice the textured look as well as shimmers on pretty much every card! These pastes made me feel like a true artist, letting my creative juices flow. To get a lighter look, I simply added water when I created some of these backgrounds.
Rubeena_Shimmerz_Jan12_ IMG_4282
These are perfect to give to crafty friends, which I plan on doing! I hope you were inspired by my projects. I look forward to sharing more with you in the year to come! Thank you so much for stopping by today! 

SUPPLIES

Dazzlerz: Tutti Fruiti, Pucker Up Pink, Dreamsicle, Coral Me Crazy, Jelly Bean Green, Sea U in the Mornin', Lemon Drop, Licorice Stick, Barely Blue, Gummy Berry Blue
Texturez: Gold Mine
Coloringz: Night Moves
Shimmeringz: Goldie Lox

Thursday, December 7, 2017

Cute Cousins | Adrienne Alvis

Happy Thursday, Shimmerz fans! I'm here today with a layout that I created using some lovely paint products from Shimmerz! I was really inspired by the colors in the photos I used to mix up some metal colors!


To begin my design, I sprayed the musical note patterned paper with some Shimmeringz spray ink in "Heavy Metal" and Vibez spray ink in "Glorious Day". The shimmery sprays look so beautiful together with the contrasting mixed metal tones which are very on-trend right now!


After the ink dried, I used a stencil and some Texturez shimmering, dimensional paste in "Gold Mine" to create some dimension behind my photos. I love how the gold makes the red accents in my photos pop!


I also added a few ink splatters using some Coloringz in "Night Moves"...it's the perfect black color that doesn't contain any shimmer and really helps draw the eye around my page.


Thanks so much for joining me today! I hope I've inspired you to mix up those metals and create something amazing!


Friday, November 3, 2017

Big Fan! | Adrienne Alvis

Hello, Shimmerz fans! I'm here today to share a layout I created using Dazzlerz, Coloringz, and Shimmeringz!


I was inspired by the photo of my daughter at one of her big brother's football games and our hometown school colors for this layout. I started by choosing a couple of patterned papers from my stash and sizing them down to layer behind my photo.


I spritzed the plain white card stock that I used for my background paper with some Shimmeringz in "Concrete" and while it dried, I used some Dazzlerz in "Red-iculous" and a heart stencil from my stash to create the puffy hearts behind my photo. I love how the Dazzlerz texture paste shimmers and adds just the right amount of dimension to my layout!


I placed a few simple embellishments around my photo and stitched around the outside of the patterned papers using my sewing machine and some black thread so it would give it a bit of contrast.


I kept my overall design simple, but with the addition of the lovely Shimmerz paints, my page looks much more complete and visually interesting, don't you agree?

Thanks so much for joining me today! I hope you get a chance to grab your favorite Shimmerz Paints and create something amazing very soon!


Saturday, June 10, 2017

Easy & Textured Cityscape Art Journal Page | Zinia Amoiridou


Hello artsy friends! It's Zinia here and today I'm back to share with you a really easy and full of texture art journal page I created using my Shimmerz pastes.

Before we get into the process let's take a look at our palette.


The products I'm using today are:
  • White & Black Gesso
  • Paste-eez in Baby Boy Blue, Tree Hugger & Raspberry Sherbet
  • Dazzlerz in Sea U in the Mornin', Foiled Again (mixed with a few drops of Distress Oxide in Cracked Pistachio) & Pucker Up Pink
  • Texturez in Crushed Coral, Gold Mine & Maroon Over Miami (this last color won't really make it to the final page but it is in my initial palette)
  • Shimmeringz in Heavy Metal
  • Vibez in Glorious Day
  • Coloringz in Well Blue Me Down


We are going to start on a primed page. Make sure to evenly cover the whole page with a thin layer of gesso. Then we are going to start adding intuitive brush strokes using a big flat brush.

For the first layer, I started by adding some building with black gesso and darker colors so my lighter shades will have a nice ground to sit on.


As I started moving forward I decided to tint my background with some sprays. I randomly sprayed over my page till I was happy with how everything looked. To help the drying process, I blotted some areas with a towel and accidentally left some marks on the paste that wasn't completely dry yet.

I liked that look so much that I intentionally pressed my towel on top of different areas to add even more texture.


After that I continued adding my buildings but this time I switched my brush for a palette knife. The effect you get with the palette knife is completely different and definitely worth it. I really loved how the color of the Texturez skipped at some areas when I applied it with this way.


While working on this page my brain malfunctioned for a bit and for some reason I decided that the front buildings should be smaller than the ones behind. I only realized that when I was editing my video but you know what, I'm really glad I did it this way. There's no rule that says that my art journal pages have to be realistic! Same goes for you. Never worry if you create something out of the ordinary, as long as you enjoy the process and have fun, there are no mistakes in art journaling.


The final touch was to add some white gesso around the edges with a dry brush to help every thing pop nicely.

Thank you so much for joining me today. I really hope you enjoyed the process of this page. If you got inspired and you want to grab some gorgeous Shimmerz goodies make sure to mention my name "Zinia" at the comment section of your order to receive a FREE Shimmerz product! 


Tuesday, December 20, 2016

Snowflakes Are Falling | Adrienne Alvis

Hello everyone! Today I have a winter-themed layout to share with you that I created using some Inklingz, Shimmerz, and Shimmeringz spray!


I started by choosing some tree-shaped die cuts that I had previously cut out using some charcoal gray cardstock and my Silhouette. I loved the dark gray color of the paper, but I wanted to alter it a bit so that it fit better with the photo of the lovely snow scene that I had captured a few years ago so I used some "Frosty's Buns" Inklingz to add some shimmer and dimension to my trees.


I simply added a little bit a water directly to the tub of Inklingz and swirled it around for a few moments using my watercolor brush. After the ink's consistency was to my liking, I used my watercolor brush to lightly swipe it across the tree die cuts.


Next, I used my watercolor brush again and dipped it into some lovely "Golden Wheat" Shimmerz and made small brush strokes around some of the trees' edges to enhance the overall color scheme of my layout. I love using non-traditional color schemes for winter photos, don't you?


To complete my page, I sprinkled a few drops of the Shimmeringz spray, "Heavy Metal" around my layout for added shimmer and a little bit of sparkle.


Shimmerz Paints Used: Inklingz - Frosty's Buns; Shimmerz - Golden Wheat; Shimmeringz - Heavy Metal

Thanks so much for joining me today and I hope you have a wonderful and safe holiday season! See you next year!

Monday, November 21, 2016

A Winter-Themed Layout by Adrienne Alvis

Hello everyone! I'm here to share a winter-themed layout that I created using some lovely Shimmerz products!


When I first chose the photo of my two youngest children wearing their Christmas pj's that they received as a gift from their elves' reindeer, I was stumped on how to create a background that looked like a snowy wonderland. I tried a few techniques using some Coloringz and Shimmeringz, but nothing was turning out like I had envisioned in my head. So I ended up grabbing a skein of baker's twine from my stash and wadding it up in my hand so I could use some "Well Blue Me Down" Coloringz spray ink on it to create a background! 


After I spritzed the baker's twine with the Coloringz, I simply stamped it down on my background cardstock and voila! I think it looks like the frosty pattern that ice leaves on glass when it's really cold! 


After the Coloringz dried, I lightly spritzed some "Heavy Metal" Shimmeringz all over my background to add a light gray tone to my page. Then I used some "Tutti Frutti" Dazzlerz Texture Paste and a star stencil to add some more dimension and texture to my layout. I love the soft pink tones of the Dazzlerz paste and how it coordinates with the pink doily I used on my layout.


I had a couple of tree shapes that I cut out of white cardstock using my Silhouette that I sprayed with "A Shade Of Gray" and "Well Blue Me Down" Coloringz to match the colors in the patterned paper I chose to use.


Shimmerz Paints Used: Dazzlerz - Tutti Frutti; Shimmeringz - Heavy Metal; Coloringz - Well Blue Me Down, A Shade of Gray

If you get stumped or are wanting to use a new technique on a project, just look around your craft space and think outside of the box like I did with the baker's twine! I hope I've inspired you to try something new...thanks so much for joining me and have a wonderful day!