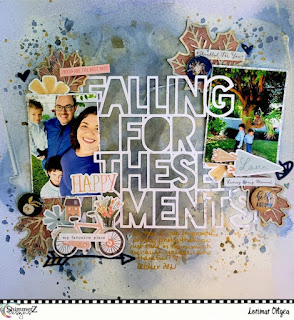
Hi everyone! I’m Stephanie Dang, and I'm back on the blog today to share my project using this month’s color kitz. If you would like to see more of my work or follow me, please find me at https://www.instagram.com/paperandi/ and https://paperandi07.blogspot.com. This kit is so fun and filled with beautiful splashes of yellow, green, orange, red, and turquoise. Perfect for documenting your summer festivities! You will find all supplies to recreate the layout at the bottom of my blog post.
Step 1: Start with the purple background. Layered on white cardstock that is prep with gesso.
Step 2: Using water, waterbrush, add the Pink Champagne Creamer to the background all over the center of the page. Let dry. Mixed It's Mint to Be Shimmerz with modeling paste off to the side and add the on top of a star based stencil. Scraping off access and letting dry.
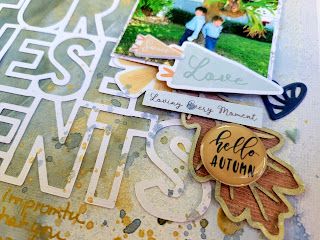
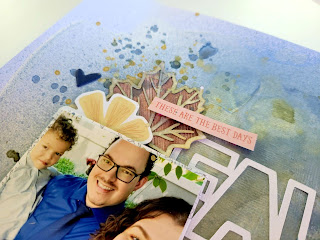
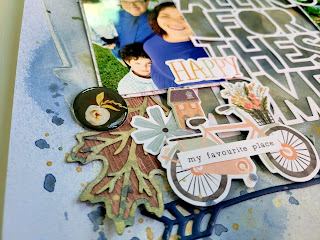
Step 3: Add the photos and play around with embellishments. Using adhesive foam to add dimension through the page from one corner to the next,
Step 4: Add stitching to the border.
Supplies:
• Shimmerz Paints AUGUST 2025 Color Kitz, Creamer (Pink Champagne), Shimmerz (It's Mint to Be), gesso, foam adhesive, and regular adhesive.
I hope you enjoyed my project, and felt inspired to create this yourself by using the June 2025 Color Kitz. If you would like to see more of my work or follow me, please find me at https://www.instagram.com/paperandi/ and https://paperandi07.blogspot.com. Thank you for reading and have an awesome blessed week!