Showing posts with label Royal Red. Show all posts

Saturday, December 19, 2009

Children's Fingerprint Tree with Shimmerz


I'm in charge of the 2-3 year old Sunday School class at church and since Christmas is right around the corner, I wanted to do an easy and inexpensive ornament craft with them.

I came up with this Christmas tree.


Each "dot" is actually a finger print. I used Shimmerz paints because they are totally and completely safe. If my daughter licked her finger, I wouldn't worry a bit. When crafting with many little ones, it is important to know that they will survive the experience, right? (giggle)

Lyssie (just turned 3 y/o) is very proud of her handiwork (or should I say fingerwork?)


If you are interested in making this craft with your sweeties here is what you'll need.
Materials
1. One 8 1/2 x 11 inch piece of white cardstock
2. Royal Red and Celery Shimmerz
3. Brown paint (I used acrylic because that is what I had on hand.)
4. A star of some sort. (I used a brad, but a punched star would work too. Or you could even do a yellow fingerprint for a star.)
5. Ribbon for hanging
6. Pencil, eraser, hole punch and triangle template
Directions
Prep-Work
1. Cut 1 ovals out of your cardstock. I used my Creative Memories oval cutters. This made it really easy.
2. Trace a triangle very lightly in pencil (this marks the boundaries of your fingerprint tree.)
3. Paint your brown trunk.
4. Punch a hole and thread your ribbon through the top.
With the Children
1. Paint one finger with Celery Shimmerz and stamp it inside the triangle. Repeat until you have the look you want. You can manually stamp the child's finger, or give them more freedom to do it themselves.
2. Paint one finger with Royal Red Shimmerz and add ornament accents.
3. Add a star (if desired)
4. Write the child's name and date on the back. Erase your pencil triangle.
5. You're done! Wasn't that easy?
Happy Shimmery Crafting!
xoxo
Bethany Kartchner

Wednesday, December 16, 2009

A Shimmery Christmas


I love playing around with vintage images. When I found a Christmas Postcard kit by Crafty Secrets, I knew that they needed some Shimmerz to really shine!


First, in order to distress the images a little bit, I spritzed with Treasured Hymn. This is such a cool spritz. It immediately tones down any stark white images and gives them a beautiful slightly distressed look. Next, using Under the Sea Blingz, I added some texture and sparkle to my birds and other blue images. Aren't those birds gorgeous?


On the next ornament, I really got into Shimmerz and painted Santa's outfit with Royal Red so that it would stand out more. I also painted Gold Glimmer on Santa's furry spots to add texture. For dimension, I painted a chipboard star using Royal Red and I stamped a few holly leaves and painted them in with Celery.


The chunky, vintage-glass glitter quality of Gold Glimmer Blingz really shows up in my close-up.


I used Gold Glimmer Blingz again on another Santa along with Under the Sea Blingz on his gifts.


Here is a close-up so you can see the texture.


I hope that your Holidays are happy, healthy, and Shimmery!

xoxo
Bethany Kartchner
Wednesday, December 2, 2009

Shimmerzy Daydreams


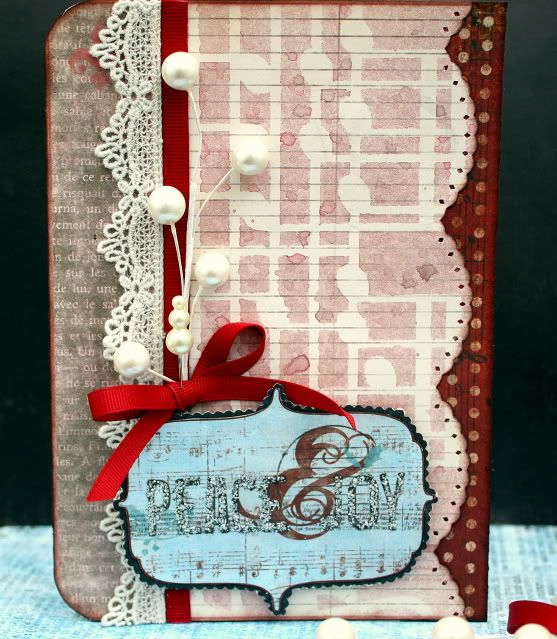
I created the following projects with Timeless Daydreams's debut kit. This kit is incredibly gorgeous and is packed full with scrappy goodness. It features Pink Paislee's Mistletoe & Co and lots of Prima...what a beautiful combination. The contents of this kit surely lit a fire in my mojo...I put my Shimmerz Paints to work on these projects as well!

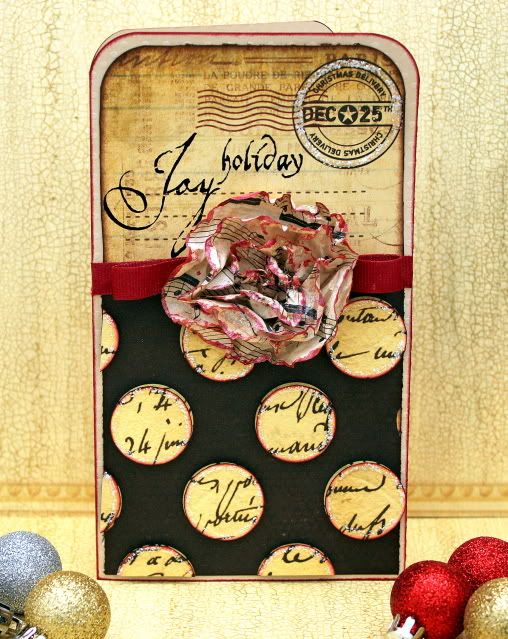
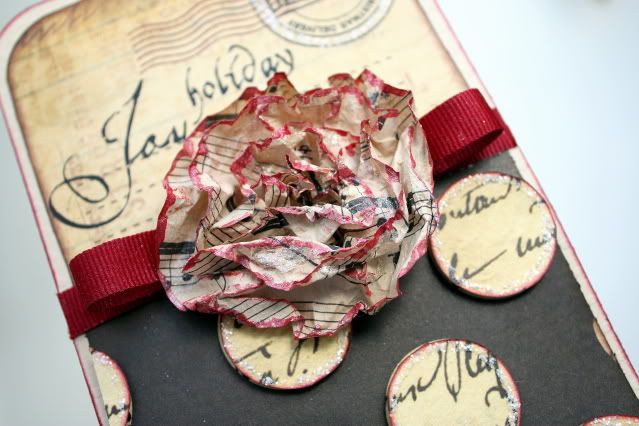
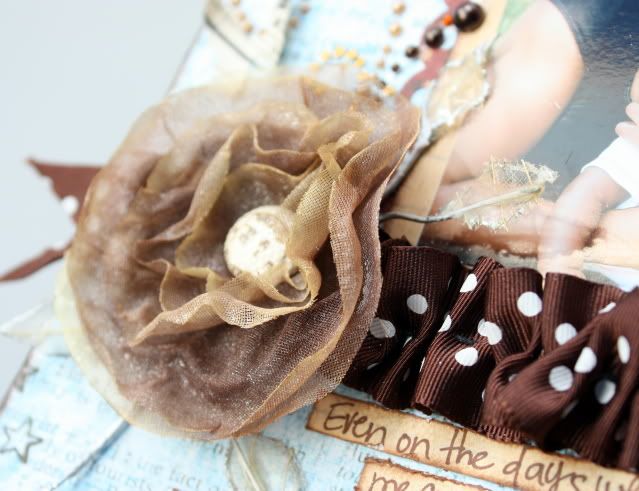
I created the flower on this card from a piece of music paper. I sprayed it with baby's breath shimmers, crumpled it and then dried it with my heat gun.


I wanted to incorporate more red, so I painted the edges of the flower with royal red shimmerz. To add a little more sparkle, I swiped a little gold glimmer blingz inside the petals. I also sprayed the ribbon with baby's breath spritz, a girl can't have too much sparkle!


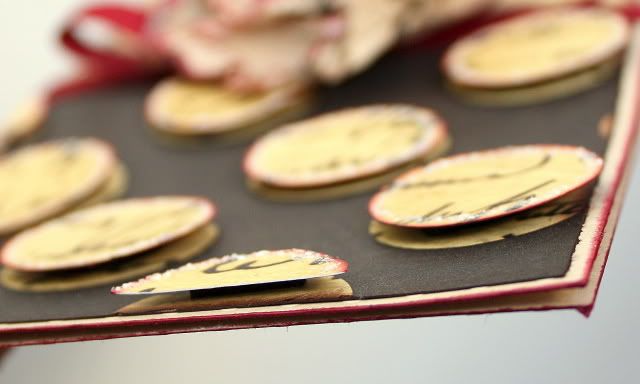
To add dimension to the card, I layered the circles using pop dots. Before adhering them, I inked the with maroon clearsnaps chalk ink. I then added rock candy stickles around each circle!


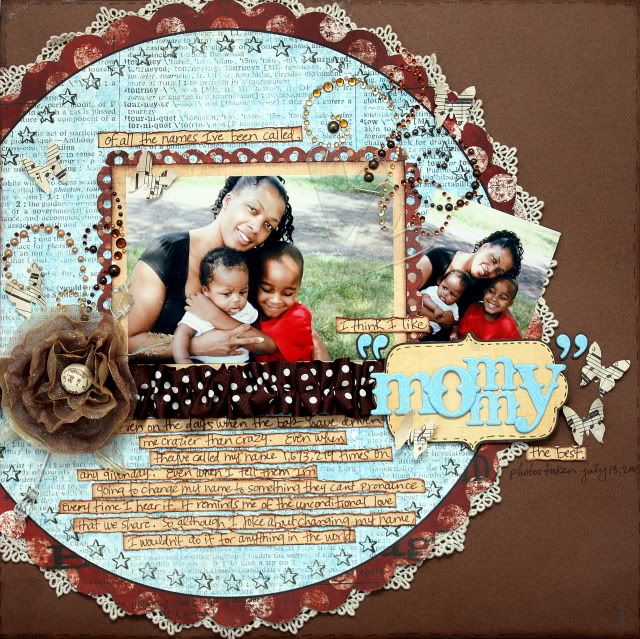
I also made a sweet layout about me and my boys.


journaling: Of all the names I've been called, I think I like "mommy" the best. Even on the days when the boys have driven me crazier than crazy. Even when they've called my name 1,673,219 times on any given day. Even when I tell them I'm going to change my name to something they can't pronounce. Every time I hear it, it reminds me of the unconditional love that we share. So although I joke about changing my name, I wouldn't do it for anything in the world.


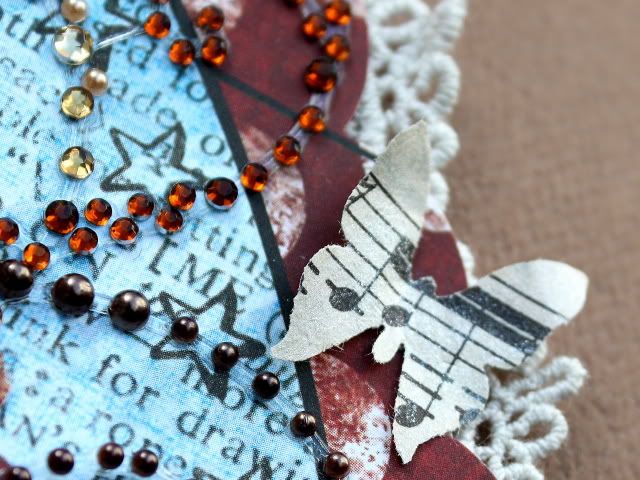
I punched the butterflies out of the music paper and sprayed them with baby's breath shimmerz spritz.


I used some baby's breath on the flower, too.


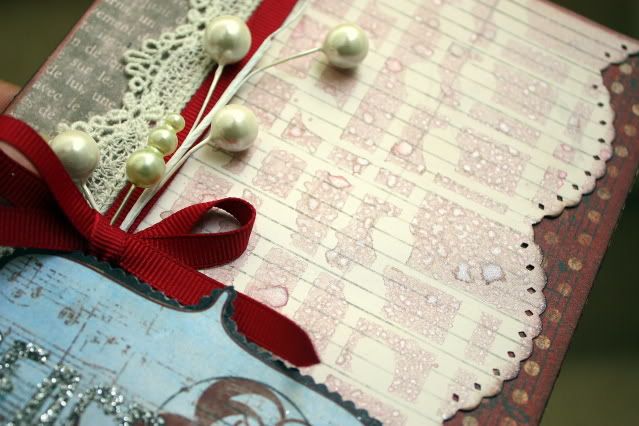
I used the 7 Gypsies card included in the kit to create this card.


I used a mask and barn door and mudpie shimmerz to create the background.


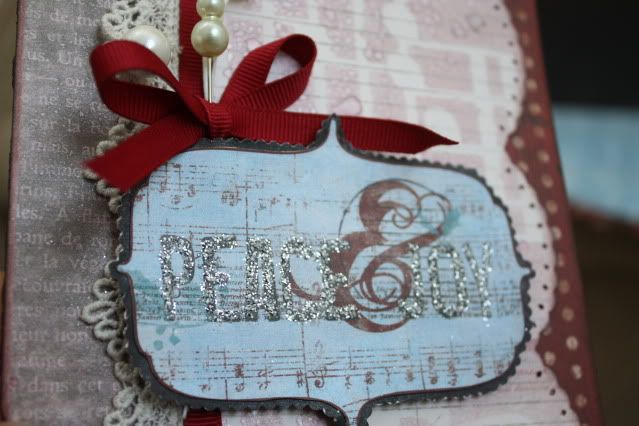
The blue postcard was a little too bright for the tone of this card, so I sprayed it with Treasured Hymn spritz to antique it a bit. I traced the sentiment with rock candy stickles and sprinkled a little silver glitter on it before it dried.


Thanks so much for taking a peek!


Wednesday, November 18, 2009

Explore

For this layout I used rub-ons to create my own patterned paper. I have a box full of rub-ons and sometimes I don't know what to do with them. These particular rub-ons were on a sheet, 8 1/2 x 4 inches. I placed them on white cardstock and started rubbing. What is fun about these is that you can paint them with any Shimmerz color to match your layout. I know you have some.

I used Royal Red and Golden Wheat Shimmerz paint and December Sky Blingz . I didn't add anything else. This is what Shimmerz and Blingz looks like. It reflects light and it shimmerz.

Use a paint brush to dip some color and have fun!