Showing posts with label barn door. Show all posts

Tuesday, November 30, 2010

Frame It .. with Shimmerz!

by Carrie Ferrier
Lately I've really been into using my scrapbook supplies to make simple framed art. Shimmerz is a major part of both of my framed pieces I'm sharing today.

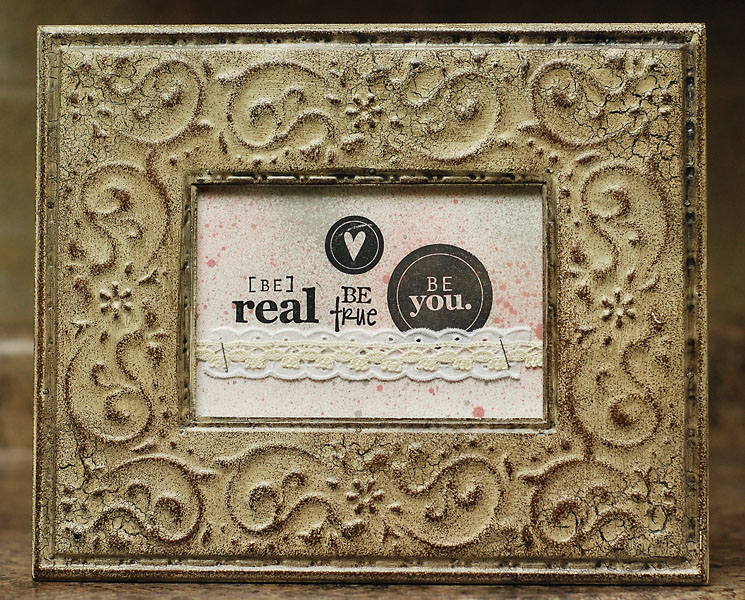
On this framed piece, I simply spritzed Shimmerz Vertigre and Barn Door on the background cardstock before I added my word stamps and ribbon. I've been wanting to make this simple framed piece using these word stamps for a long time .. pretty powerful to me. This is in my scrapbook room, and I'm also making several more for Christmas gifts.


 On this framed piece, I wanted to decorate the frame in a simple way that would aid in showcasing the photo of my beautiful niece on her wedding day. I took a plain white prima flower and spritzed it with a combo of Shimmerz Bed or Roses, Baby Breath, a fine spritz of Vertigre, and finished it off with some Barn Door.


I absolutely adore how, with just a little bit of Shimmerz, a project gets that final "oomph" of goodness.

Tuesday, December 1, 2009

Double Masking Technique


Hello everyone!! I am so excited to share with you this technique. It was supposed to be a video, but my little guy got hold of my video camera one day. I took it and hid it from him and forgot where I put it! I found it after the fact, thank goodness...hiding in plain site--LOL!


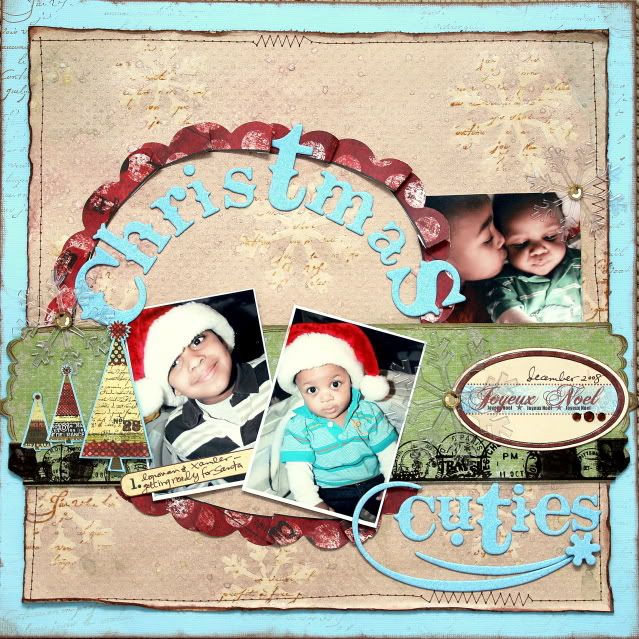
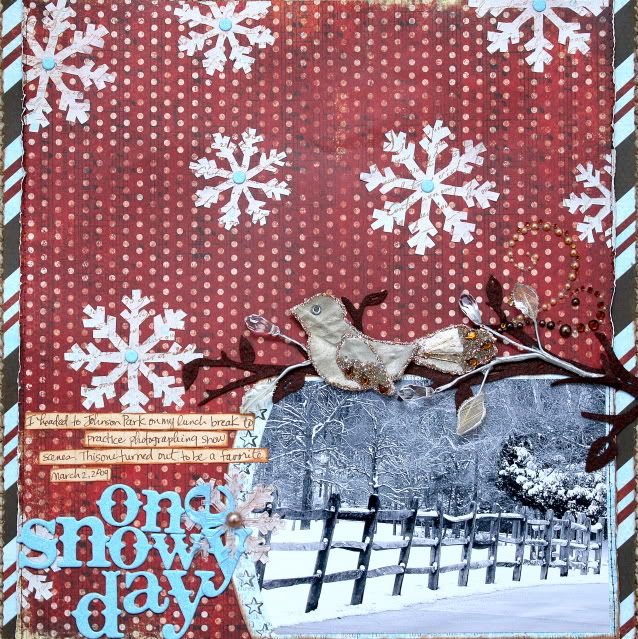
I did, however manage to take step-by-step pictures of my technique. I hope you'll enjoy it and try it out for yourself! I created this layout of my little cuties using the gorgeous December Kit from Timeless Daydreams. I really wish you could see this in person! The sparkles are so beautiful, it would make your eyes water! I even spritzed the Prima package insert with baby's breath shimmerz!
This layout was created using a Sketchy Thursdays sketch.


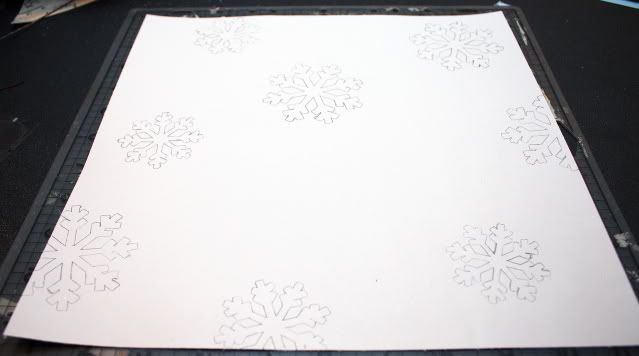
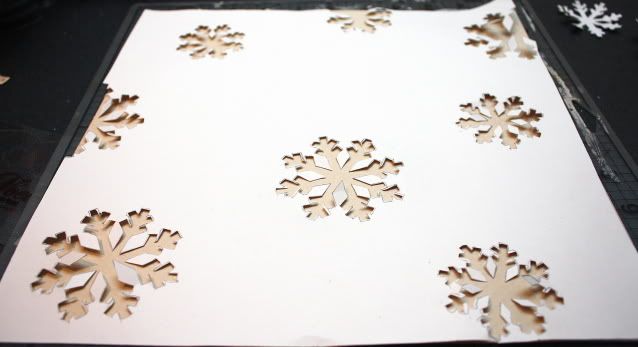
To create the first part of the mask, I started out with a plain piece of white paper trimmed to the same size as my background; in this case 11x11. (NOTE: use a cheap piece of paper for this, instead of cardstock. I used one of the inserts from an album protector sheet.)


I sporadically placed Heidi Swapp acetate snowflakes on the paper and traced them.

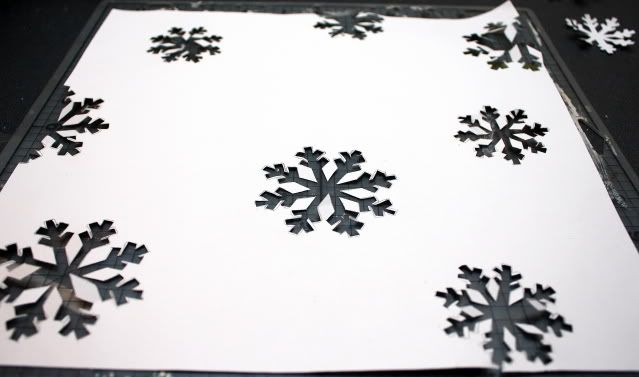
Using a craft knife and a pair of microtip scissors, I very carefully cut the snowflakes from the paper. This is going to serve as a mask for the stamping portion of the technique.

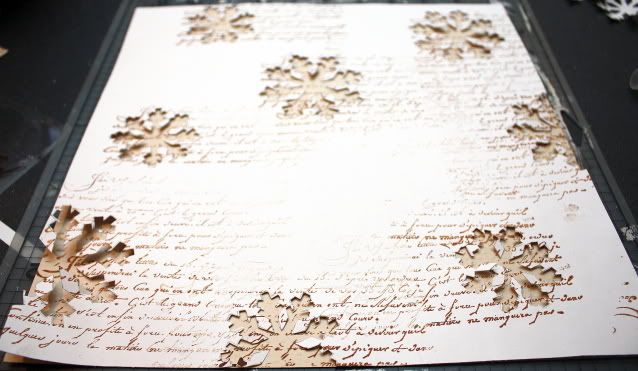
I then placed my mask over my 11x11 piece of background paper. I used Bazzill Swiss dot because it adds a little extra texture.

Next, I stamped the french script image across the negative snowflakes. You could use any small image for this part.

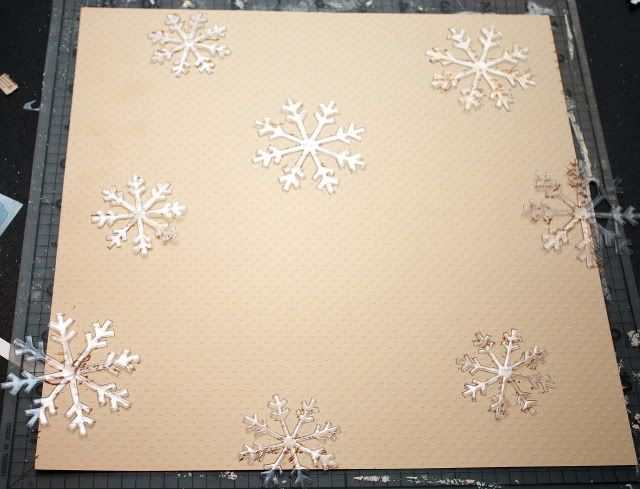
I then removed the white paper and placed the acetate snowflakes over the stamped images. This is for the second part of the masking technique.
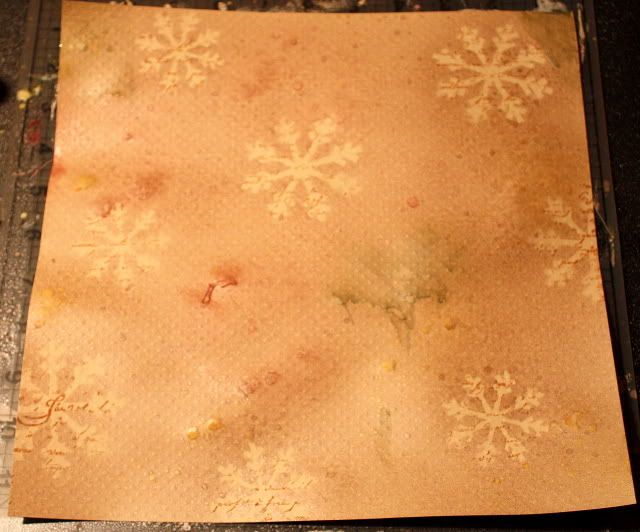
Next, I spritzed mudpie, olive branch, and barn door Shimmerz Spritz across the entire background. (NOTE: the reason that I used acetate snowflakes is because Shimmerz cleans up really easily. I just wiped them off with a piece of paper towel. )
When I removed the snowflakes, this is the result. I used my heat gun to dry the background. Shimmerz normally dries really evenly, but I found that by concentrating a heat gun over the larger drops, gives you the splattered look.

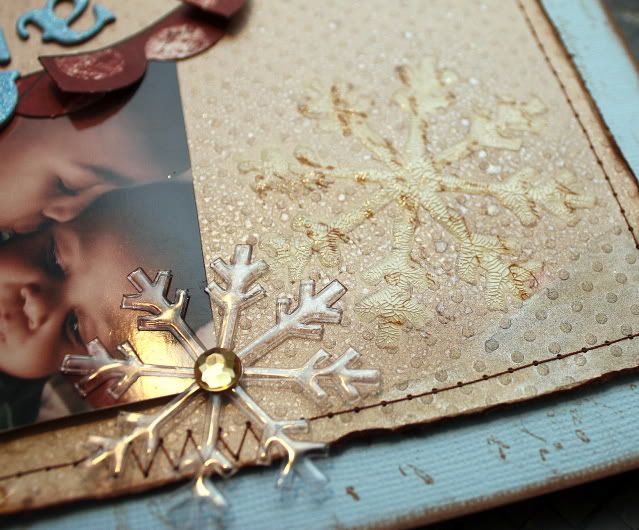
Here's a close-up of the snowflake. At this point, you can highlight your snowflakes, if you chose, with a pen, hand stitching, stickles, etc... I chose to to use Ranger's crackle accents and I just love the added texture it creates. The crackling also adds to the vintage feel of the layout as well!
The acetate snowflake seen here is one of the same ones I spritzed over. Just a little wipe and the spritz is gone...easy peasey!

I loved creating this technique; but to tell the truth, when I do it again, I'm going to use a shape with a little less detail, like a circle or something. The snowflakes were a little tedious, however, I did get a second use out of them.
All of the snowflakes that I carefully cut from the paper (in step 1 of the technique) were used on this next layout. I lightly spritzed them with seafoam, treasured hymn, and mudpie Shimmerz spritz and then stamped with the same french script stamp (one of my faves).

here's a close-up of a snowflake

I hope this post has inspired you to head out and grab some Shimmerz! There's no right or wrong way to use them!!!


Sunday, November 15, 2009

Gift Card Holder From Start To Finish

Hey there, it's Tanisha here! I created this Shimmery project for the Holiday Bazaar at Serendipity Scrapbooks that I participated in this weekend. I totally adore Shimmerz and literally use it on nearly every one of my projects! I wanted to show you how easy it is to use Shimmerz products, so here are step by step instructions for a few quick techniques that you could incorporate into your projects to help take them over the top!

It may look like it takes a long time to recreate the look, but trust me, it doesn't. Shimmerz dries very quickly!

I started by scoring and folding a 4 1/2 x 12 cardstock to create the 4 1/2 x 6" card base.


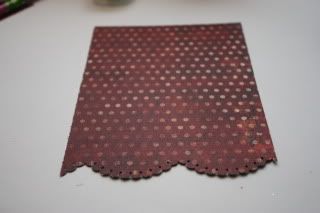
Next I used the border punch to create a scalloped edge on the bottom of a 4 1/4 x 5 3/4 piece of patterned paper and set aside.

I spritzed a die cut with Baby's Breath Shimmerz and dried with the heat gun and set aside.

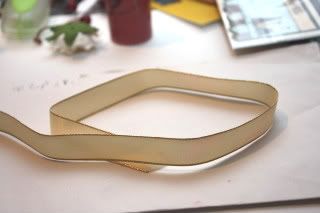
I then took my ribbon, originally cream, and placed it on my work surface.

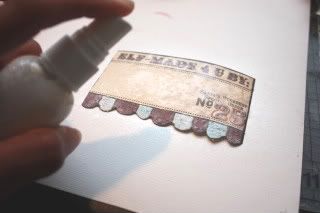
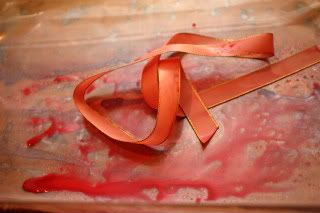
Next, I saturated it with Barn Door Shimmerz Spritz. Don't worry about getting messy, Shimmerz cleans up easily with soap and water!

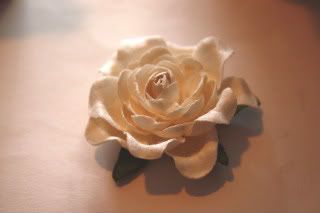
I took a Prima rose, originally white...

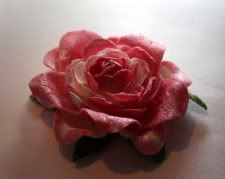
and rubbed it in the over spray on my work surface.

I could have easily sprayed the flower, but by rubbing it, I still maintain some of the original white in between the petals.

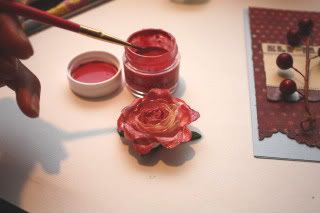
I took a thin paint brush and painted Ruby Red Shimmerz on some of the petals. I think the different tones of color really add dimension to the flower.

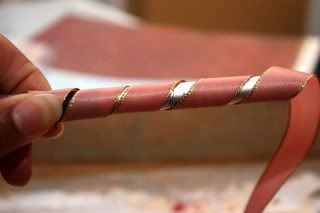
I then took my ribbon, which is still wet and wrapped one end around the handle of my craft knife (a pencil or similar tool would work, too). To create the ribbon curls, I used the heat gun to dry it in this position. Watch out for your fingers because the heat gun gets hot!!! (make sure to move the heat gun back and forth frequently so it doesn't scorch the ribbon). Repeat on the other end.

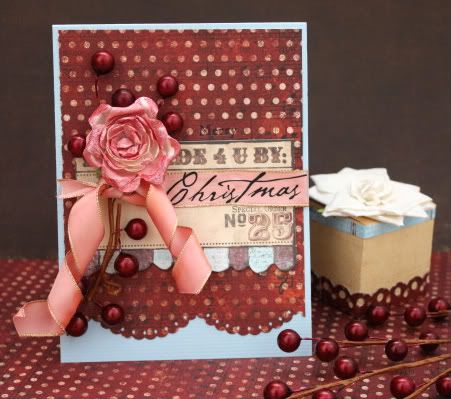
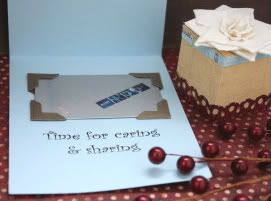
Now that all of the elements are dry, everything comes together pretty fast. I adhered the pattern paper to the cardstock. I ended up cutting a little more off the top so a larger portion of blue could show at the bottom. I centered the die cut and adhered it 2 1/8" from the top of the card. I used glue dots to adhere the holly berries to the left side of the card and then added the curled ribbon. I removed the green leaves from the flower and then adhered it above the knot in the ribbon. I added the rub-on sentiment and here's the result...

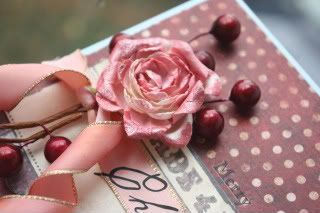
Here's a close-up of the flower...you can really see the shimmerz!

Here's what the inside looks like. I used 4 photo corners to hold the gift card in place and then added another rub on sentiment.


I hope you enjoyed the tutorial!

Wednesday, October 7, 2009

Sweet Friend

Hi, Lucy here - with a project perfect for a gift or home decor. In the September kit from A Million Memories we had a fun Bingo book by Jenni Bowlin that picked up Shimmerz Spritz beautifully - I used Eucalyptus on the background. Then, I printed off some cute animal cards from a FREE digital download from AMM and embellished with some Cosmo Cricket papers.

The flower was made by cutting graduated sizes of a flower with my Slice from old book pages and misting with Barn Door Red Shimmerz Spritz, then painting the edges with Fire Engine Red Shimmerz to accent. Layer the dried layers together with a Sassafras flower or button.


Thanks and see you soon,

Lucy

Saturday, October 3, 2009

Hey there, it's Tanisha here! I just wanted to pop in to share with you a couple of projects that I've completed this weekend.

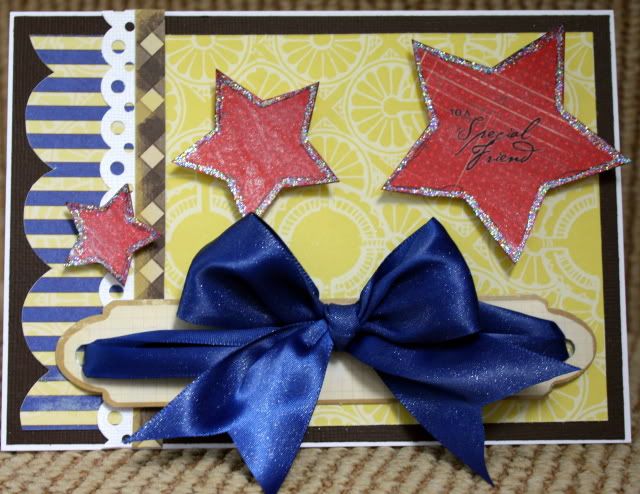
I created this card and used Shimmerz barn door spritz on the stars and sapphire spritz on the satin ribbon for a beautiful finishing touch!


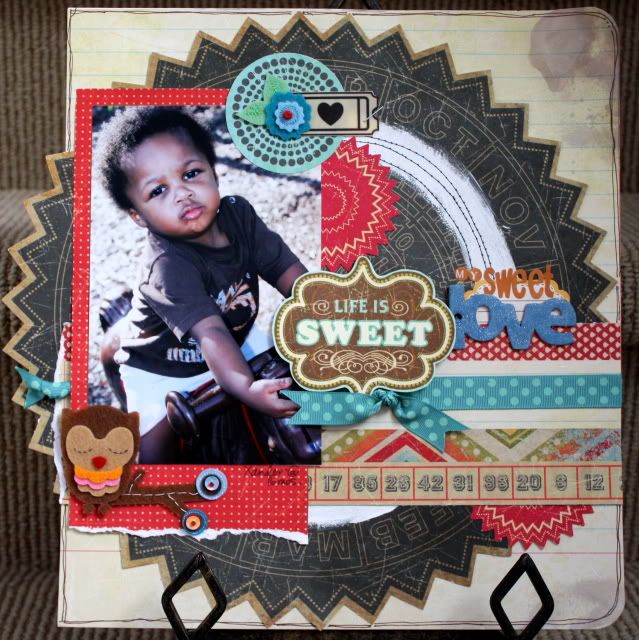
I love these papers by Collage Press, they are the perfect match for this photo, one of my fave pics that I took this summer. It's of my little Xan and I love it because it's so full of personality and I just want to kiss all over those sweet cheeks every time I see it!

I also used Shimmerz spritz here too. I spritzed truffle in the upper and lower right corners. I trimmed the background paper to 10 3/4 x 12 to accommodate for the overhang.

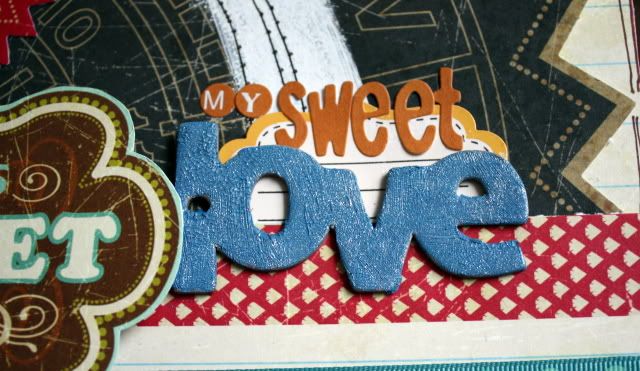
Then I spritzed truffle over the chipboard word that I painted with crackle paint. The crackle and the glimmer seems like a contradiction, but works so well here.

Thanks for taking a peek...have a great time creating today!!!


Sunday, September 20, 2009

Hi, Lucy Edson, here - my first post as a Shimmerz Design Team member! I am so excited to start sharing some of the projects I have created using Shimmerz with you all! A couple of weeks ago, I had the opportunity to try out these incredible products and WOW!! The shimmer and shine is incredible - these photos don't ever do the shine justice!

Ok, so what did I use and a brief description: This is a project I created using one of Webster's Pages newest lines - Winter's Wings and Shimmerz Spritz in Eucalyptus, Barn Red, Blingz in Gold Glimmer.

I dripped some Blingz Gold Glimmer to mimic water droplets.


The flowers were made from book pages and misted with Shimmerz Sprayz in Barn Door - the mist softens the paper and gives it a wonderful soft crumpled look.


Shimmerz Spritz in Eucalyptus over a Maya Road circles mask.


The complete layout - I love the soft watery feel from the misting and masking.


Thanks for letting me share and see you soon!
Lucy