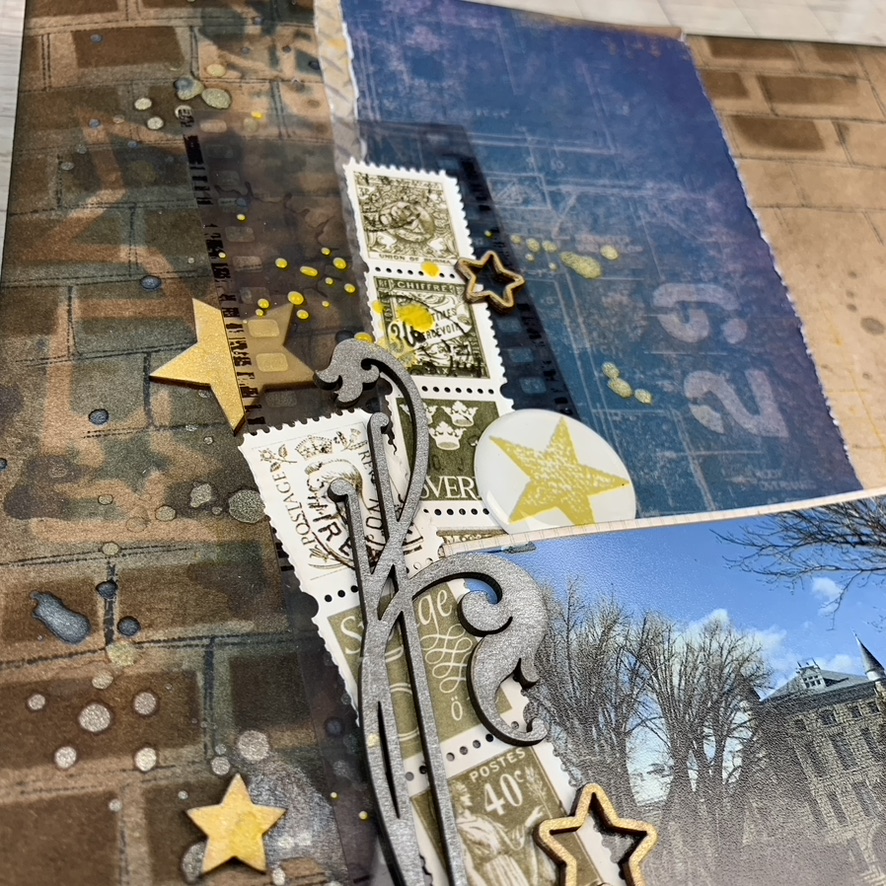
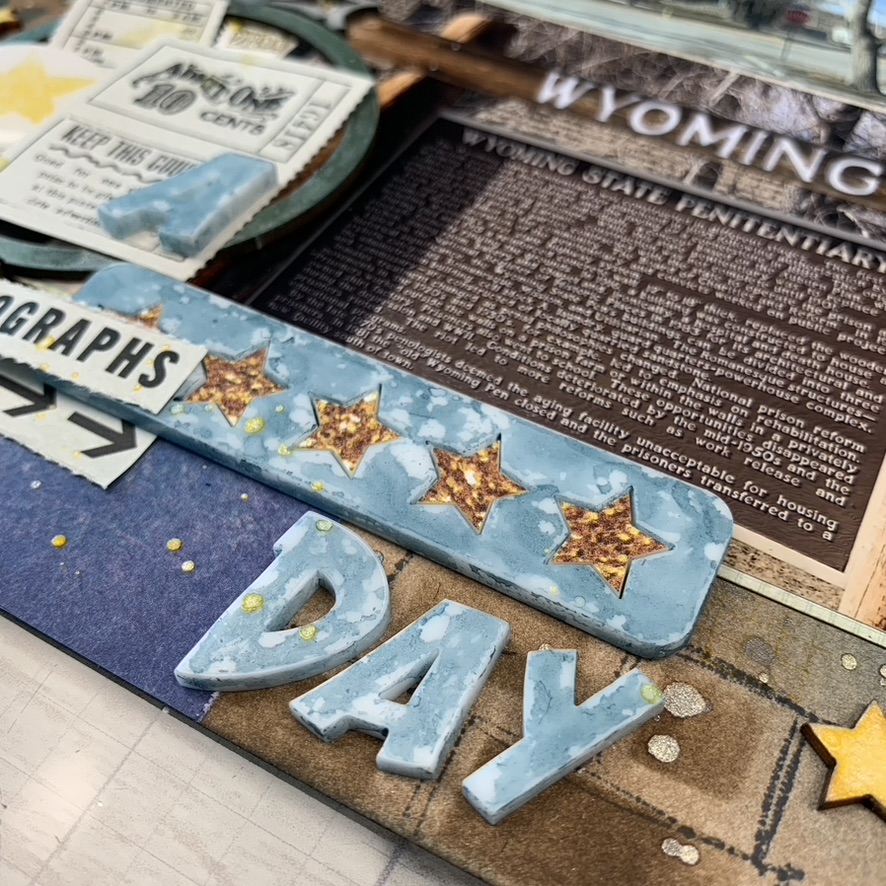
Hey it's MK back with a fun background for you all. I used some Shimmerz, Creameez & Inklingz mixed with ink pads to create my background from white paper as well as change the color of a chipboard piece, wood veneer stars and some acrylic pieces. Let me show you how:
First I used a stencil and a brown ink pad on my background. Then I used a coordinating stamp to stamp the lines around the stencil work with blue ink. I then used the packaging technique with Inklingz in Emerald City - such a gorgeous blue-green color, absolutely perfect for a patina look. I also used the packaging technique with Creameez Witches Blue - a beautiful navy blue. Then I used another stencil with the blue ink to make it look like the image came from the packaging technique.
Once all that was dry, I thought my background was a little too stark white, so I took the browm ink pad and blended it all over the background.
Now let's work on some embellishments. I had a raw chipboard piece and some wood veneer that needed a little bit of color. I painted the circle on the chipboard piece with Emerald City. Used Creameez in Thuderstorm - the perfect silver - and Creameez in Crows Feet - a charcoal black that I feel needs to be in everyone's craftroom - for the swirls around the circle.
I painted the wood veneer stars in Shimmerz Bumbly Bee - such a buttery yellow.
While the elements were drying (just for a few mintues), I matted my photos, glued a piece of blueprint paper to the background and splattered the background with Creameez in Thunderstorm. Now my project is ready to be glued together. I used an L-shaped design in the lower left corner.
If you are interested in a free gift, add my name in the comments section during check out.
I also have thie process video for this layout up on my YouTube channel.
As always, I hope you have a great day & I'll be back to check you later!


No comments:
Post a Comment